This spring semester, I’m taking my first ever printmaking class, and I’m so excited! We’re going to be learning about both screen printing (done on a fabric screen we stretched and stapled ourselves) and lithography (big, BIG ‘ol limestone etching).
I’ve worked with screen printing once (if you can even count some goofy summer camp in middle school) and was really excited to learn more about the process and see what I could create. I just recently finished our first assignment: an open ended screen print that used at least 3 colors. I chose to use an old sketch of mine from last year of a rose as my image, and got to work!
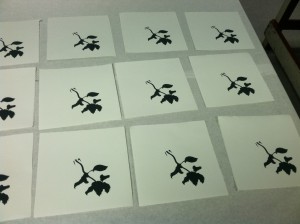
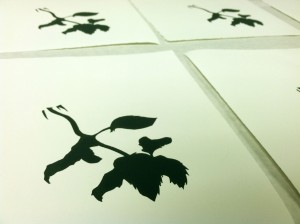
The first step was cutting the stencils. Since I was going to be using four colors, I had four stencils. This was probably the hardest part; my design was SUPER intricate and getting in all the tiny spaces with my X-ACTO knife left my fingers very sore! Since the printing process is done in layers, you print one color at a time on every paper. Here’s how my first layer turned out: the dark green in the stem!
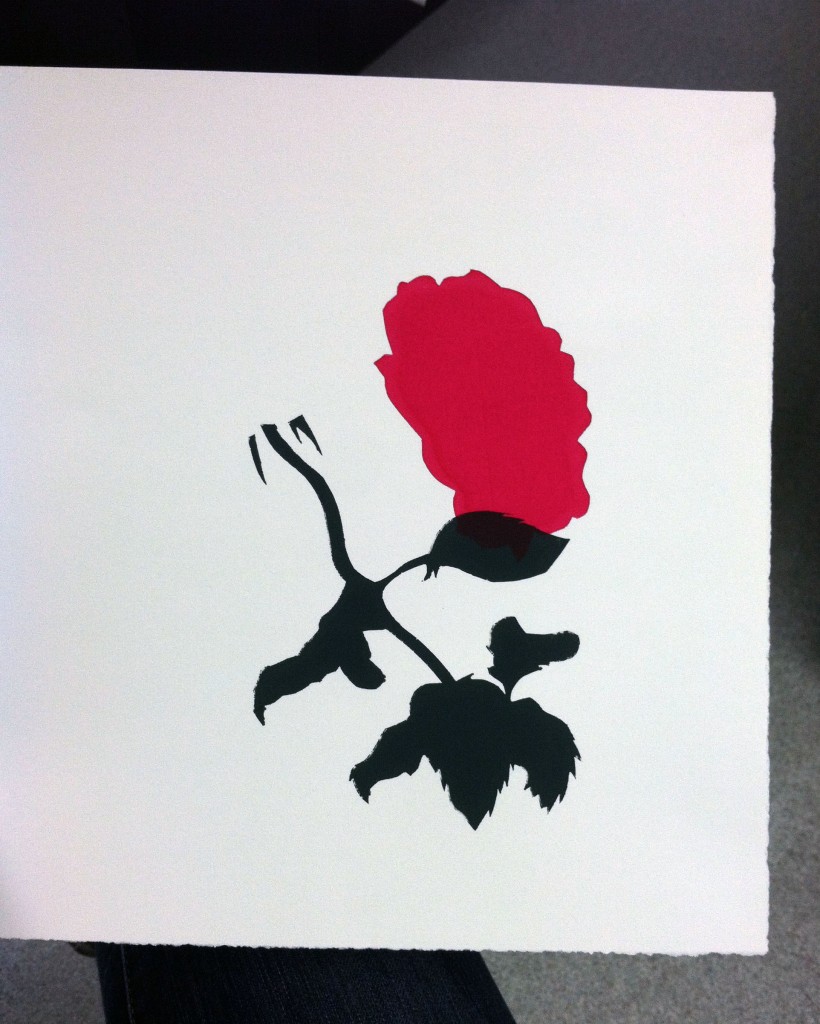
Next was the first color of the blossom!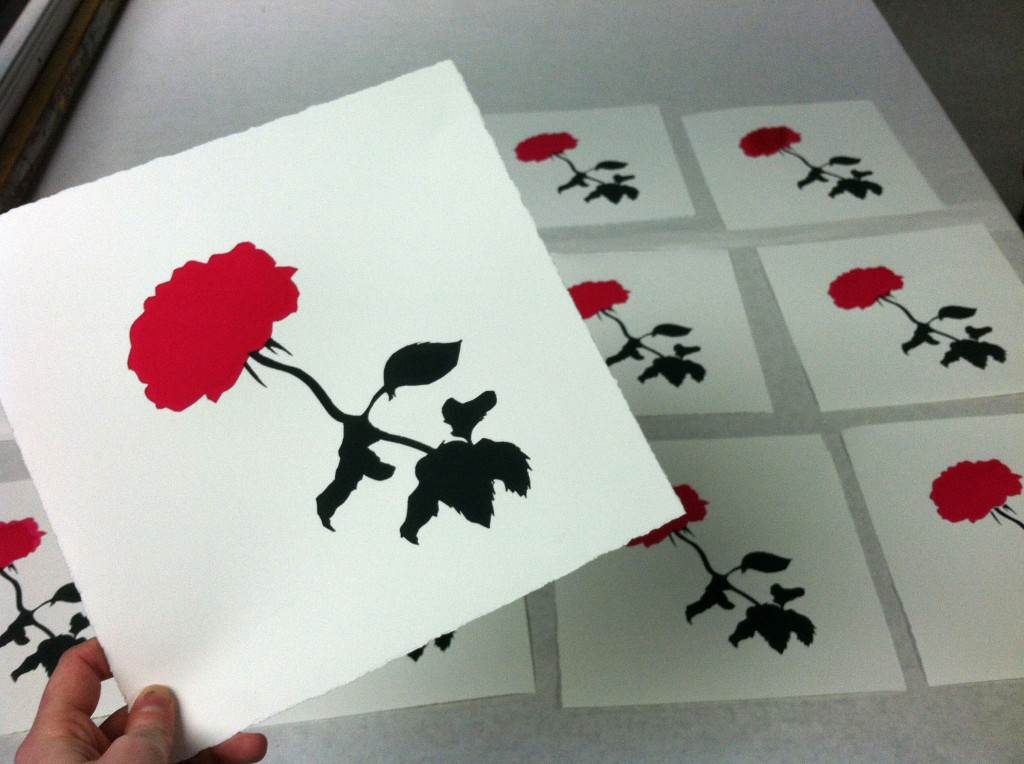
Things were going pretty well! However…
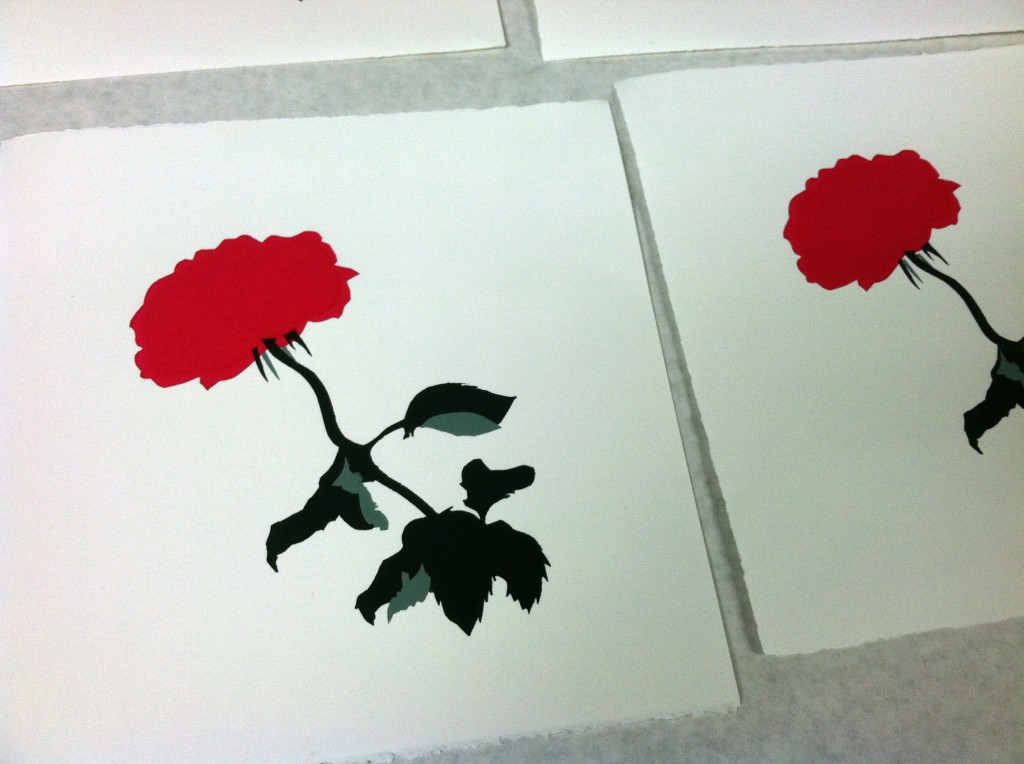
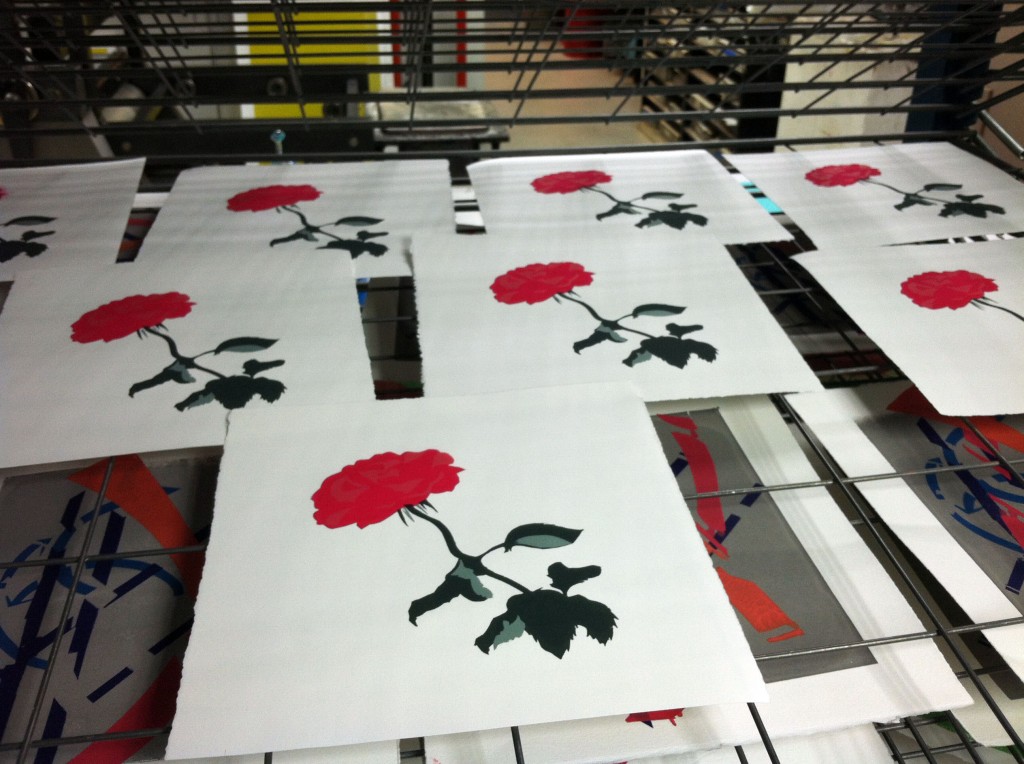
Next, I printed the light green on the stem and leaves to give it dimension.
At this point, there was ink EVERYWHERE. (Though, honestly, I kinda like messy art!)
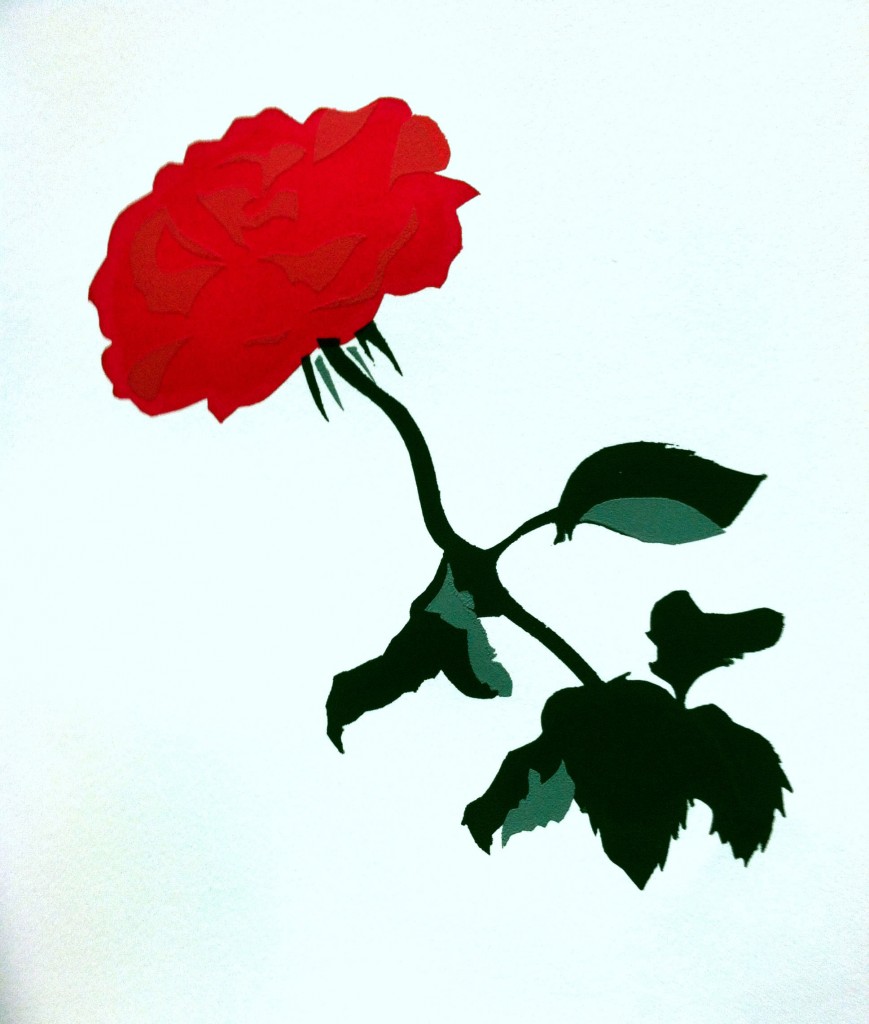
The final step in my printing process was the give the petals on the flower some definition, which I did by adding a lighter pink. Here’s how the final print turned out! (The photo makes it appear pretty red, but it’s more of a deep pink/magenta!)
And that was the process of my first screen print! I would say the whole thing took me about 6 hours, maybe 7. I then picked the best 5 prints and submitted them for my edition. It was REALLY fun (mostly because I love hands-on art) and I’m feelin’ pumped for my next project!

