Somehow, amid the hours spent working on the sketch show, I found time to finish my first ever woodcut relief print for my printmaking class. I’ve never done something like this before, so I took a bunch of photos throughout my process. Here’s a look at how it works!
The theme we were given was “land,” a pretty broad topic. I thought of the desert, which made me think of rock-hunting with my dad, which made me think of geodes, which made me think of crystals. I’ve always been fascinated with crystals and their formation, so I did a little visual research and came across some cool images. Thus, my preliminary drawing was born!
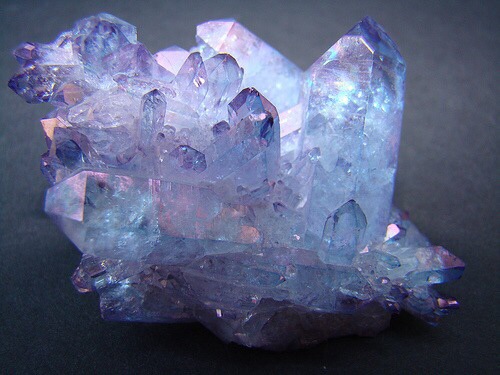
Inspiration 1!
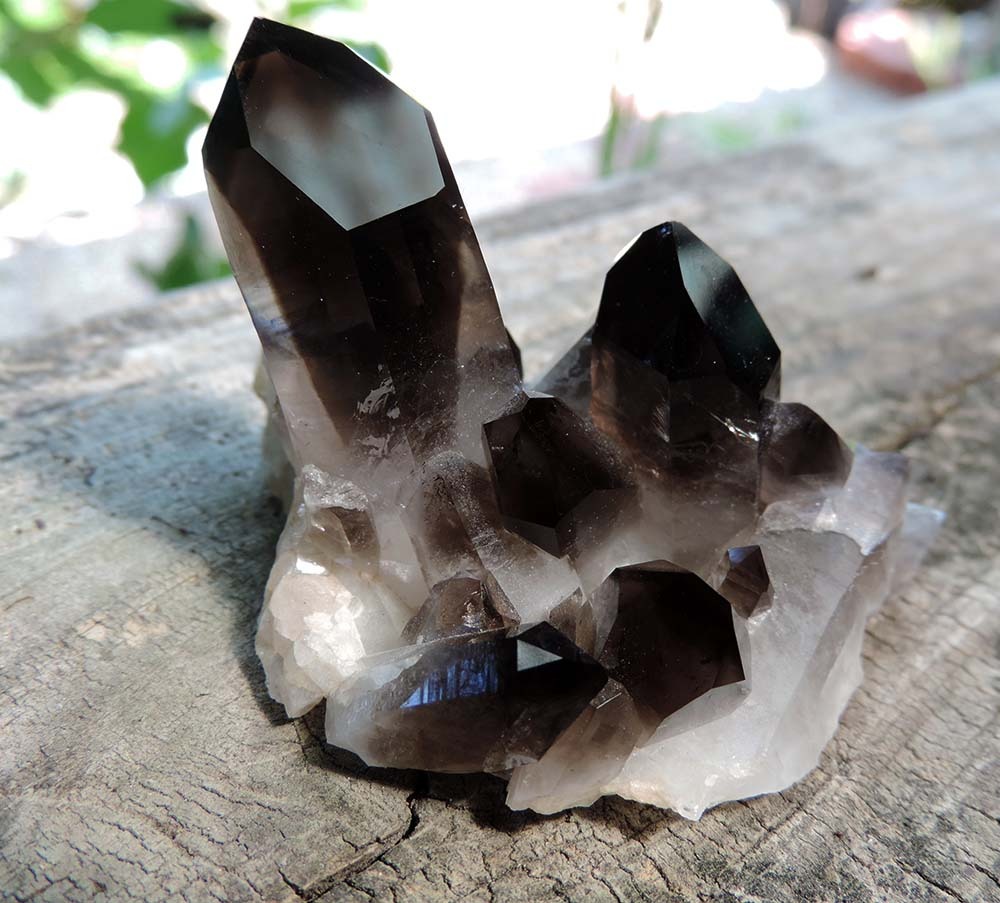
Inspiration 2!
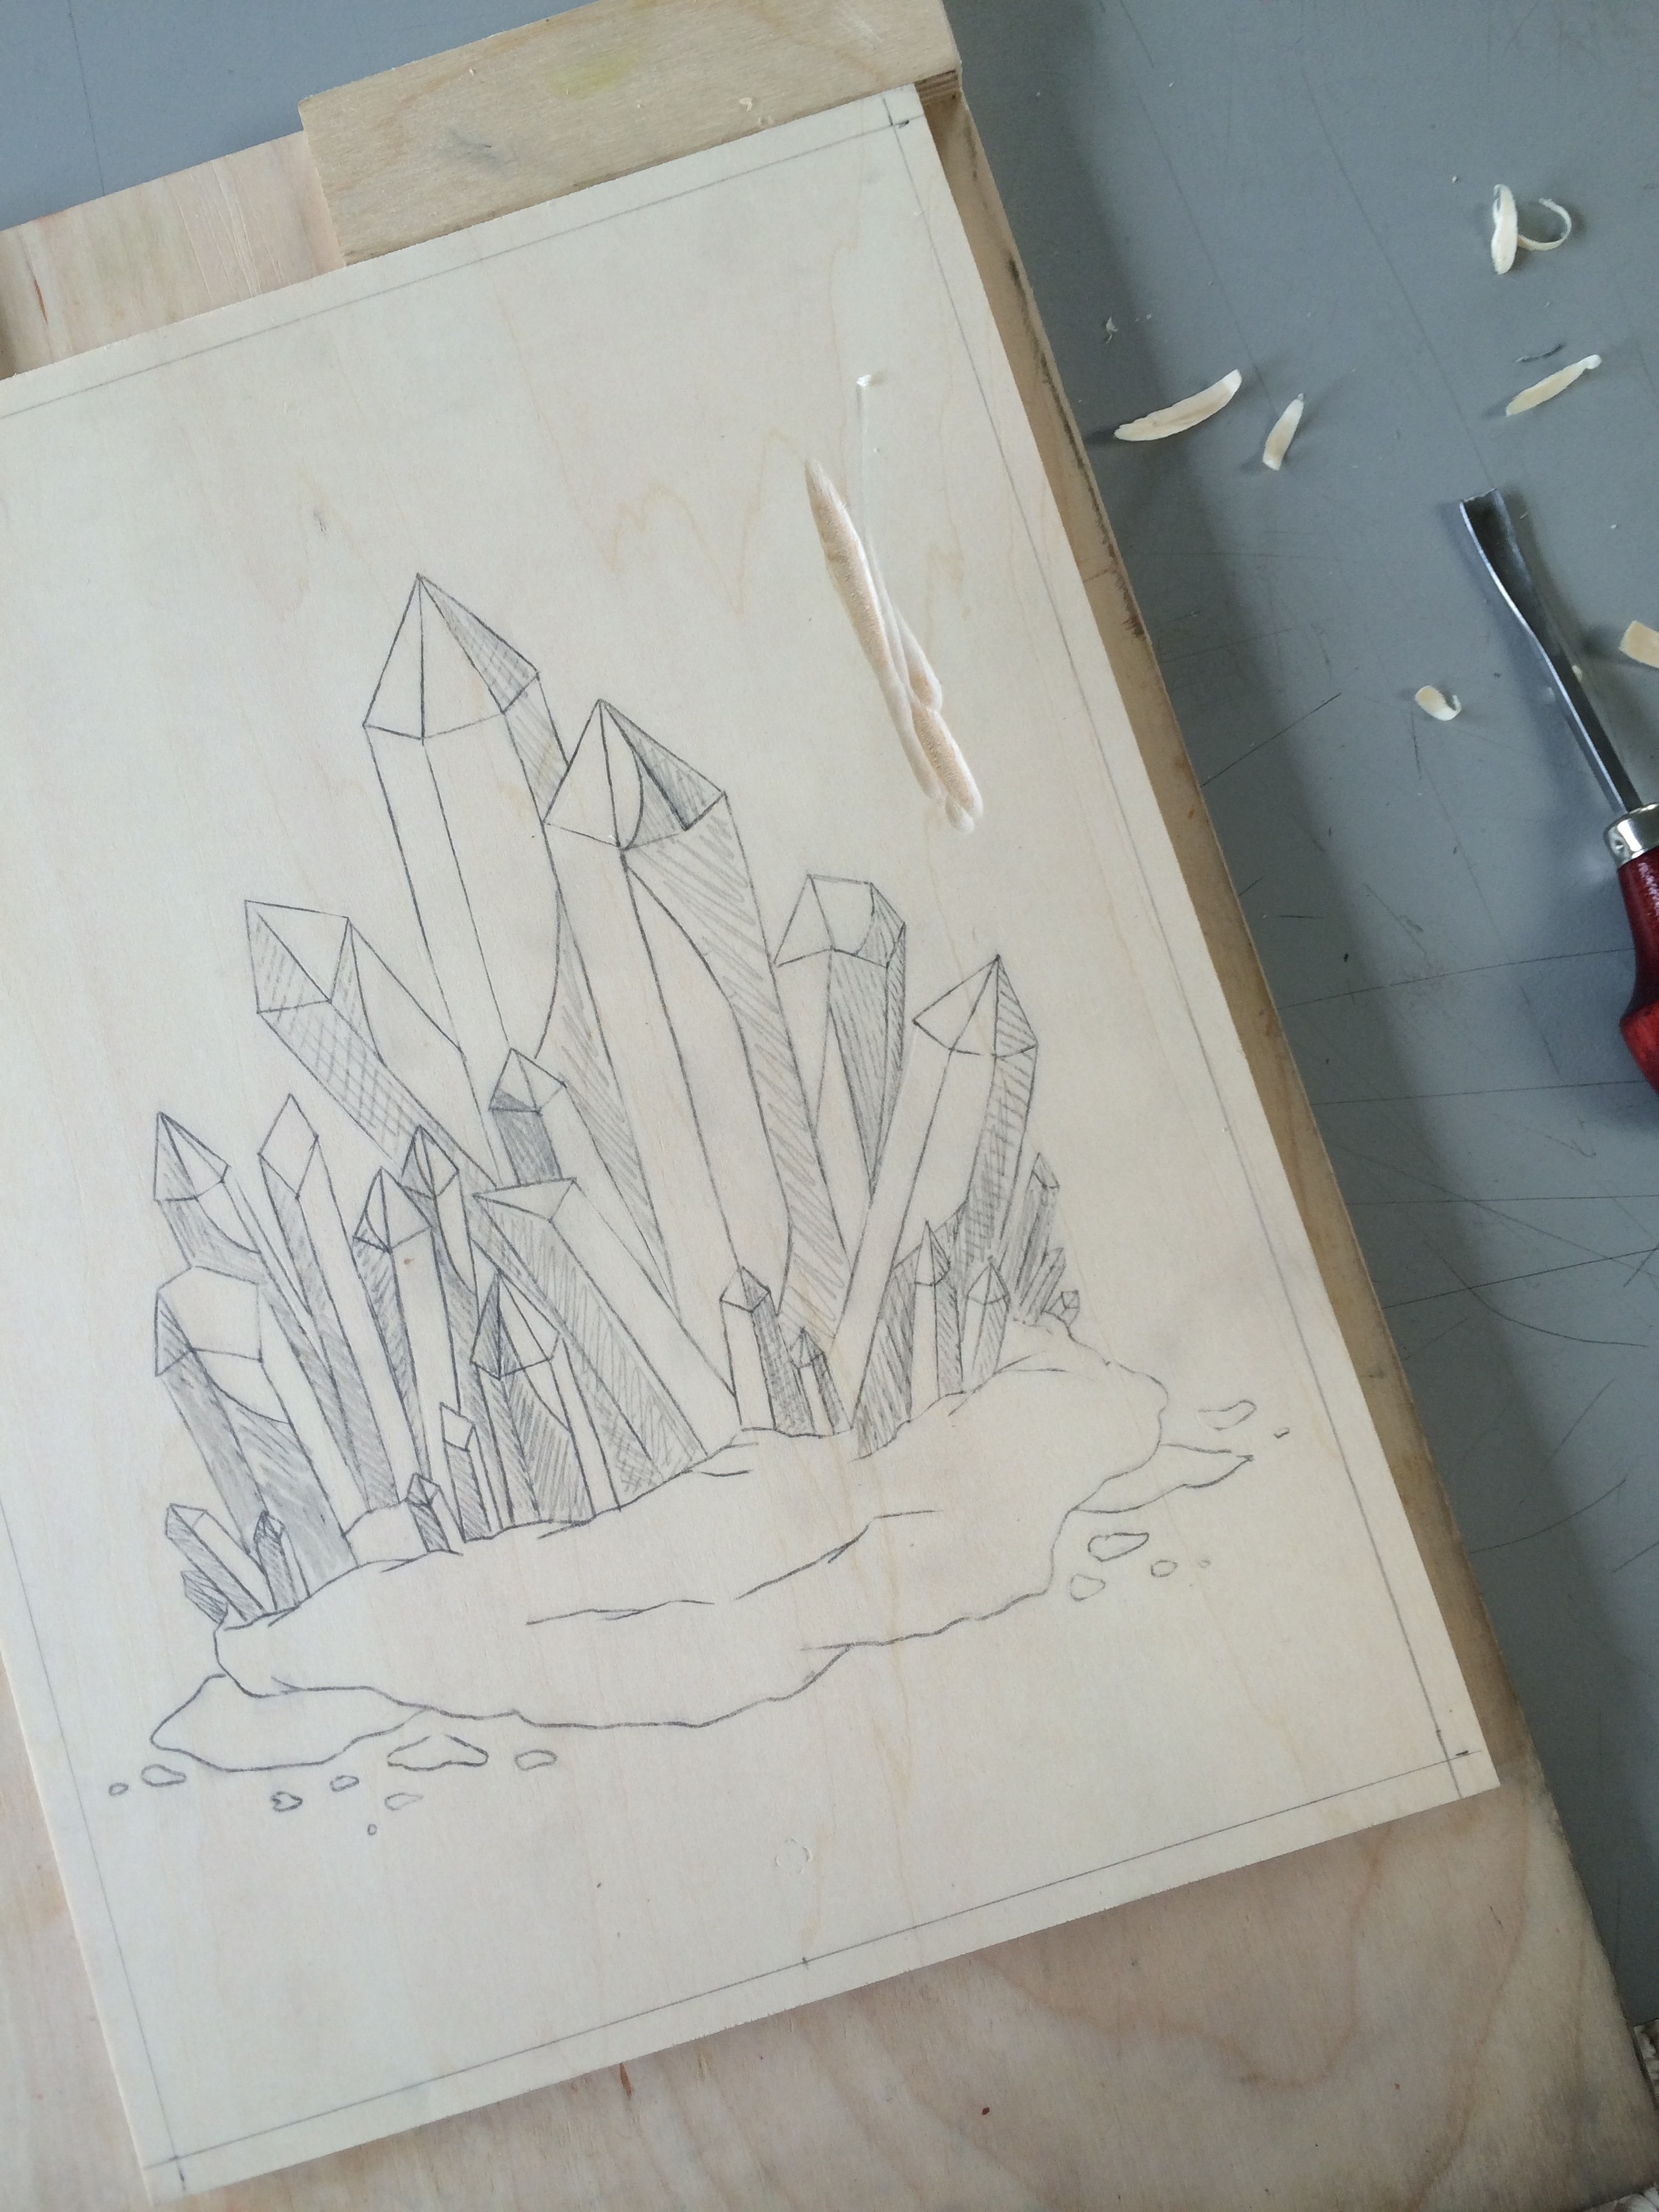
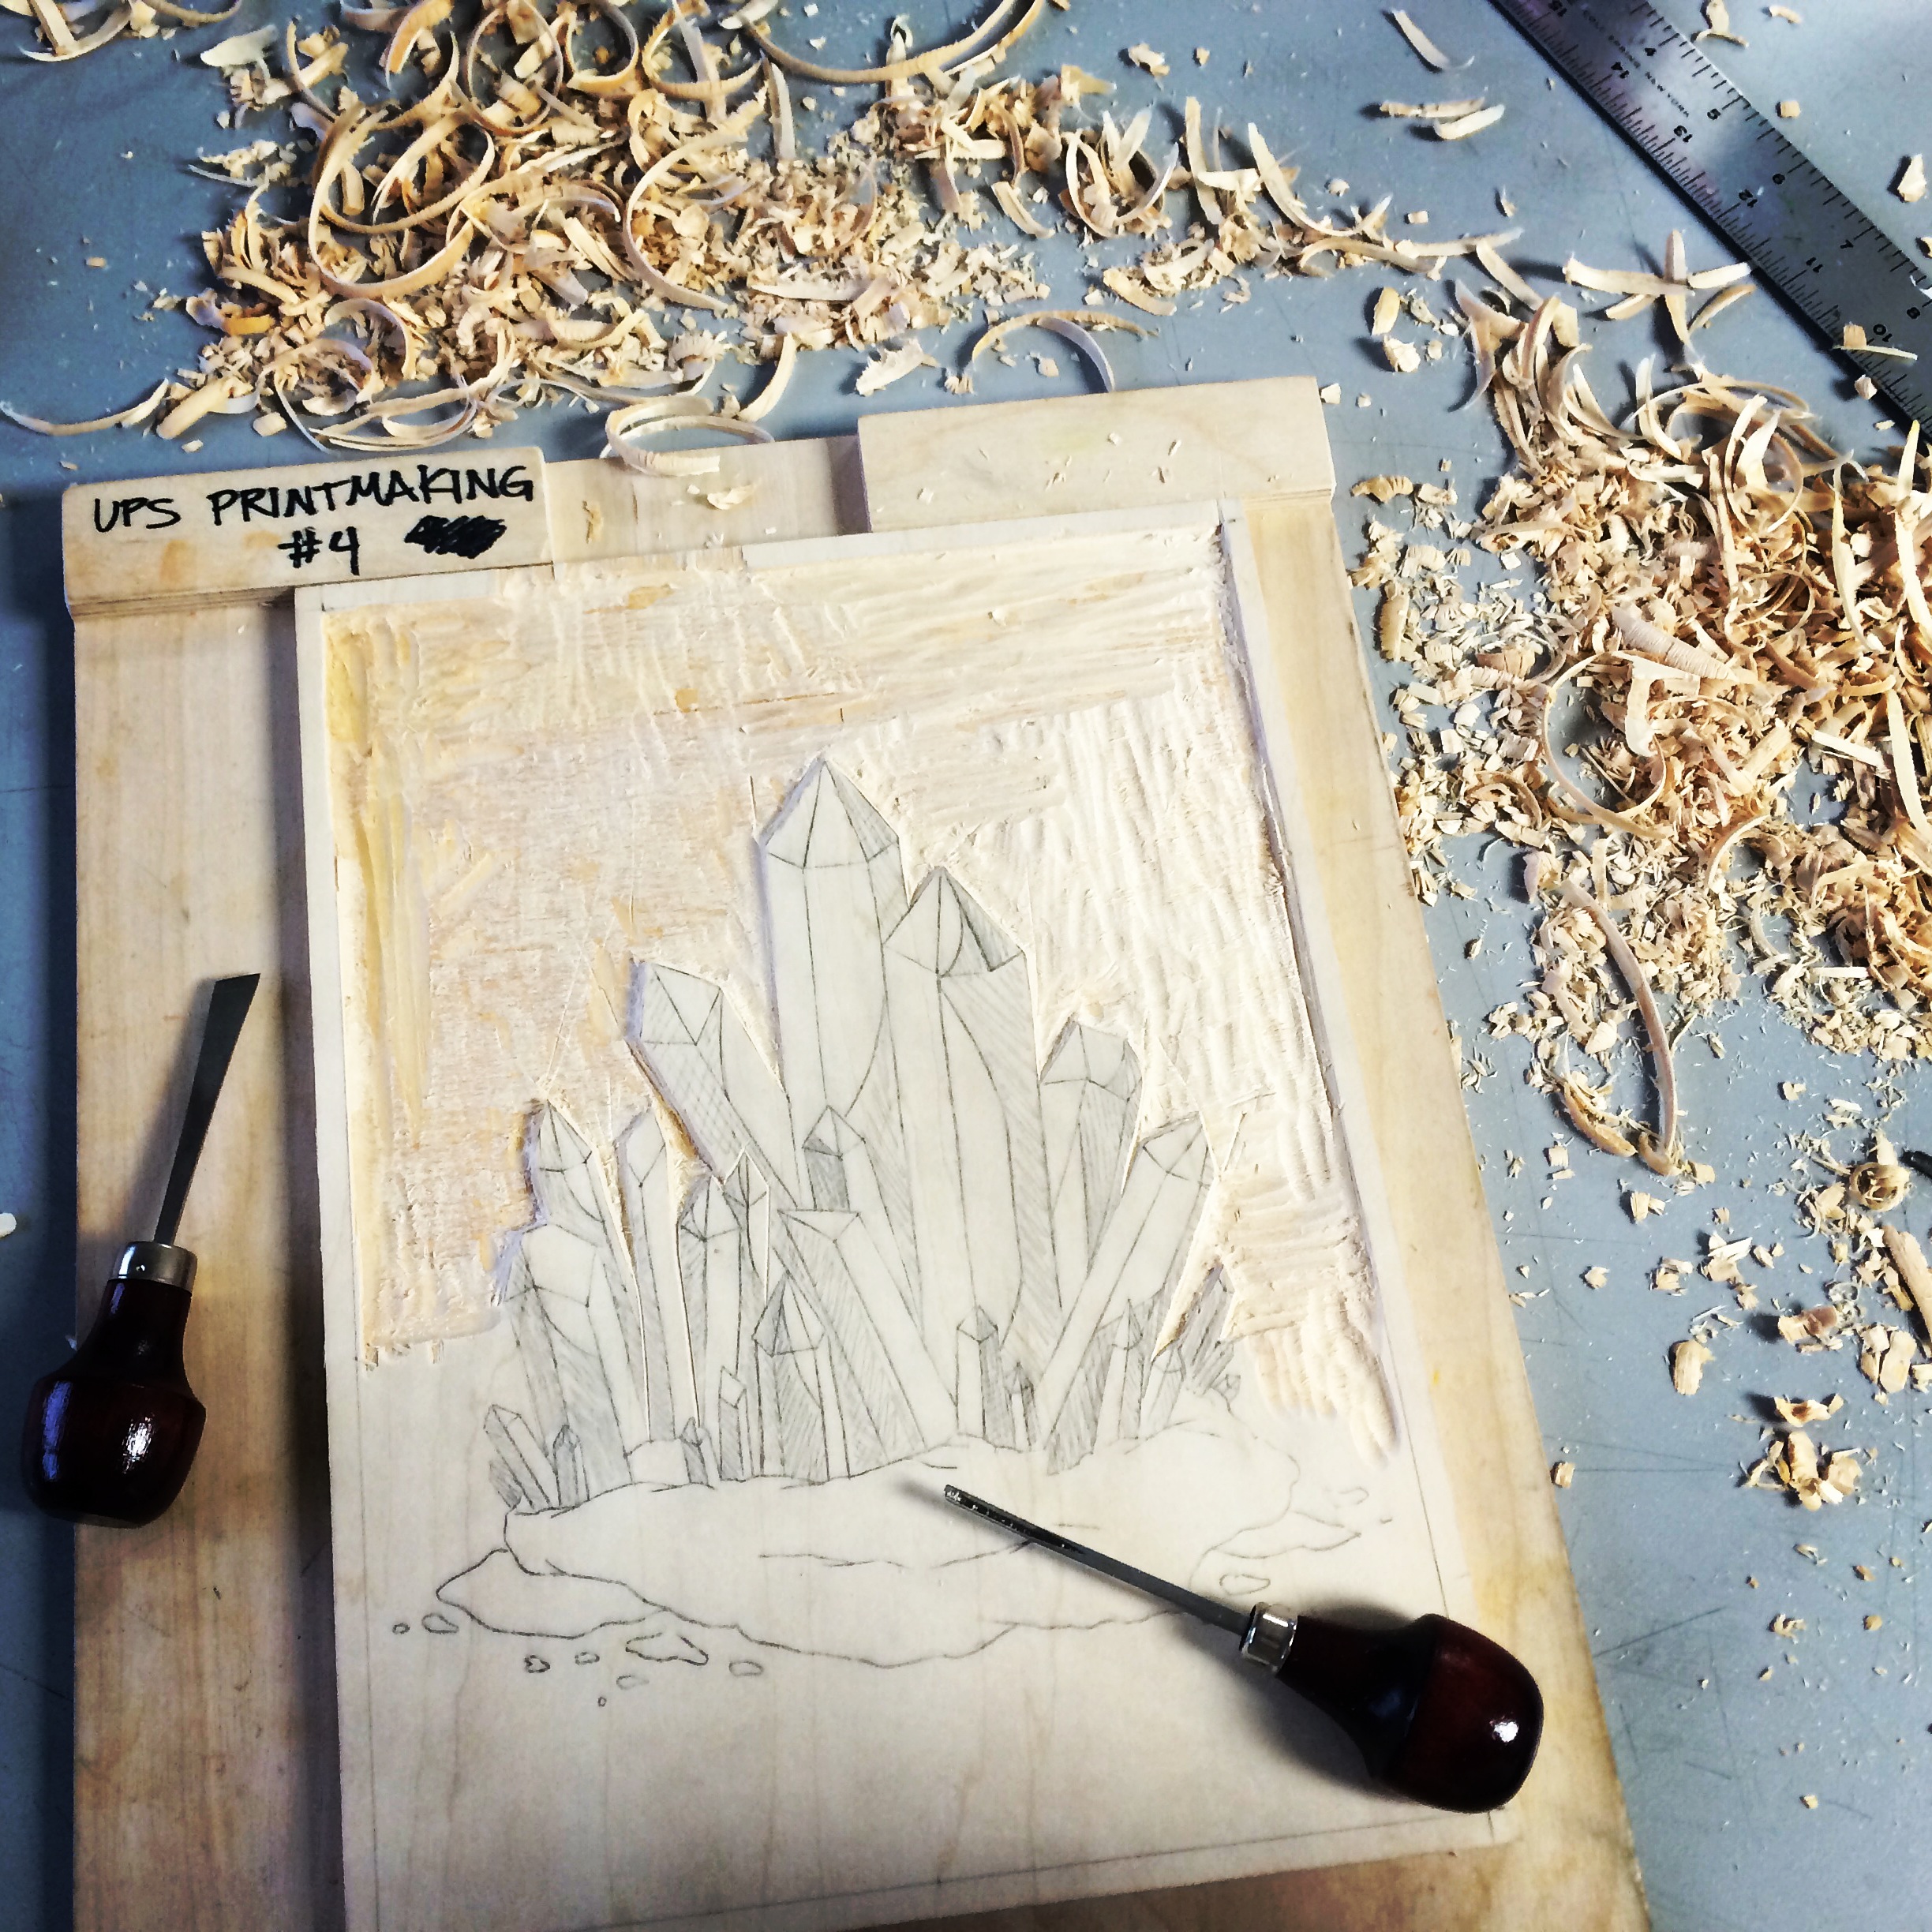
My image, drawn on my wood block
Once I had transferred my image to my block, it was time to start carving using these neat (and SHARP) little tools. I definitely slipped and stabbed myself more than once. This was a reduction relief print, so the first part carved away was what I wanted to stay completely white.
Almost done…
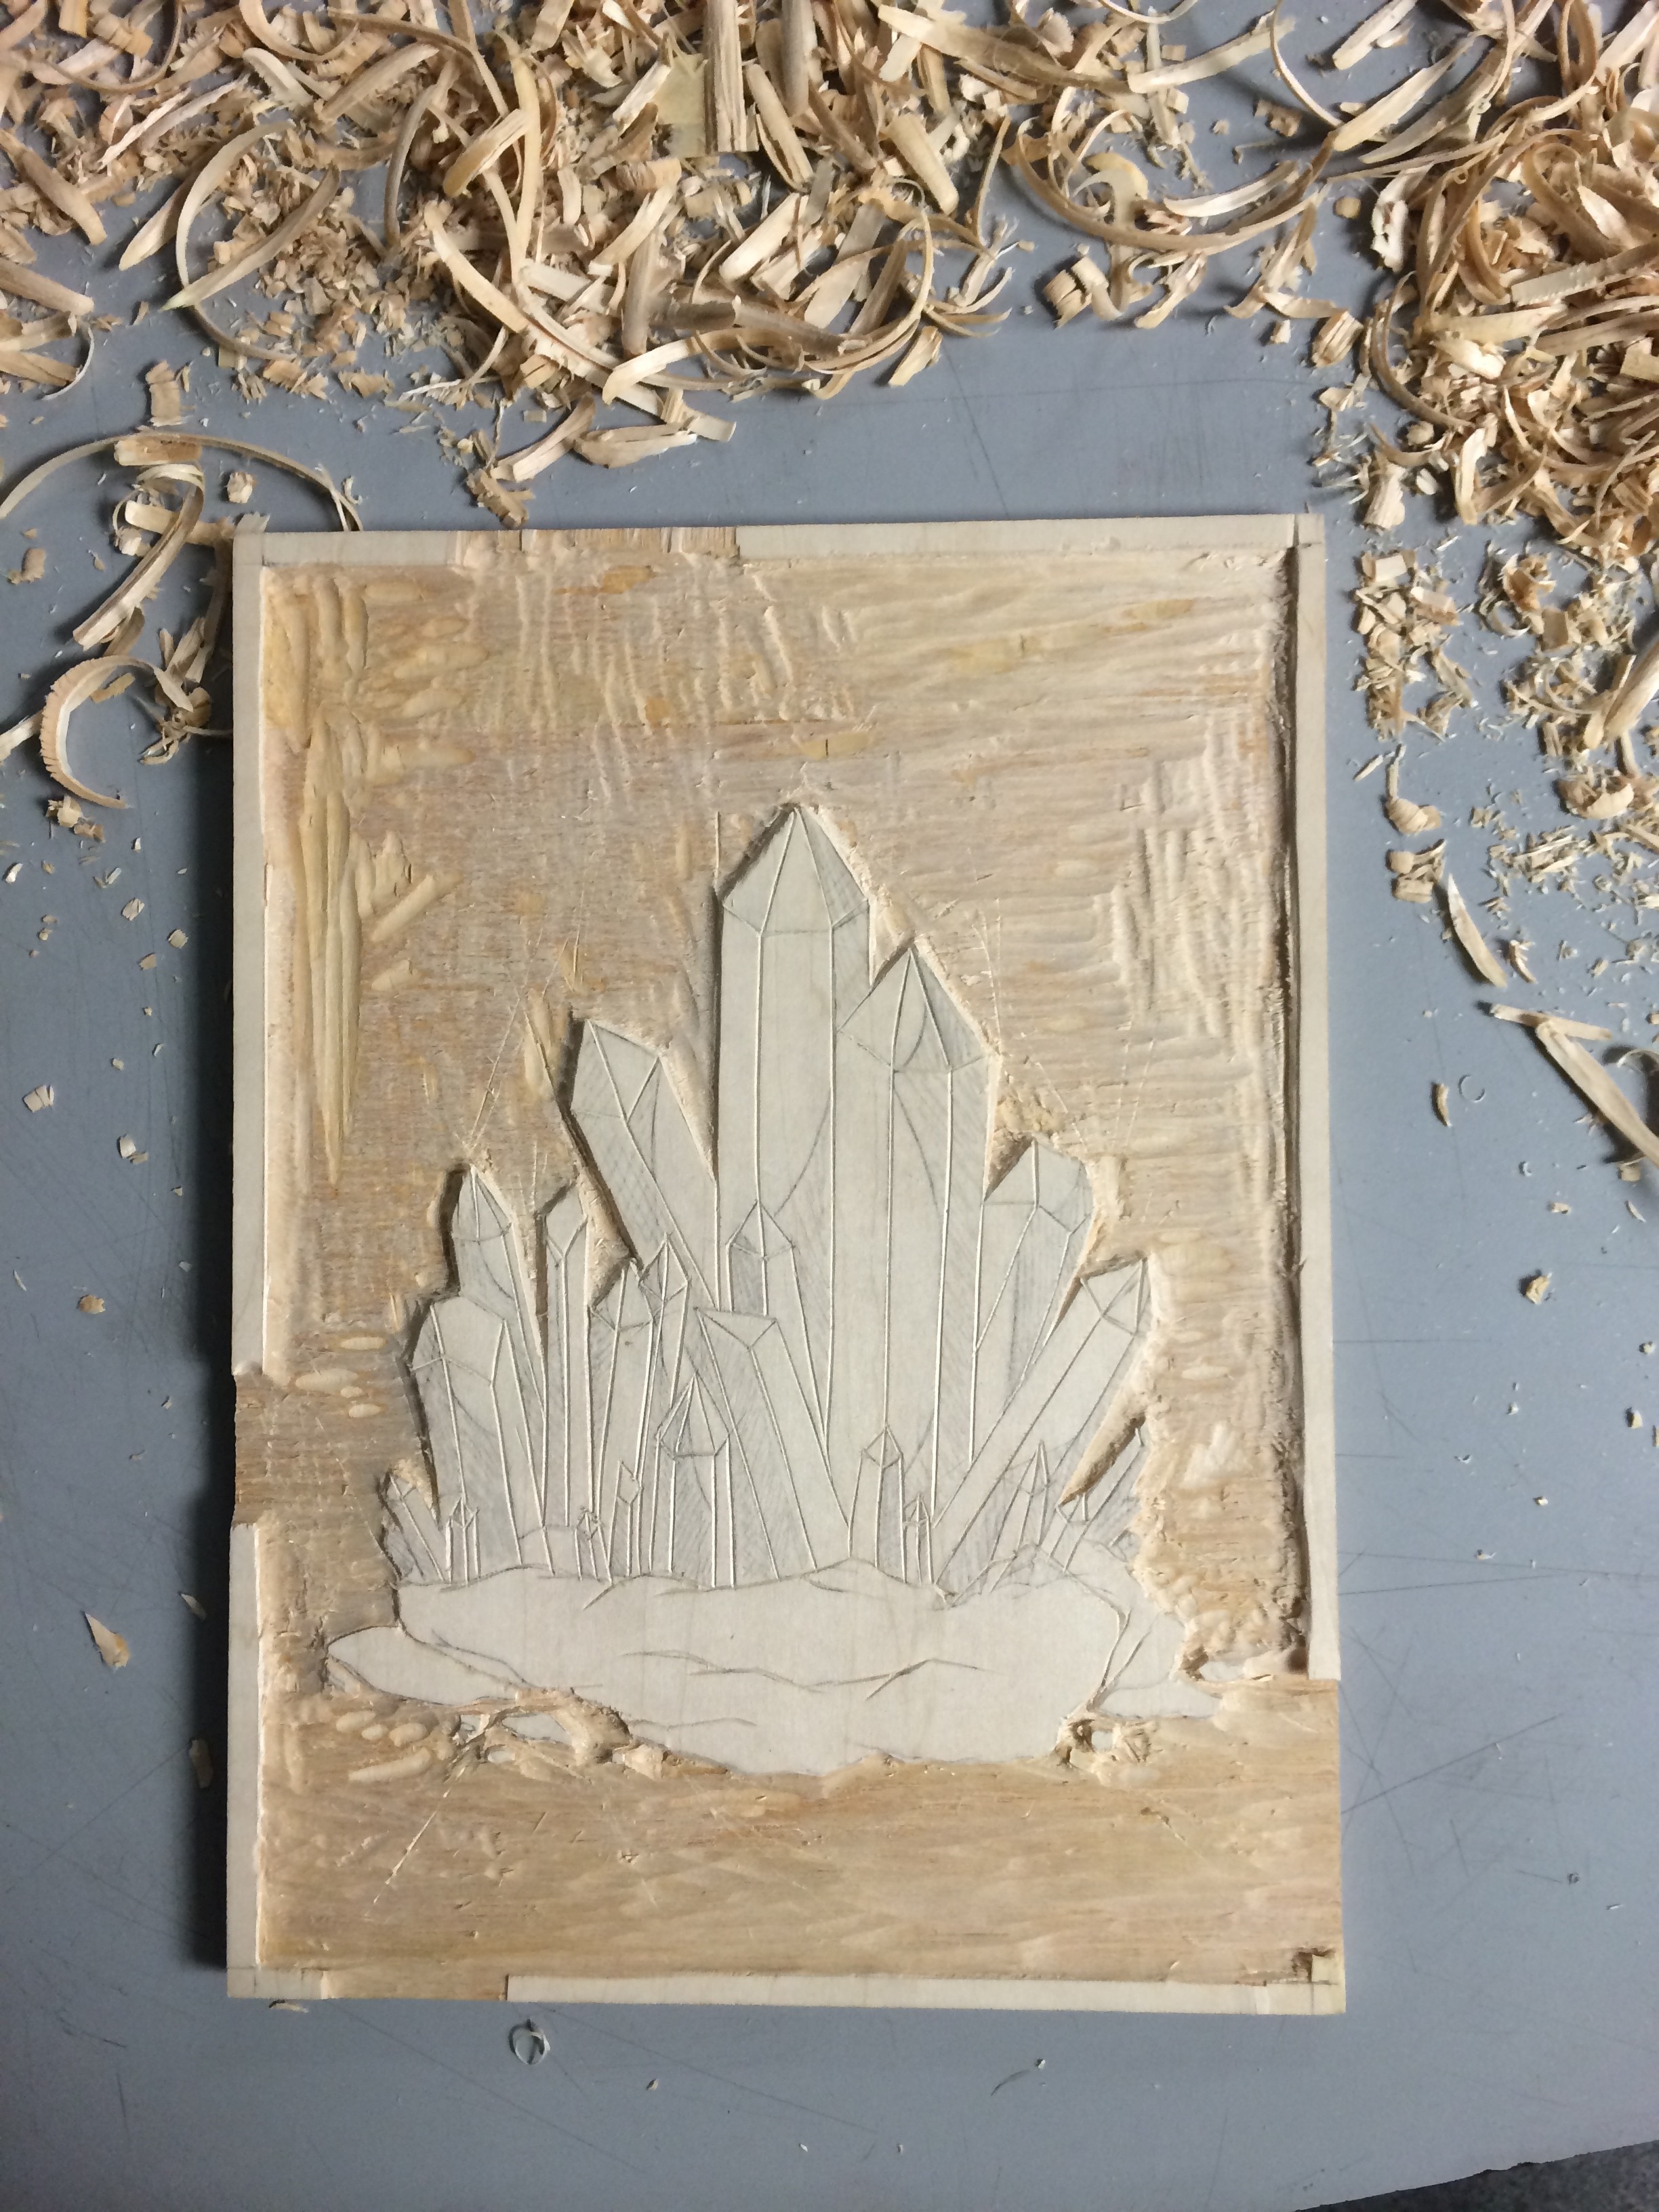
Completed carving!
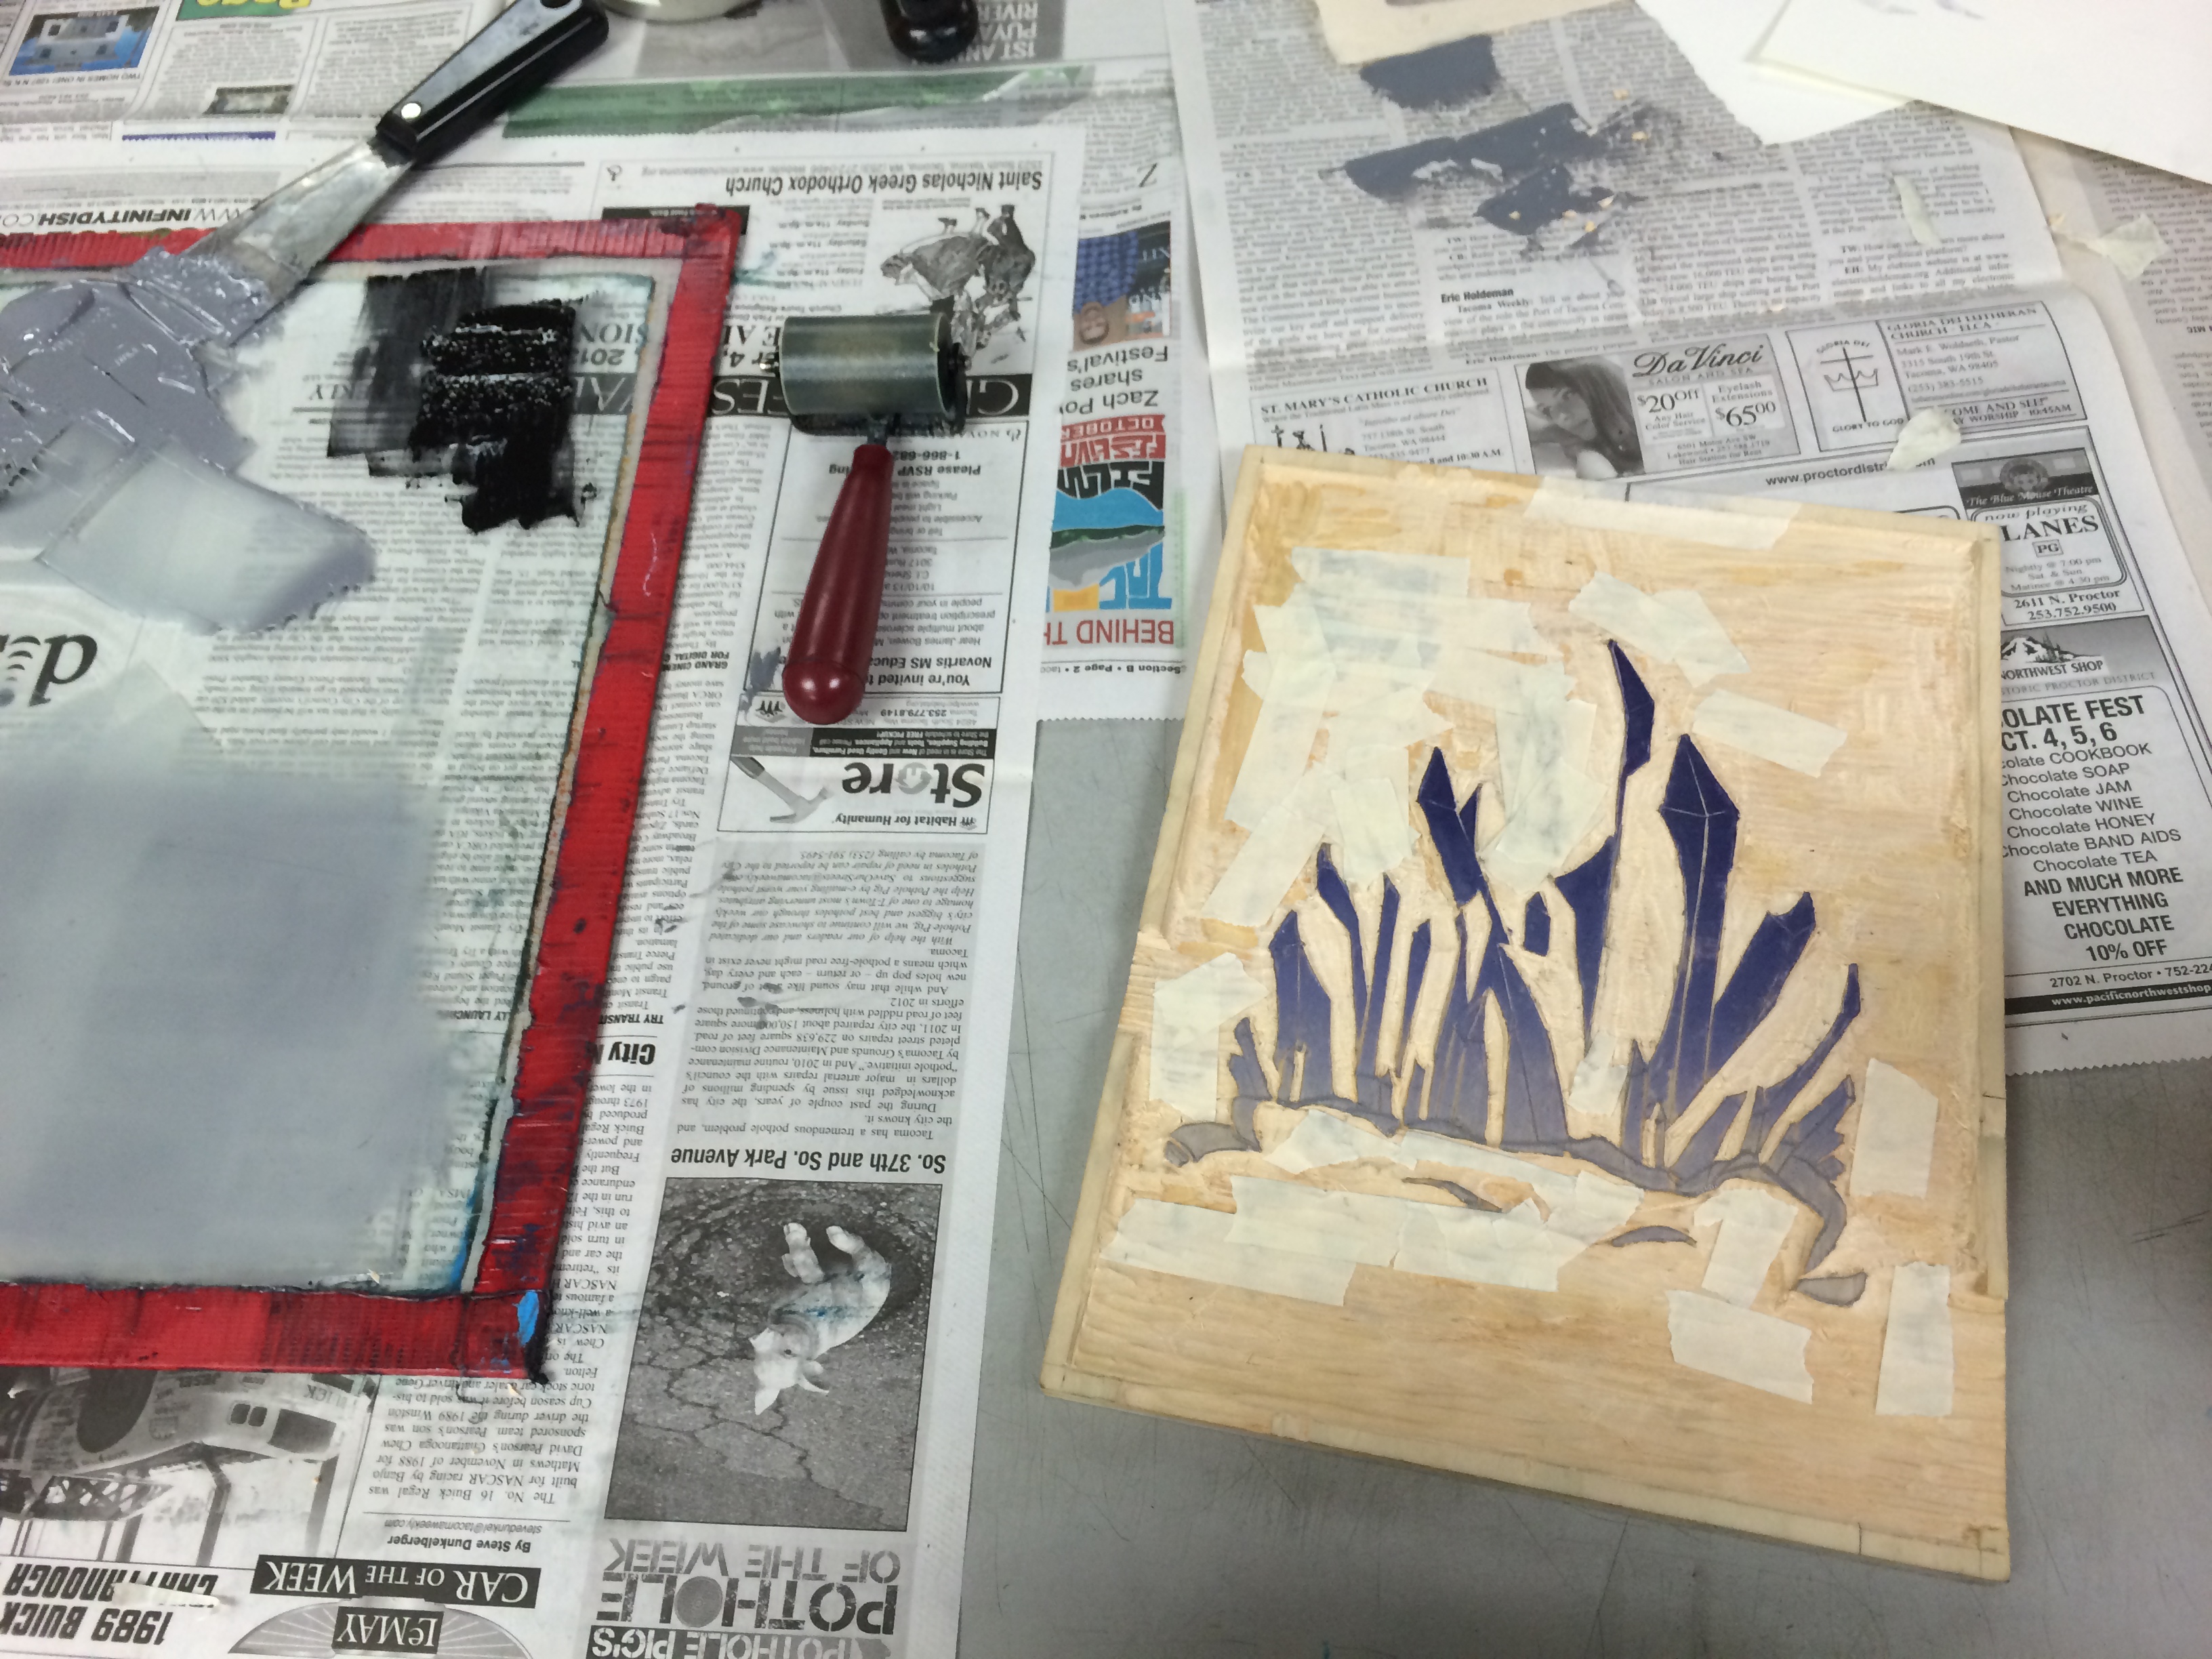
Once I’d finished carving, it was time to mix colors and ink it! I decided to do what’s called a “rainbow roll,” essentially creating a gradient with multiple values by blending inks and applying them very uniformly.
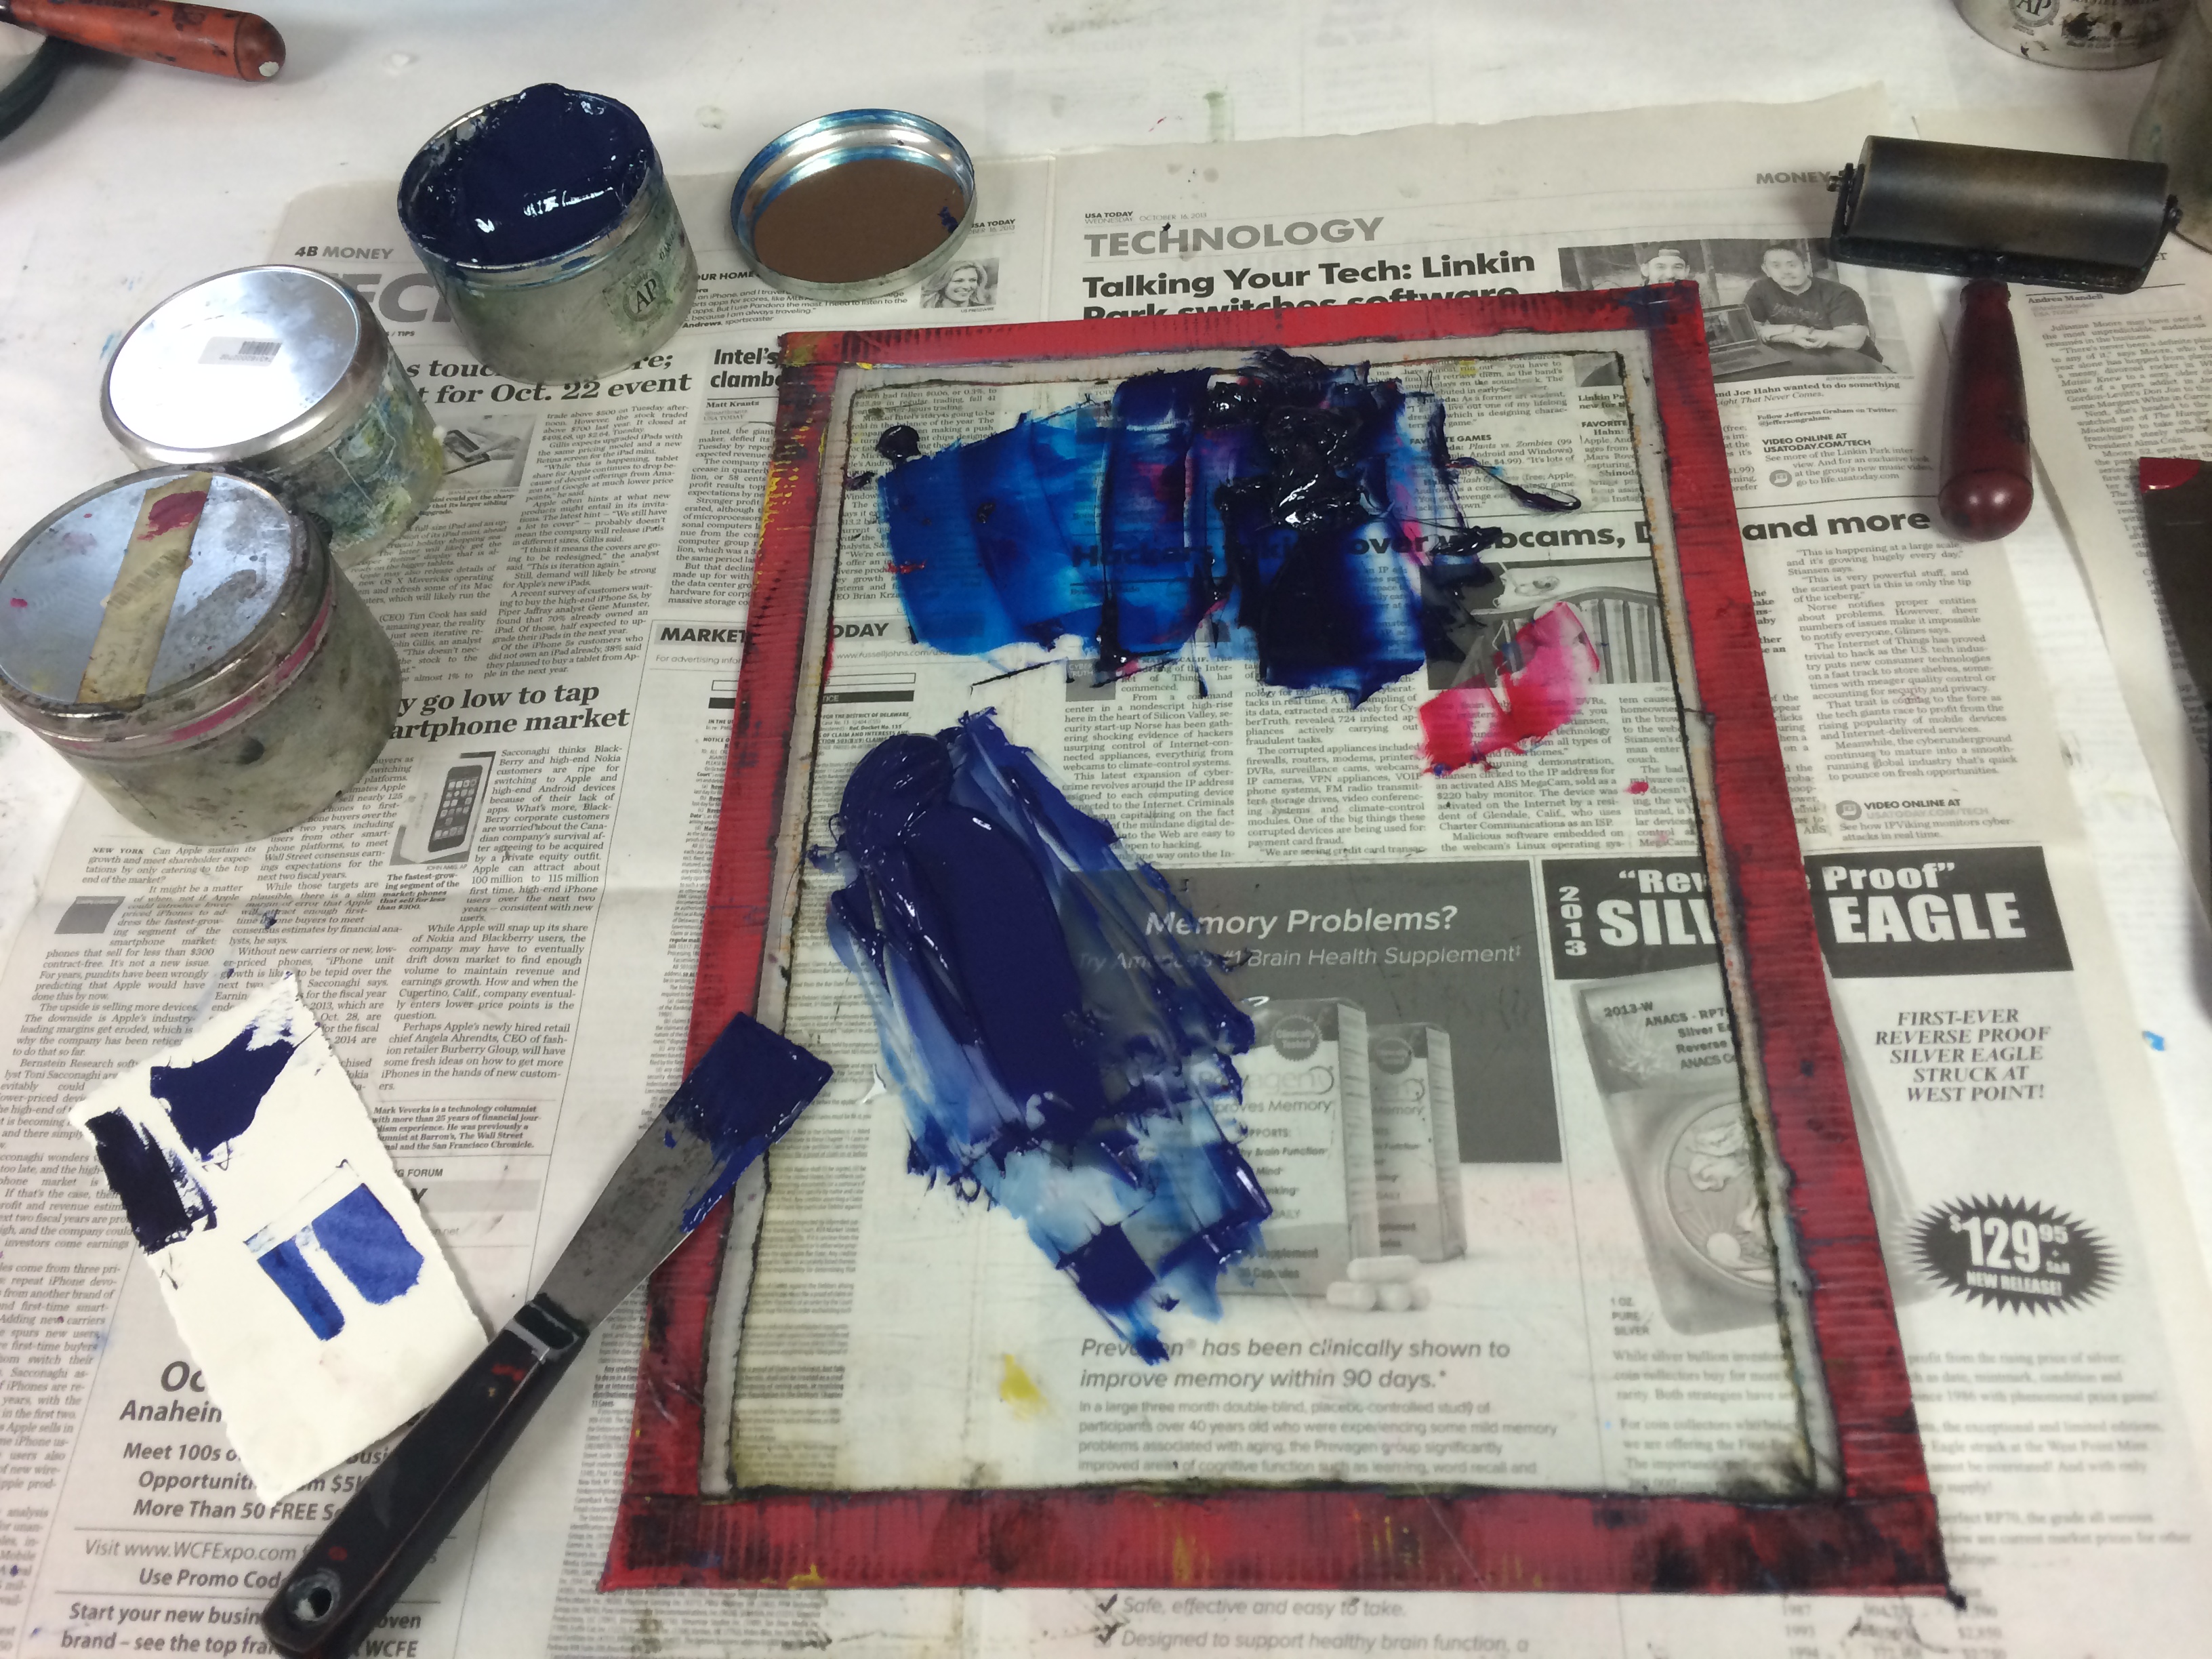
Mixing ink!
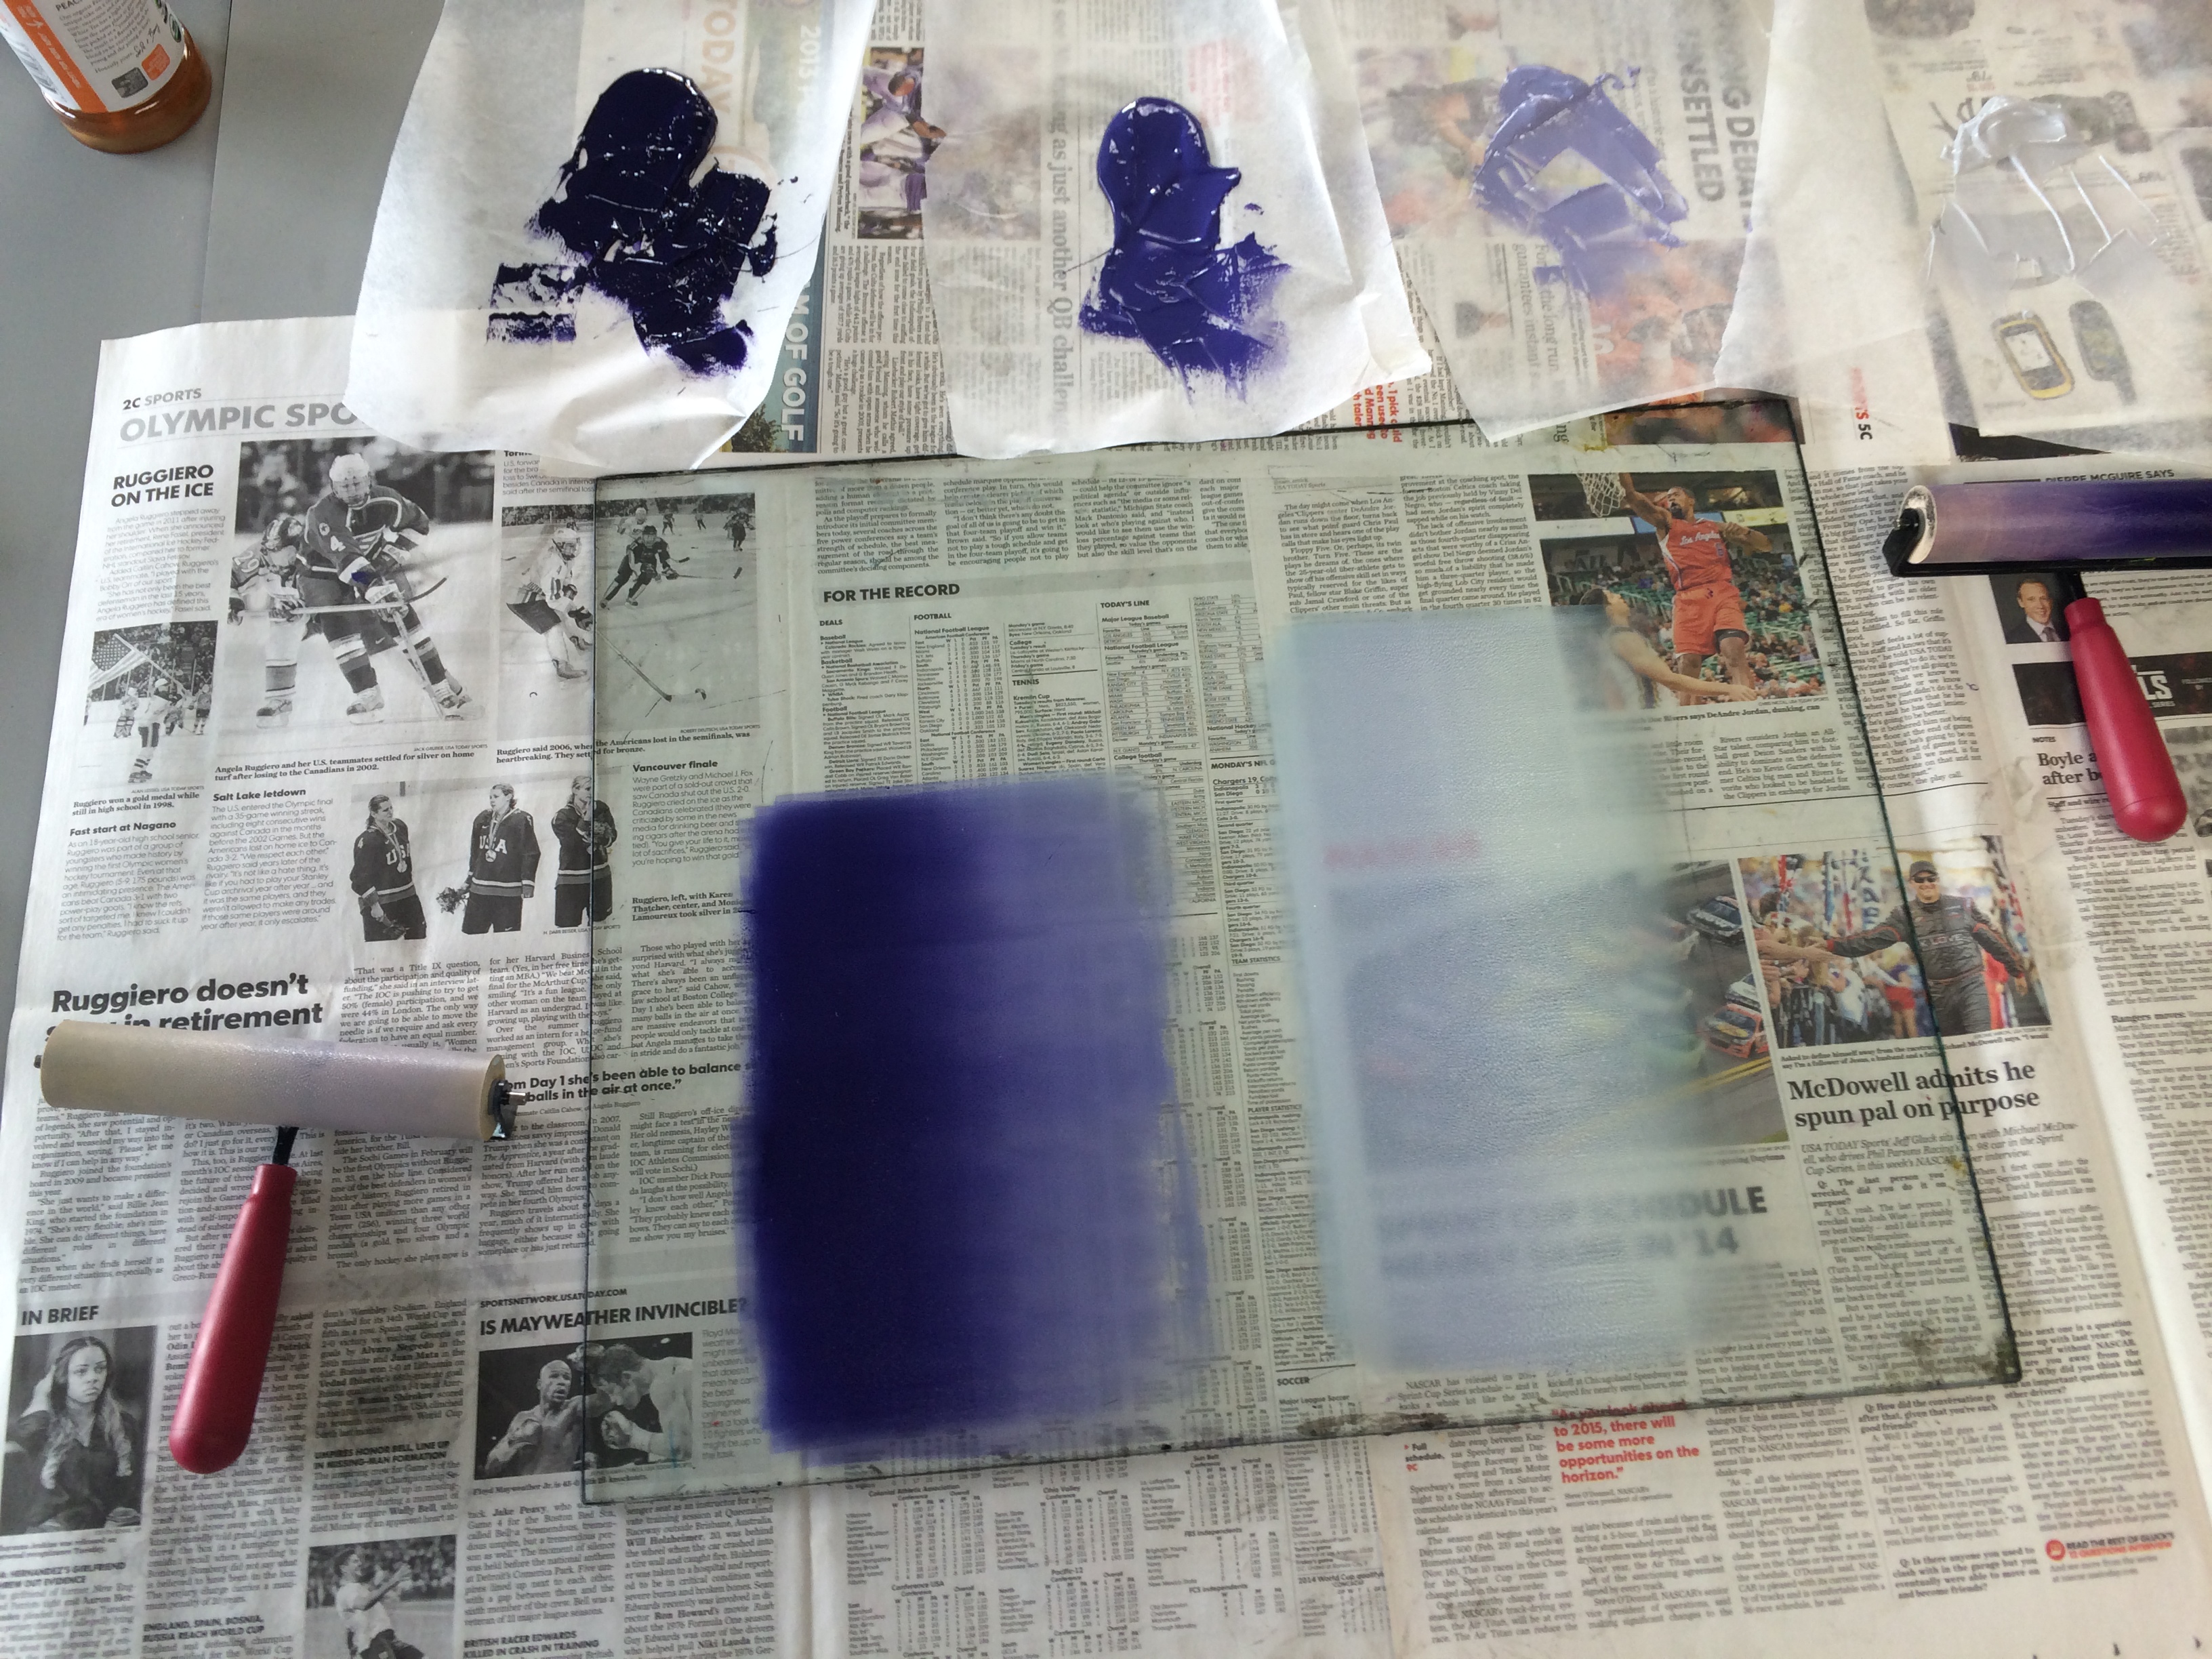
All of my ink values rolled out and ready to apply!

First run all inked and ready to print!
We had the choice to print either using the press or by hand. I trusted my hand a little better in getting these values to come through and had better results in my proofs, so I stuck with printing by hand.

Hand printing using a spoon for pressure
My finished first run!!
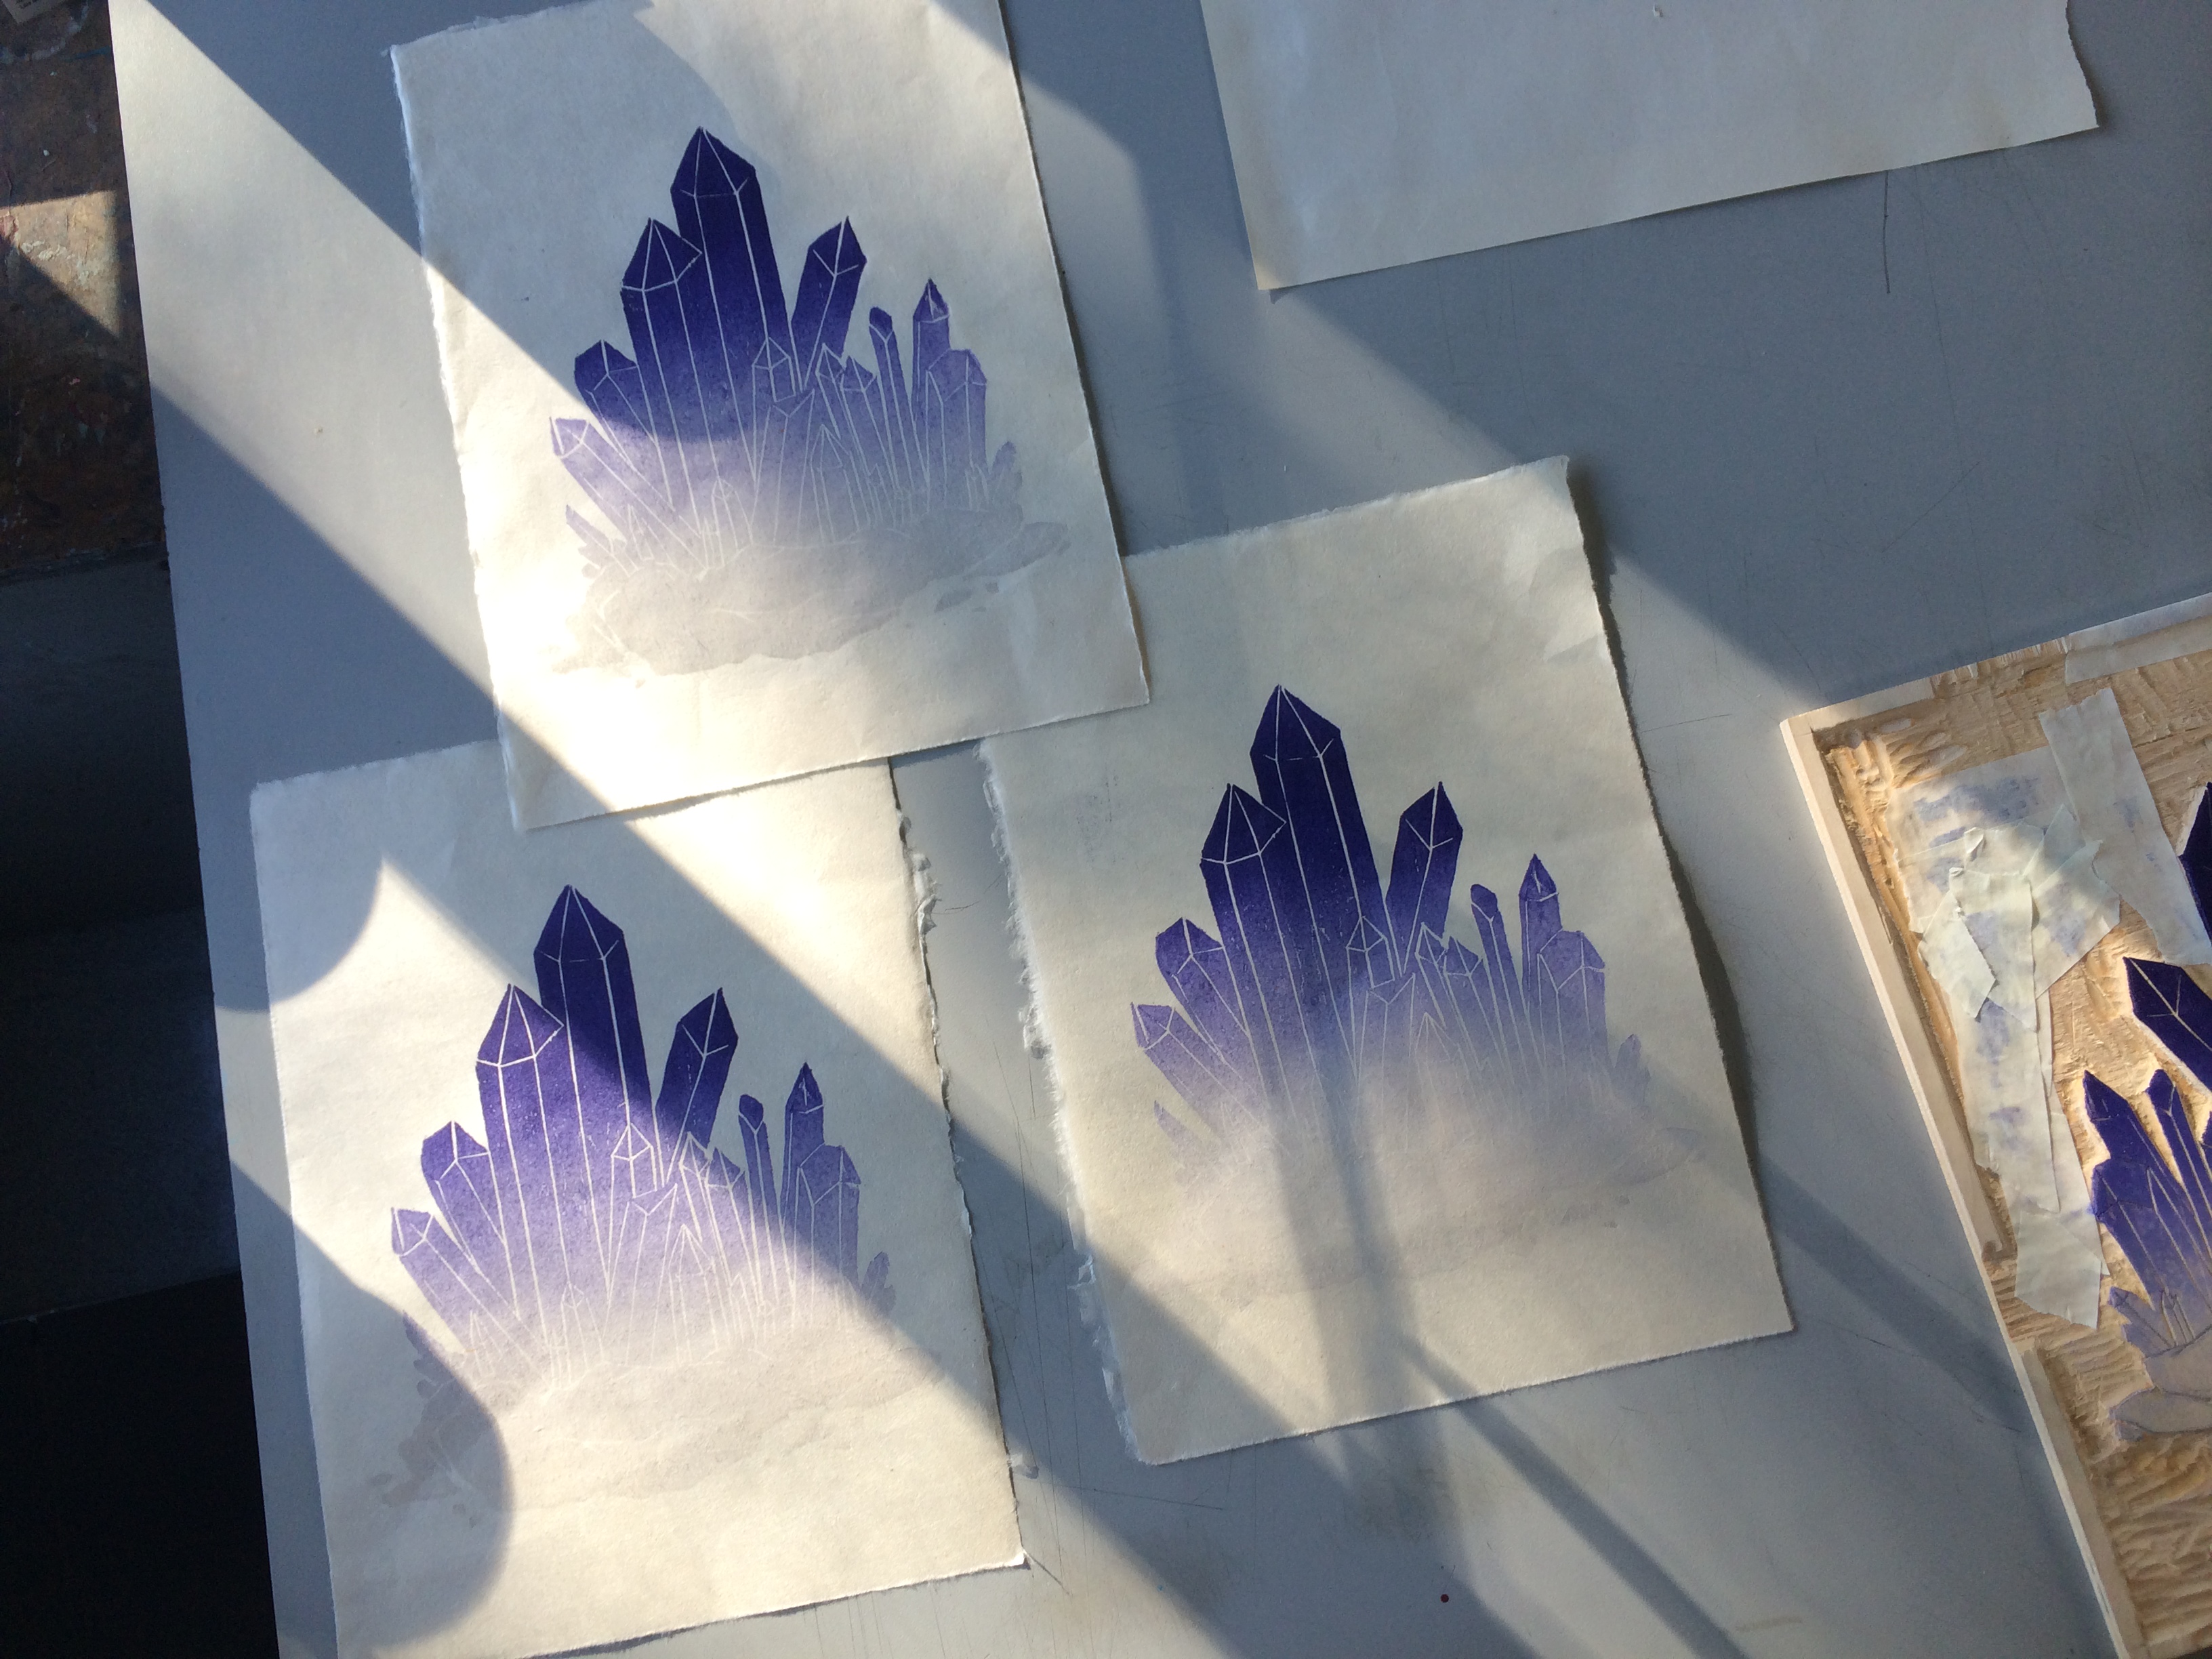
More prints = a very sore hand
Once I had completely printed my first run, that is, my first color(s), it was time to do more carving for my second run! This time I carved away what I wanted to stay part of the purple gradient, leaving only the bits that were supposed to be a different color.
All carved, plus my transparent charcoal ink mixed and ready to apply!
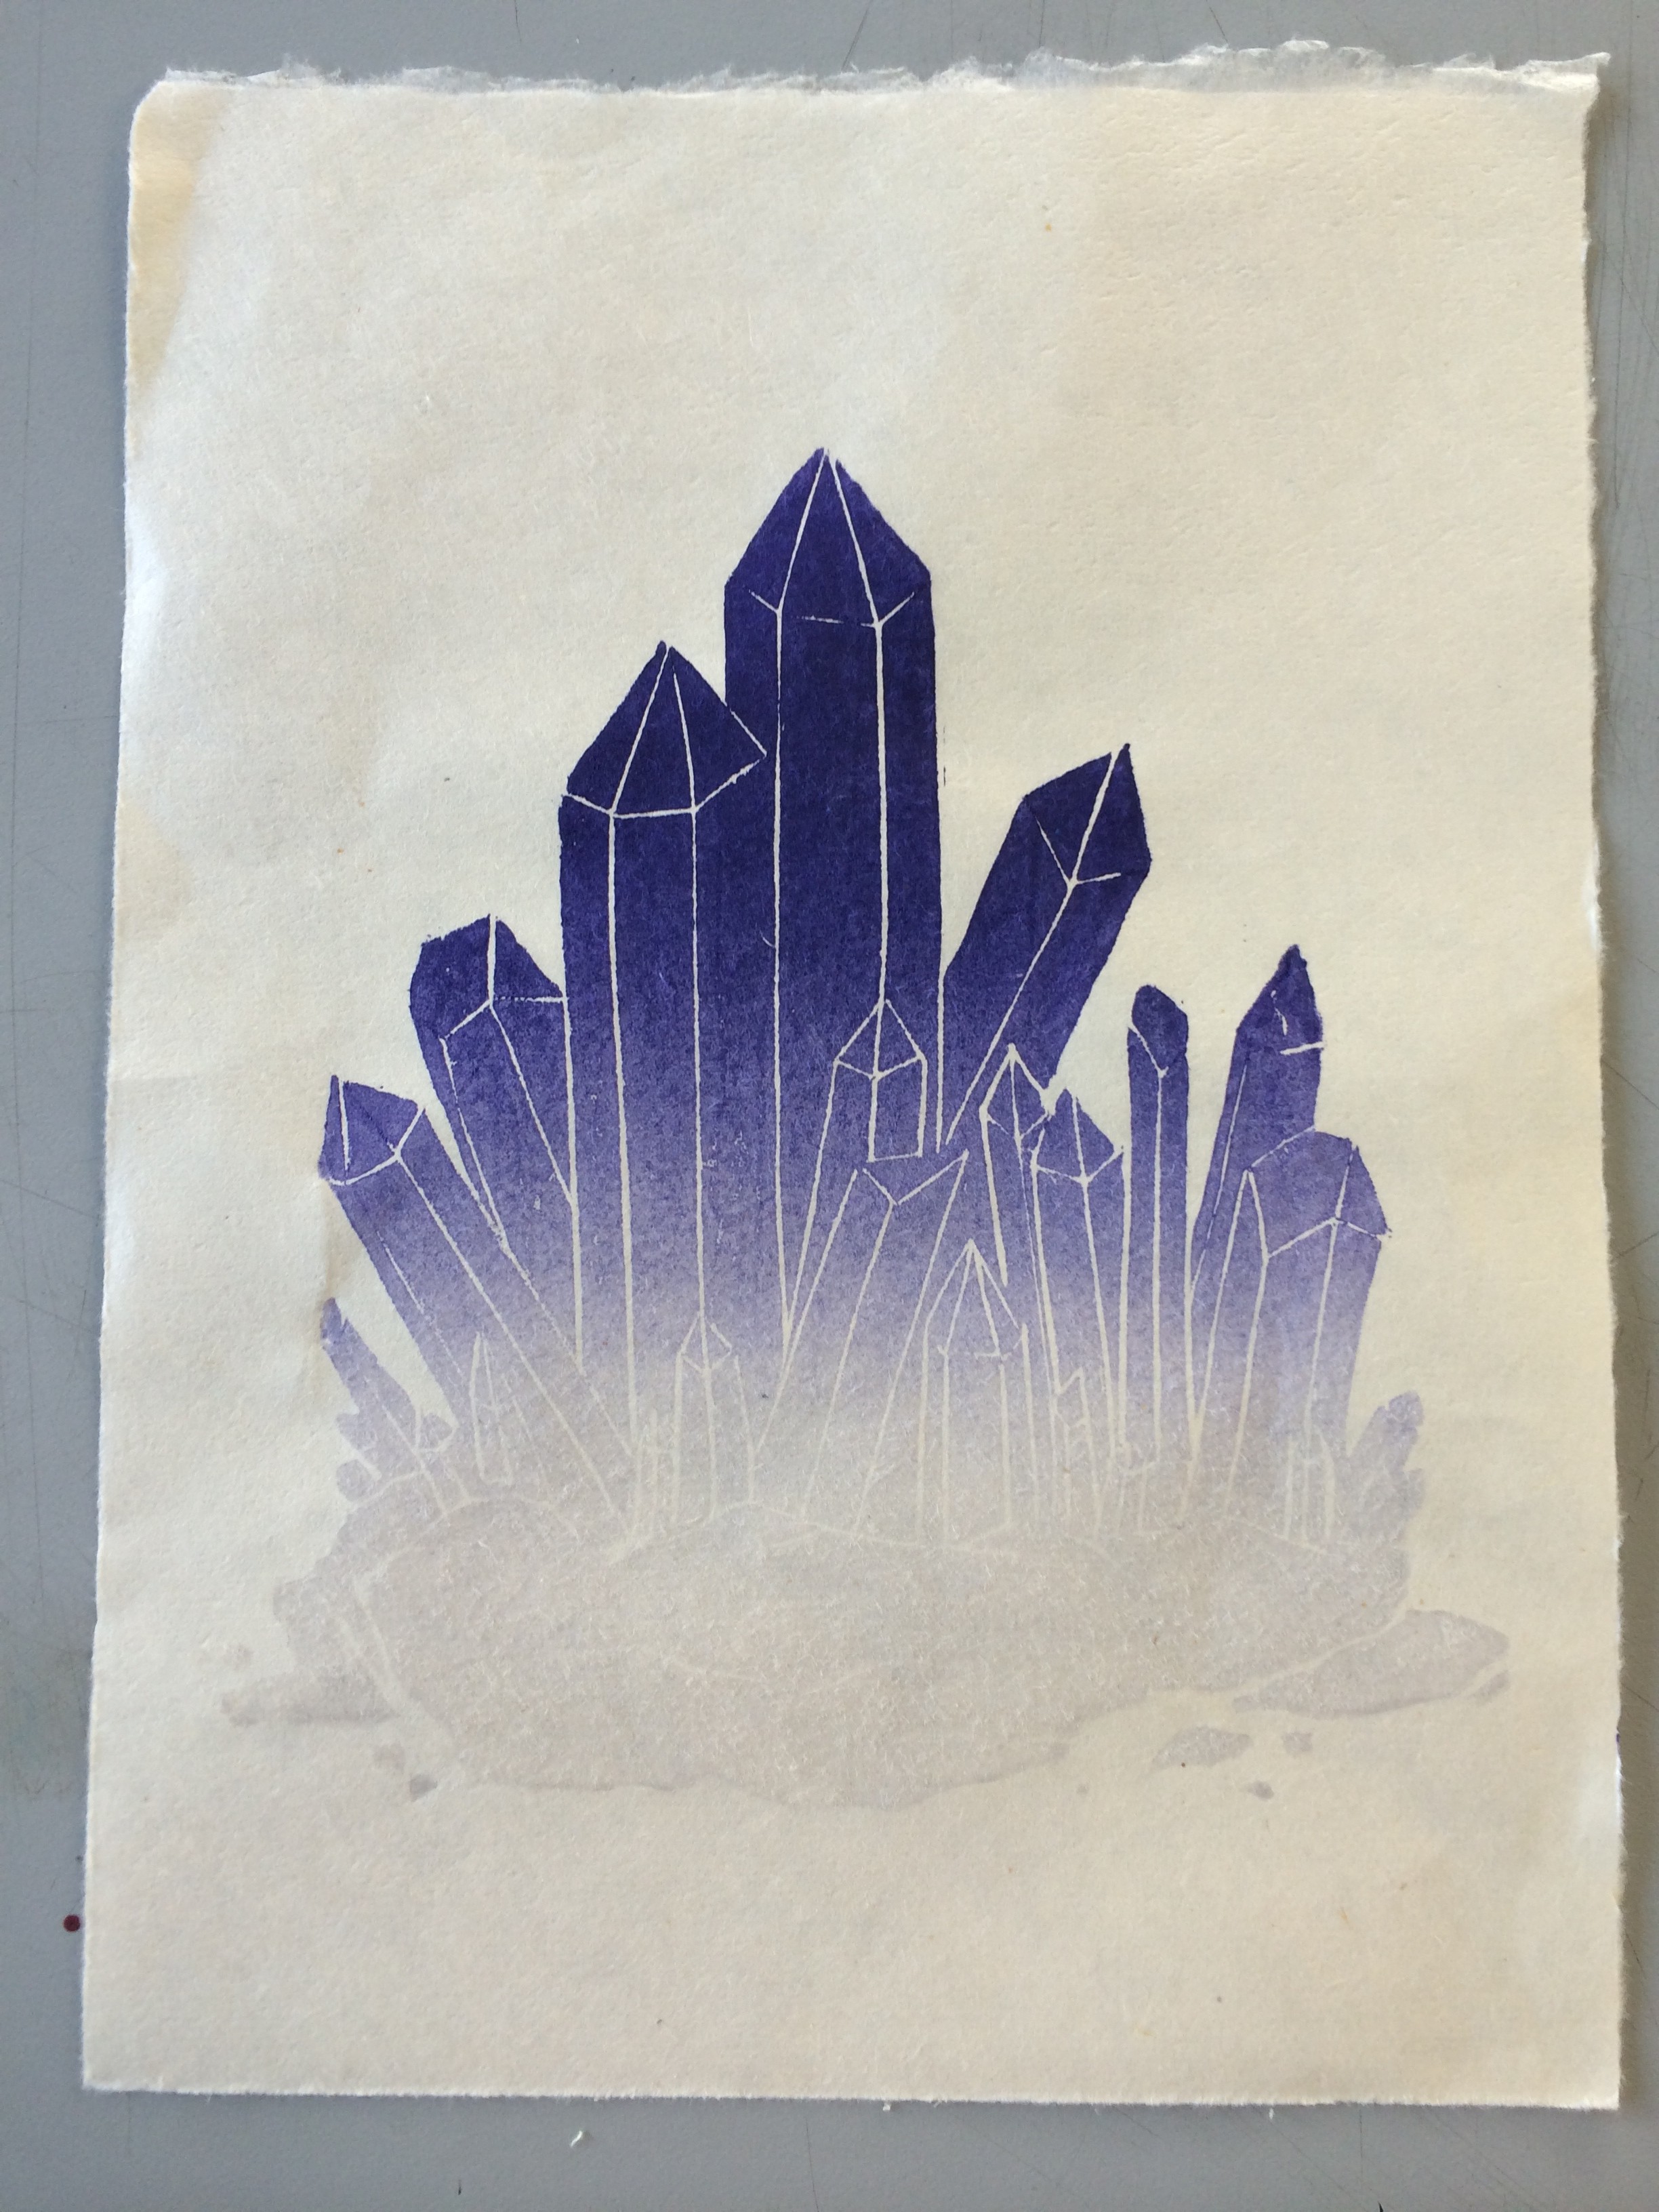
And finally, here’s what my finished 11.5×8.5 print on Japanese Kitakata paper looked like!

I was pretty happy with how this turned out, but registration (making sure the colors lined up with where they were supposed to print) was a huge pain. I even submitted it to Crosscurrents, the literary art magazine here on campus! Here’s hoping it makes it in!

Hard working printmakers!