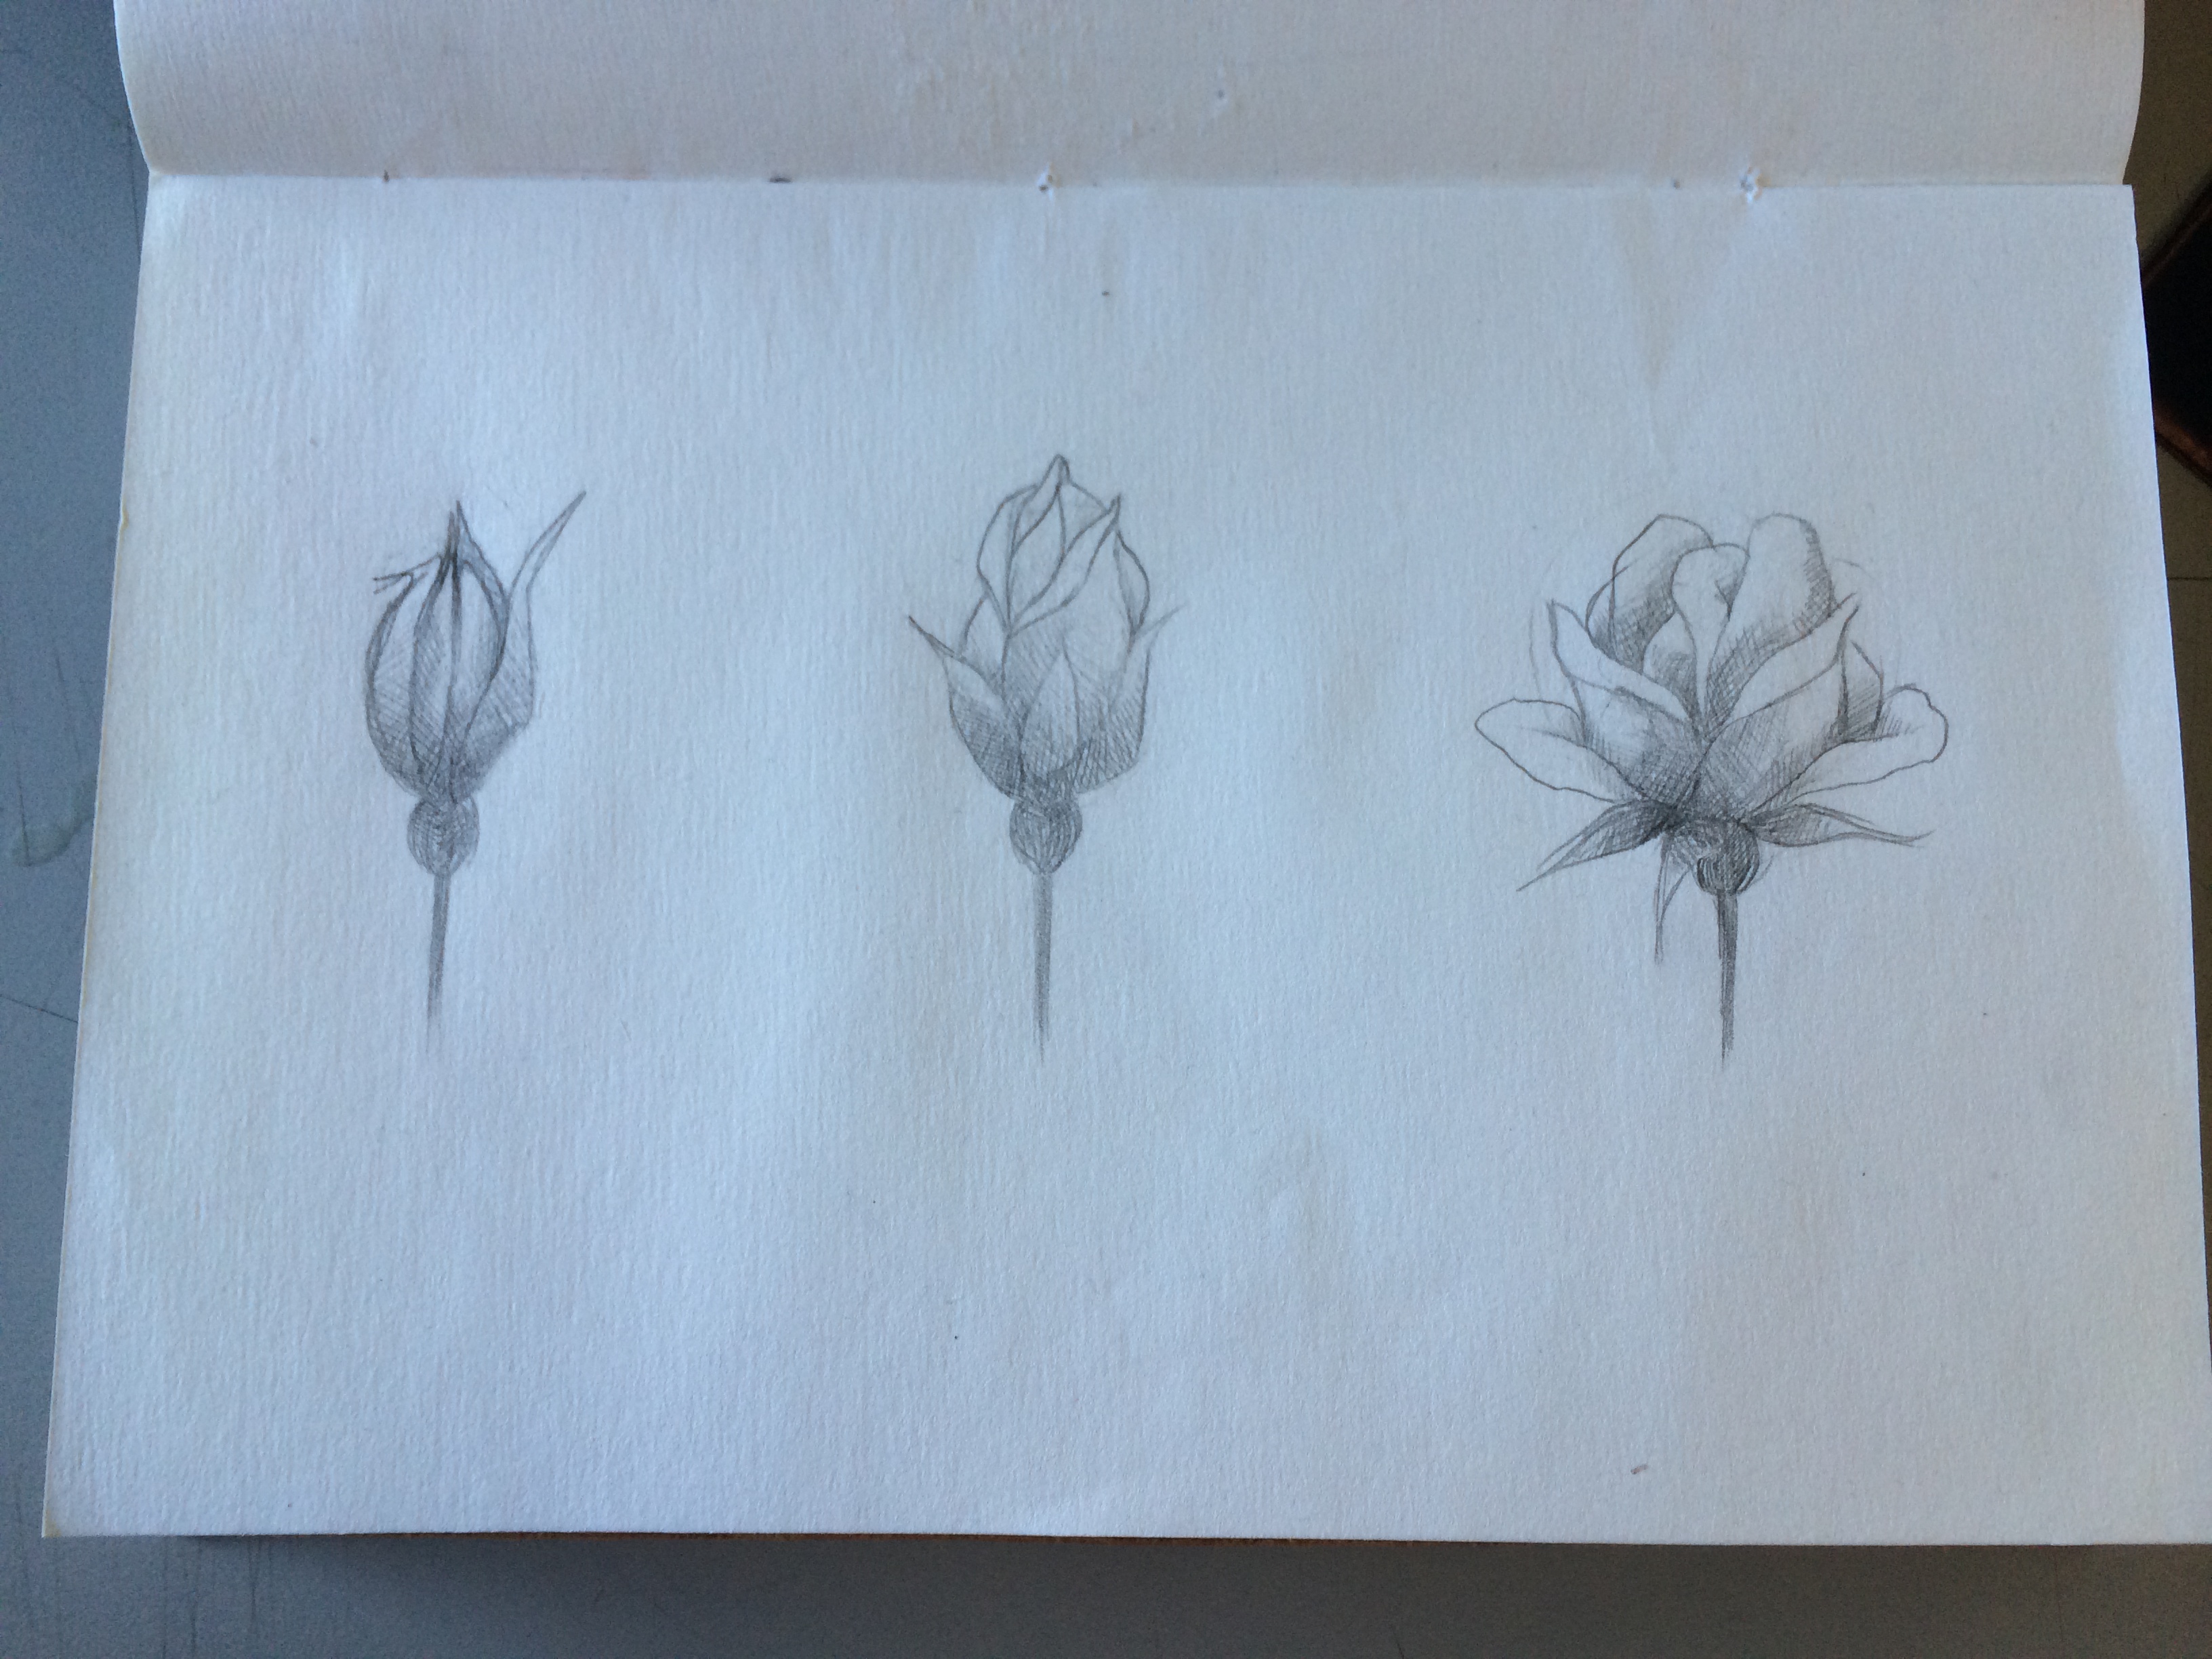
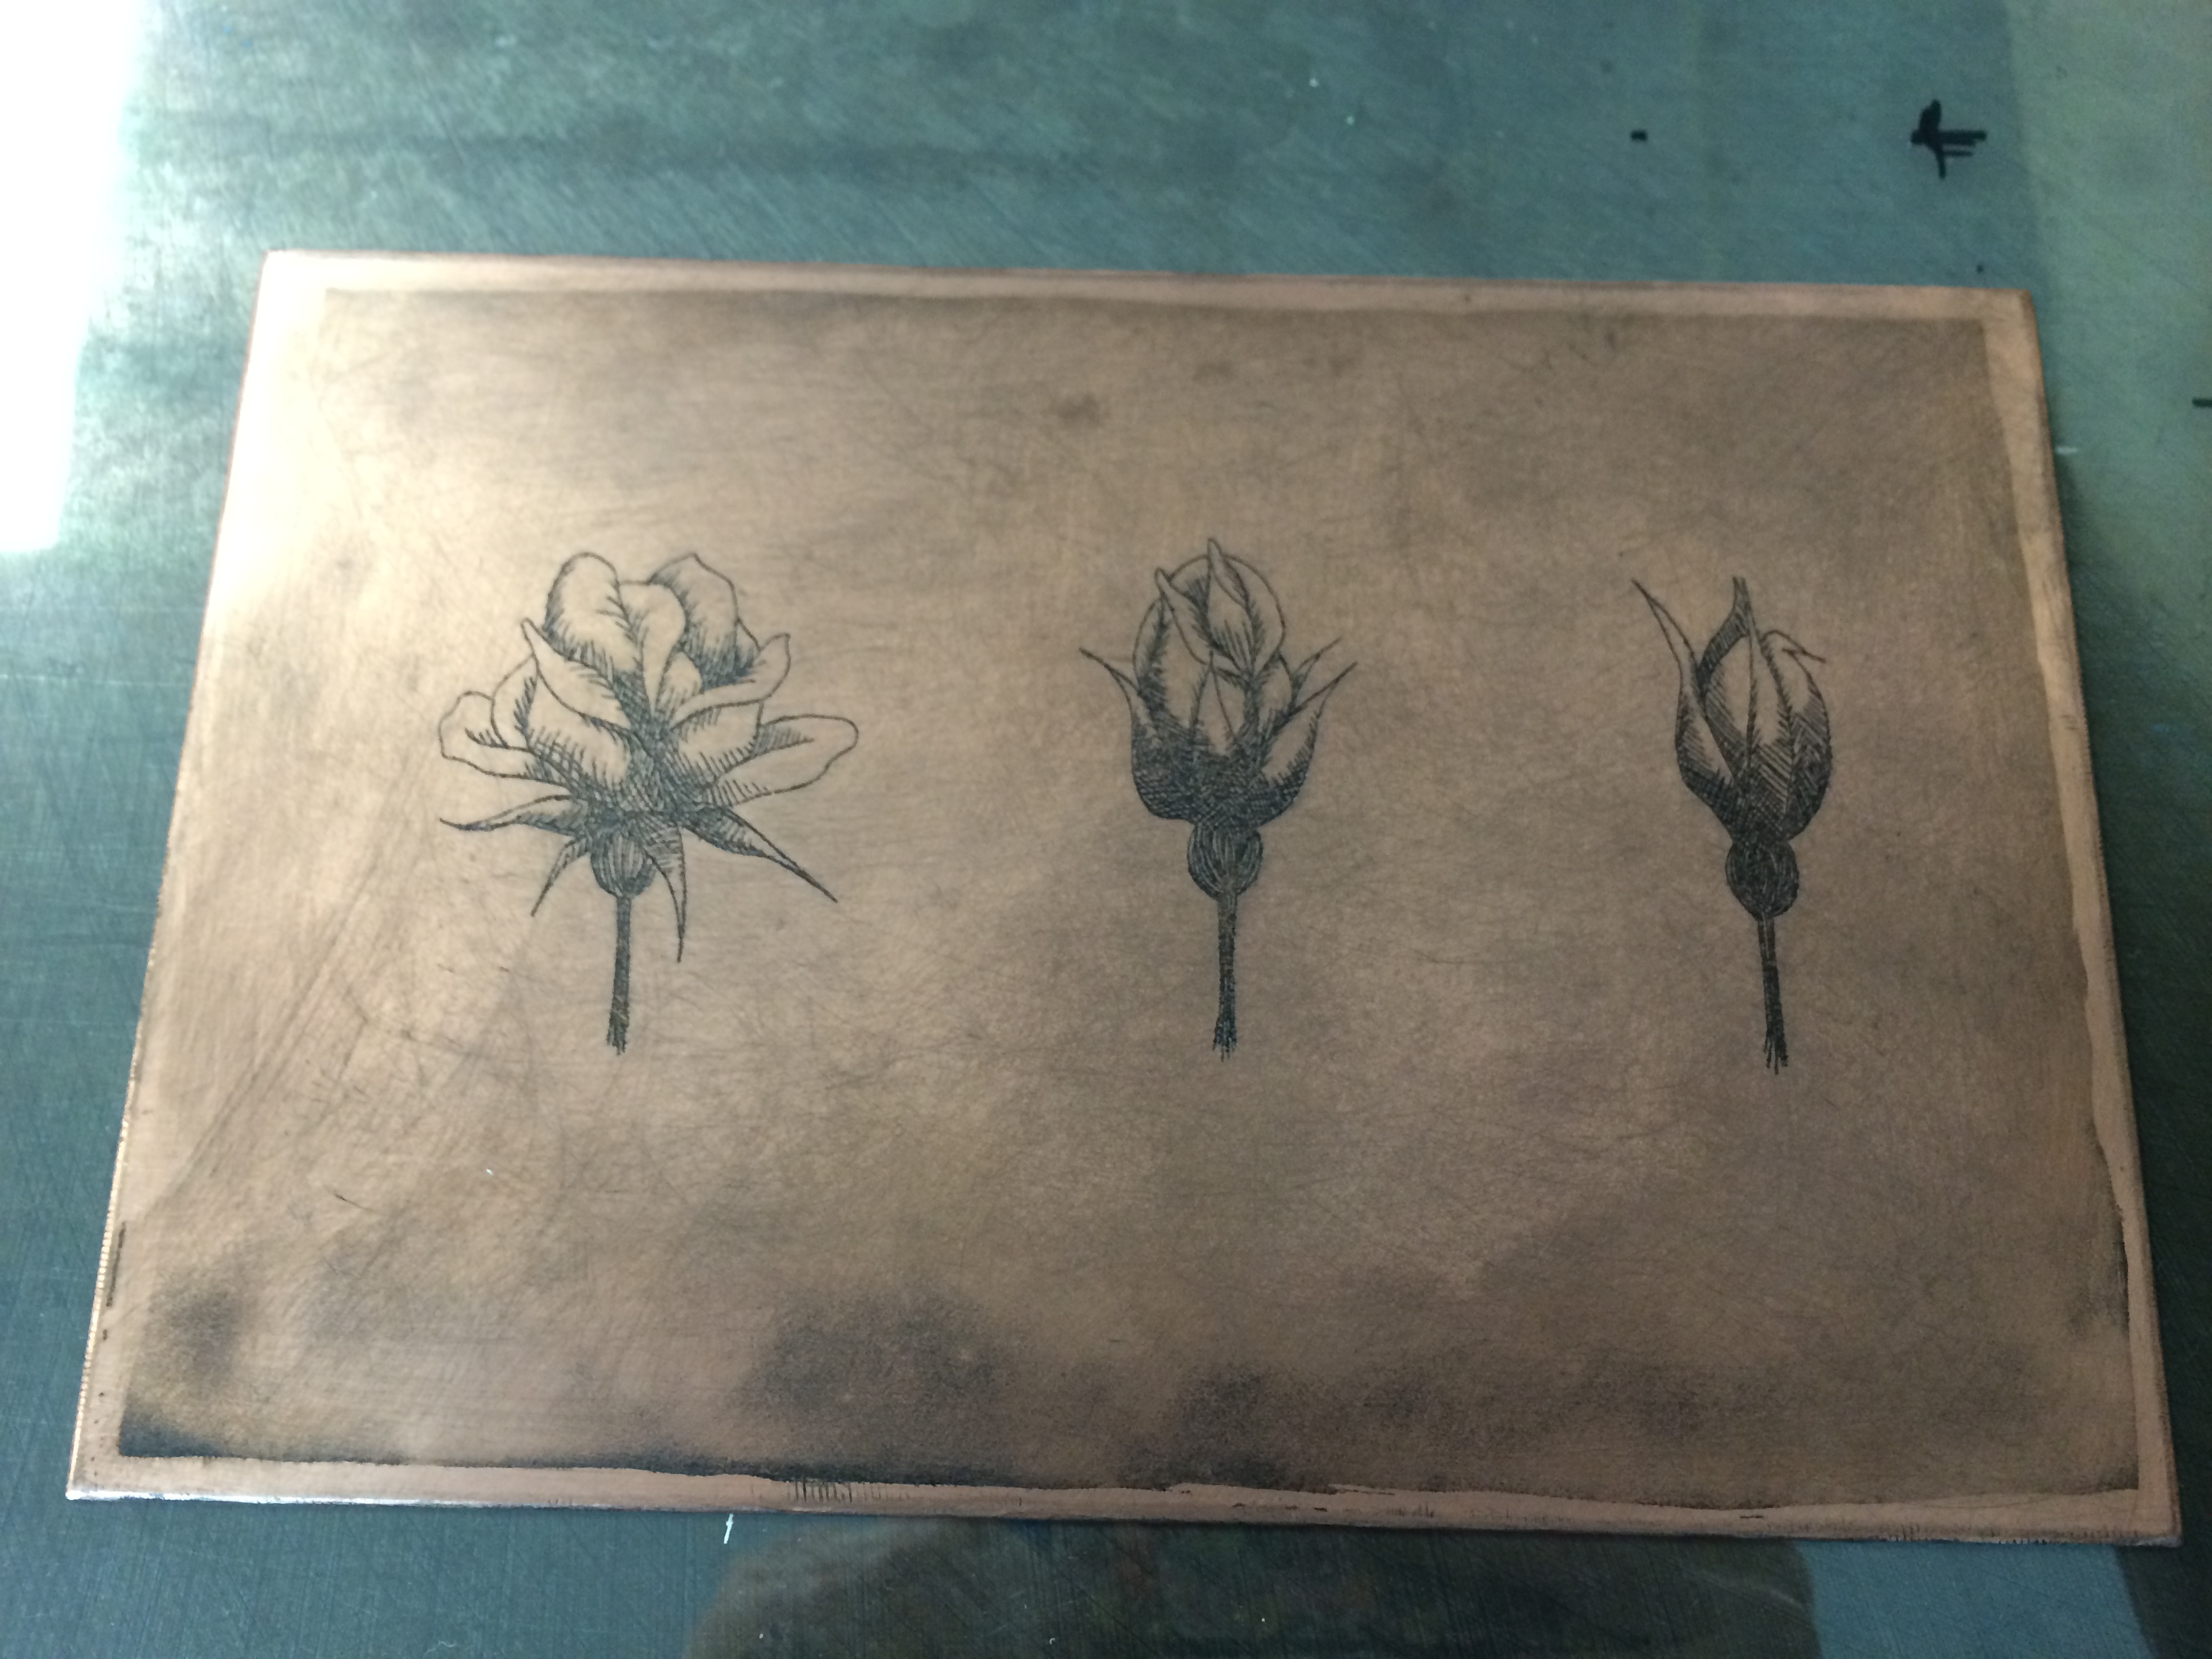
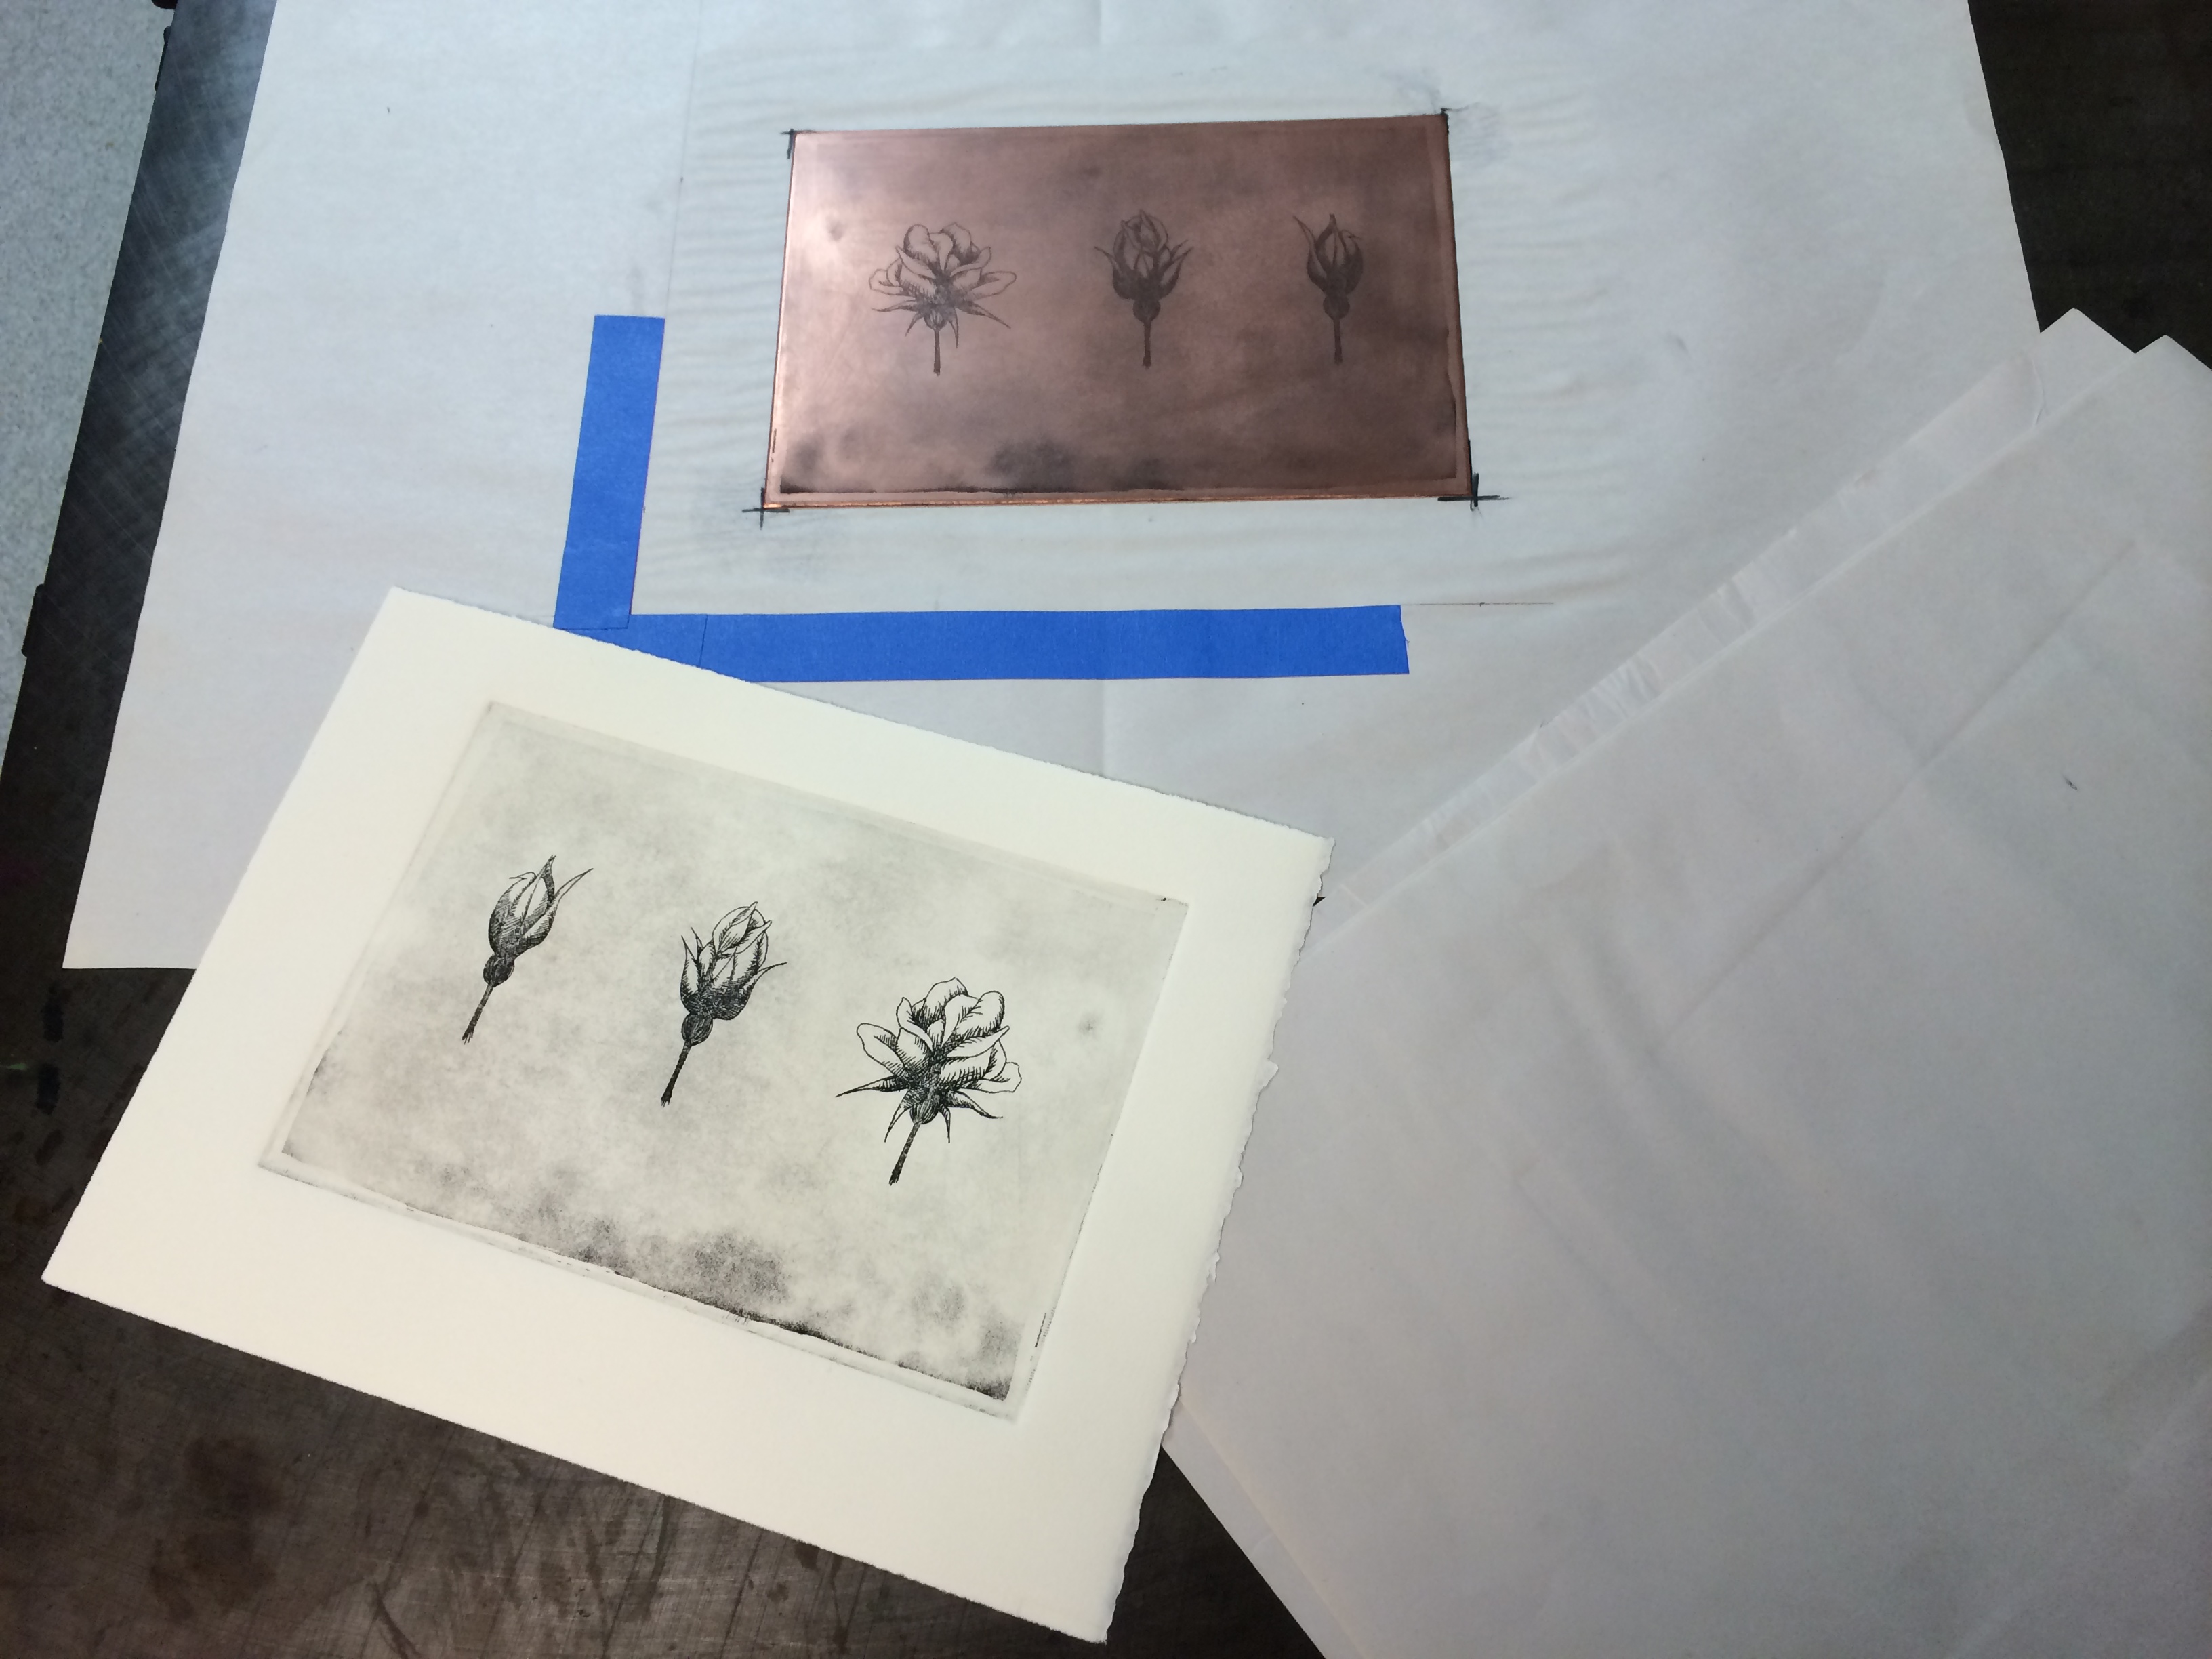
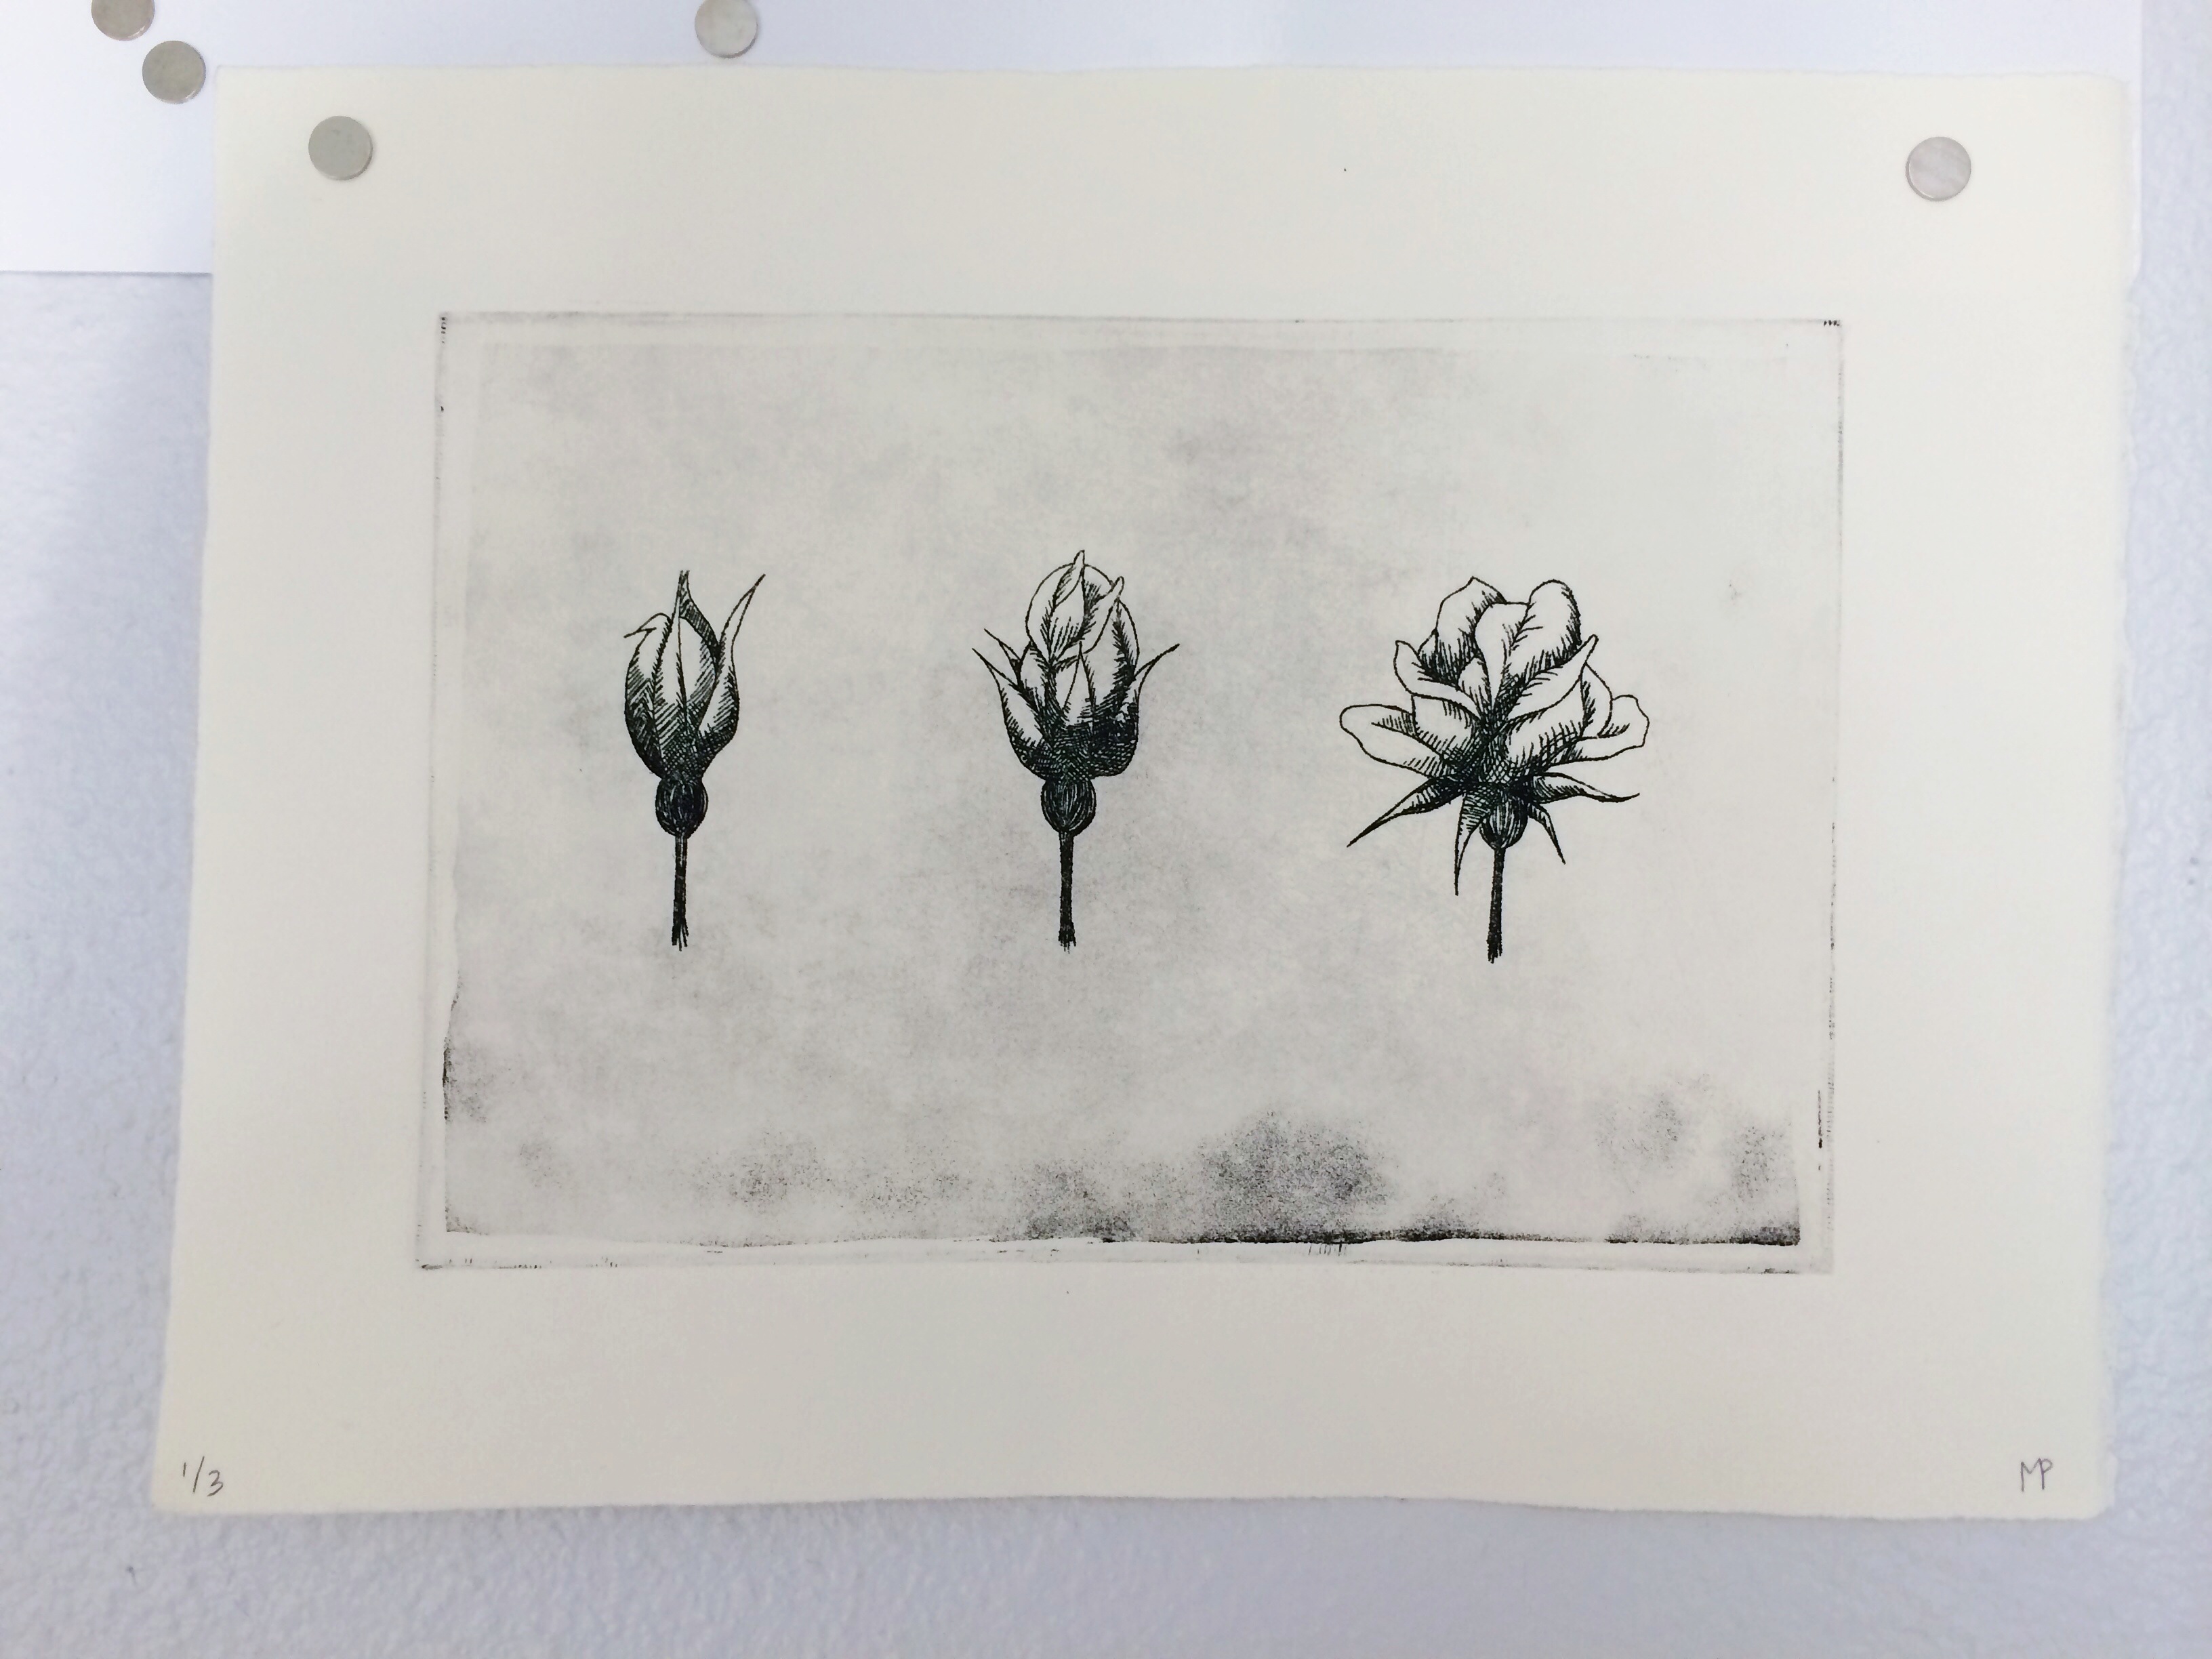
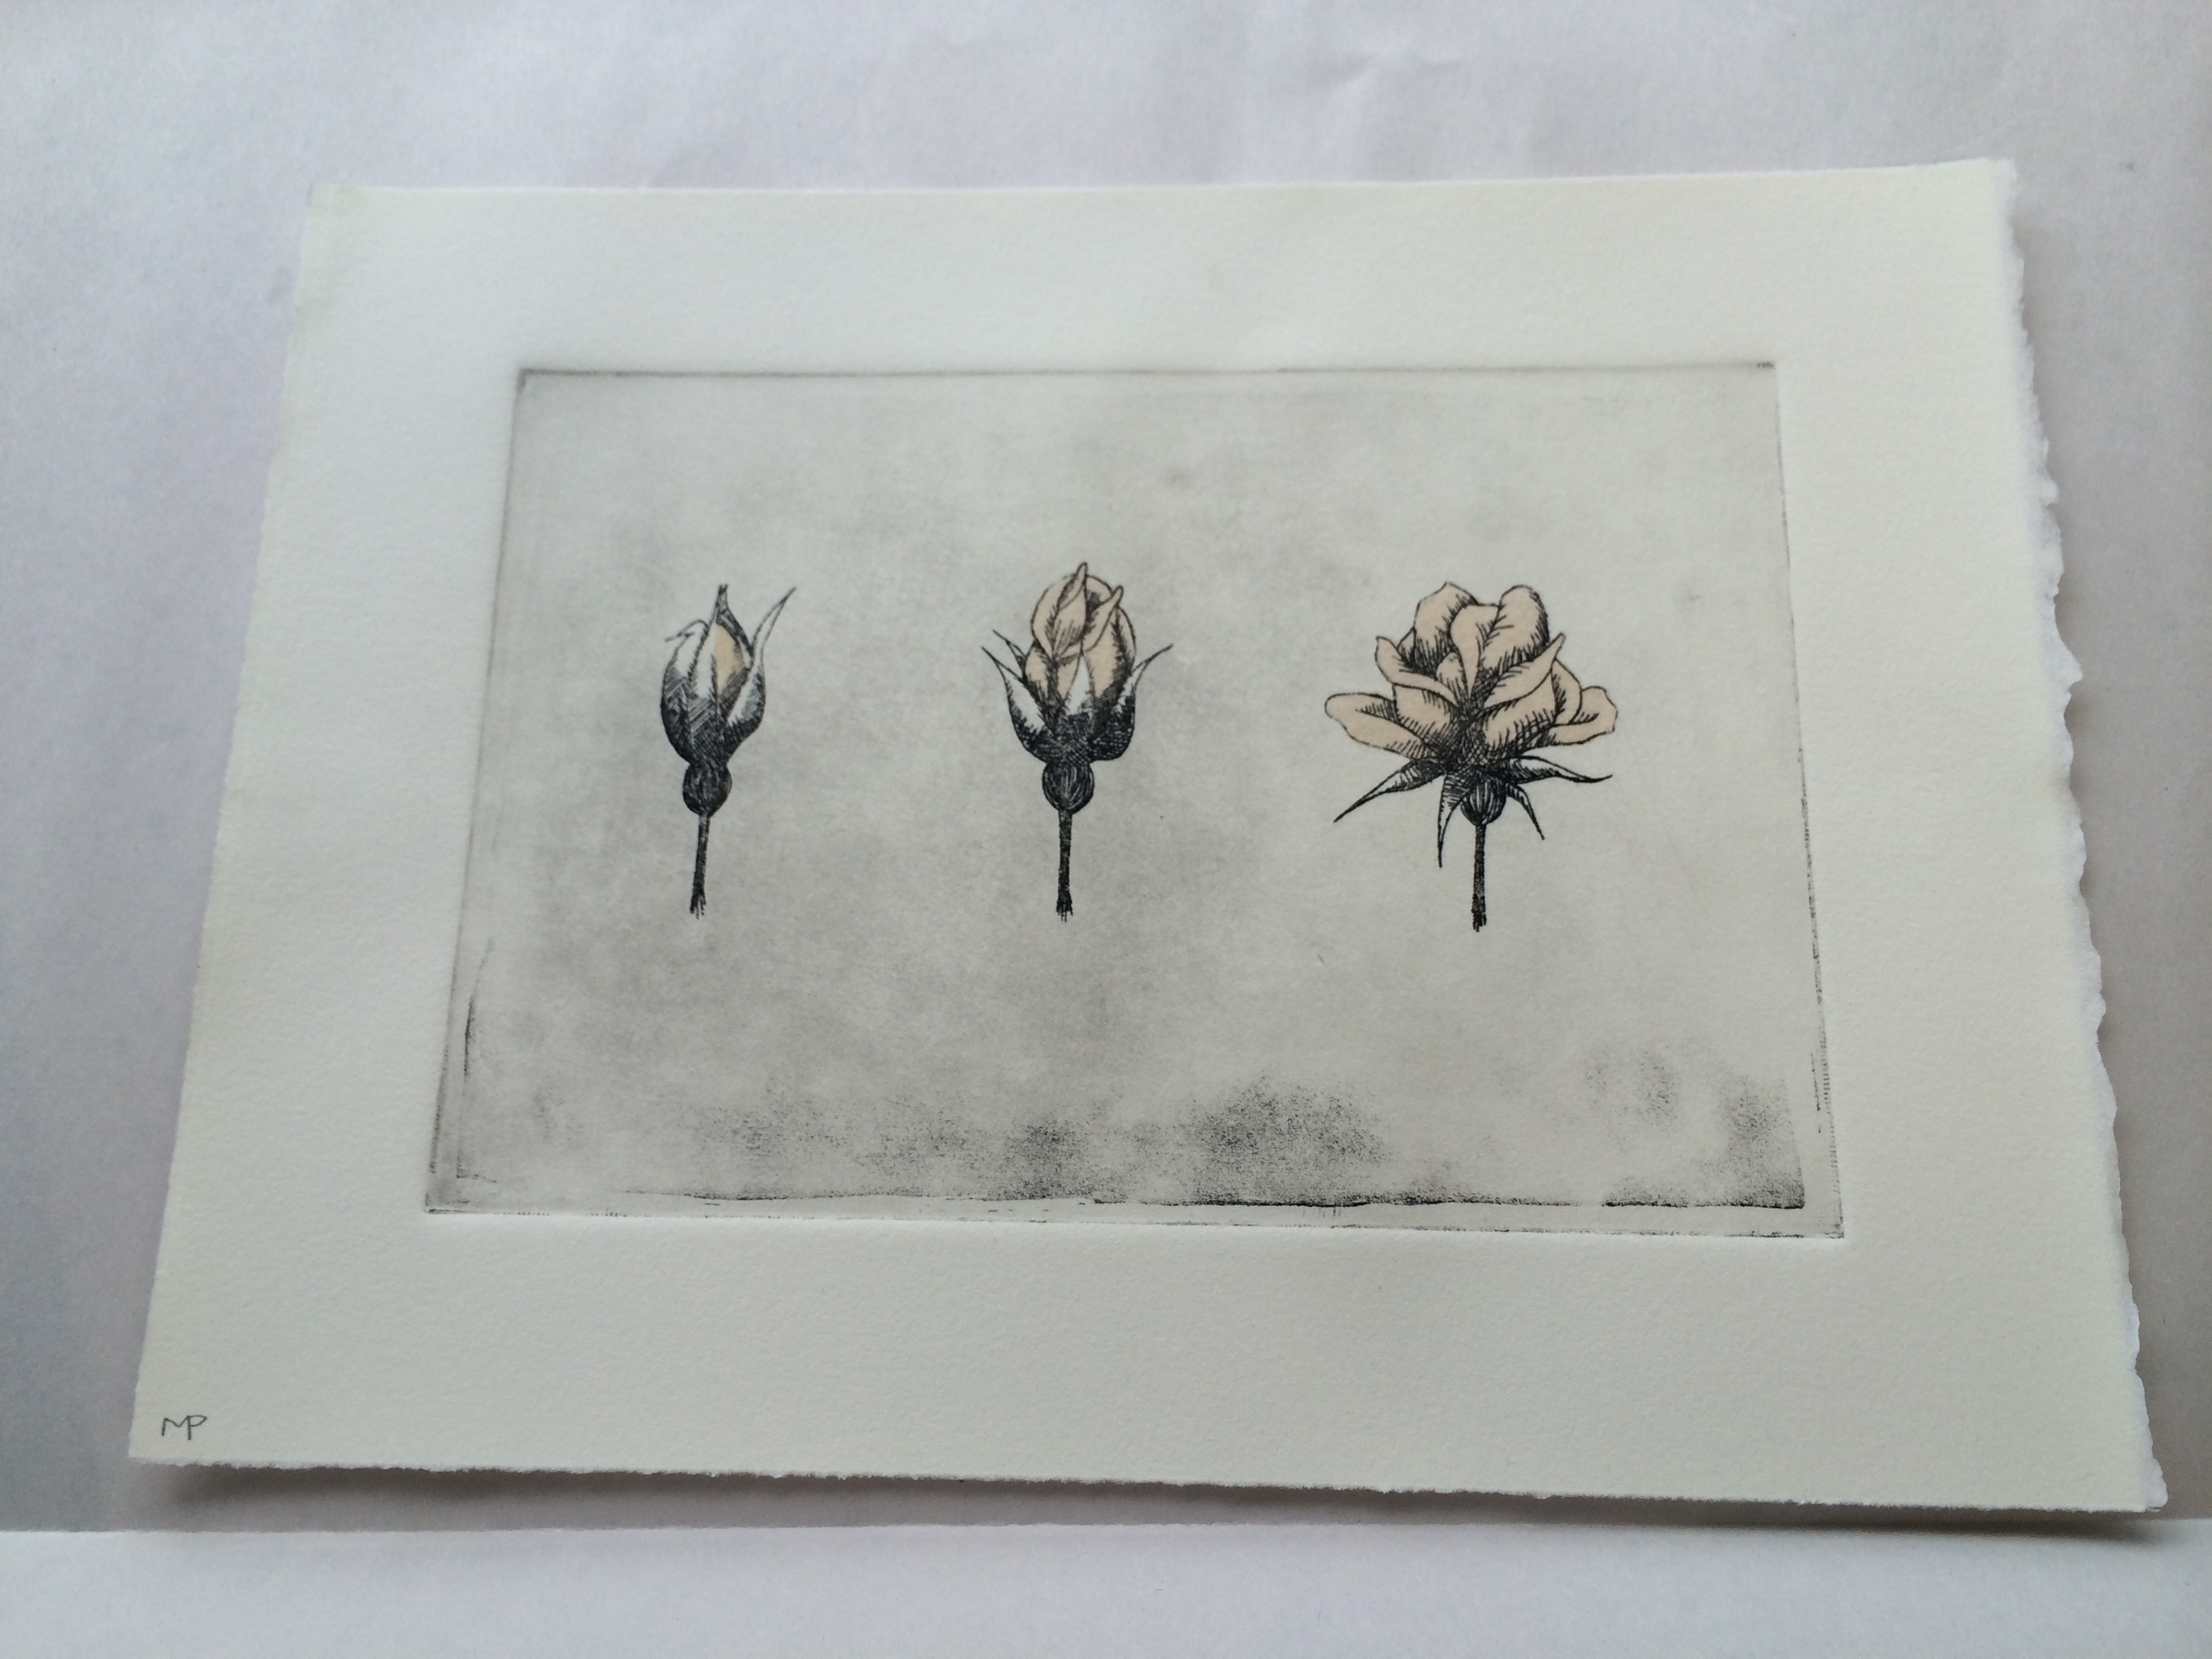
Just before last semester ended, I finished my first ever intaglio print! (in-TAL-ee-o) The assignment was “inside/out,” so I went with an image I’m quite fond of including in my art: the blossoming of a rosebud. I’ve always liked to continue themes within my work across various mediums, and since I’ve done roses in both lithography and screen printing, it seemed fitting to do an intaglio print as well. Here’s what my preliminary sketch looked like.
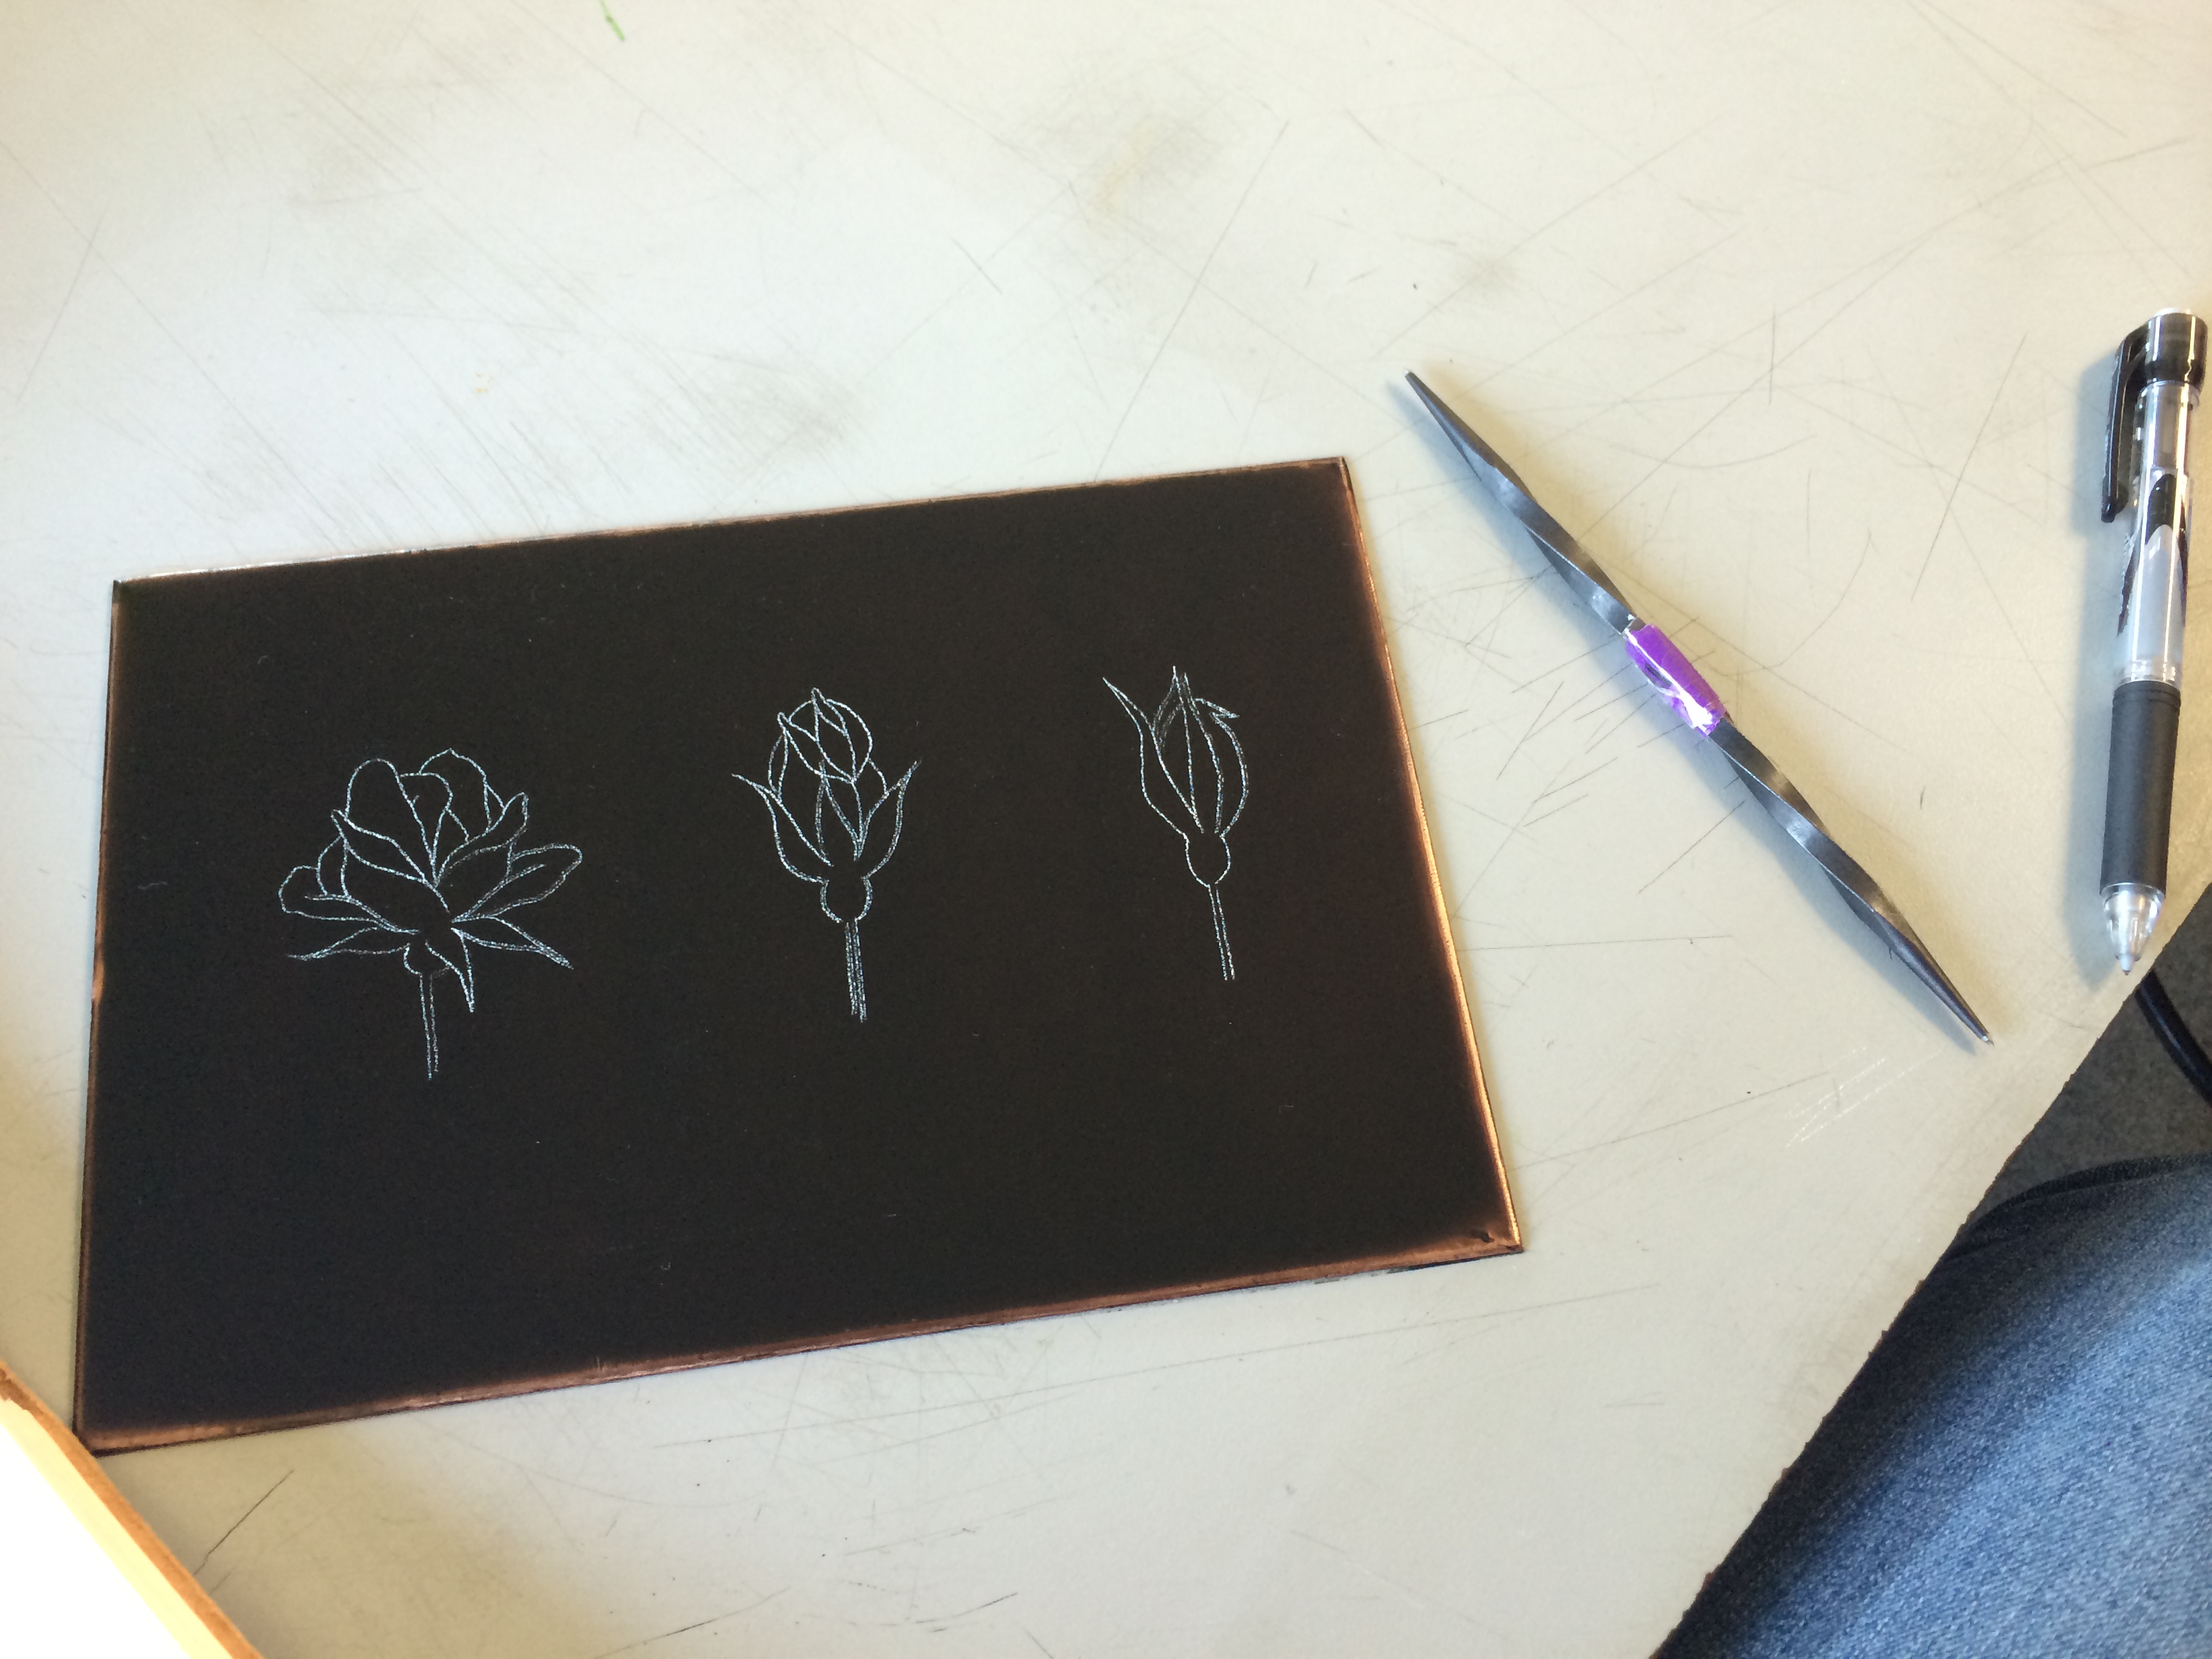
Using copper plates that we sanded and beveled ourselves, we carved our images with an etching needle into a ground applied to the surface of the plate. Once I was happy with my idea, I coated my plate with an acrylic ground and traced it on backwards (so it would print the right way!) using chalk paper.
Then I started carving! I was surprised by how easily the needle carved away the ground.
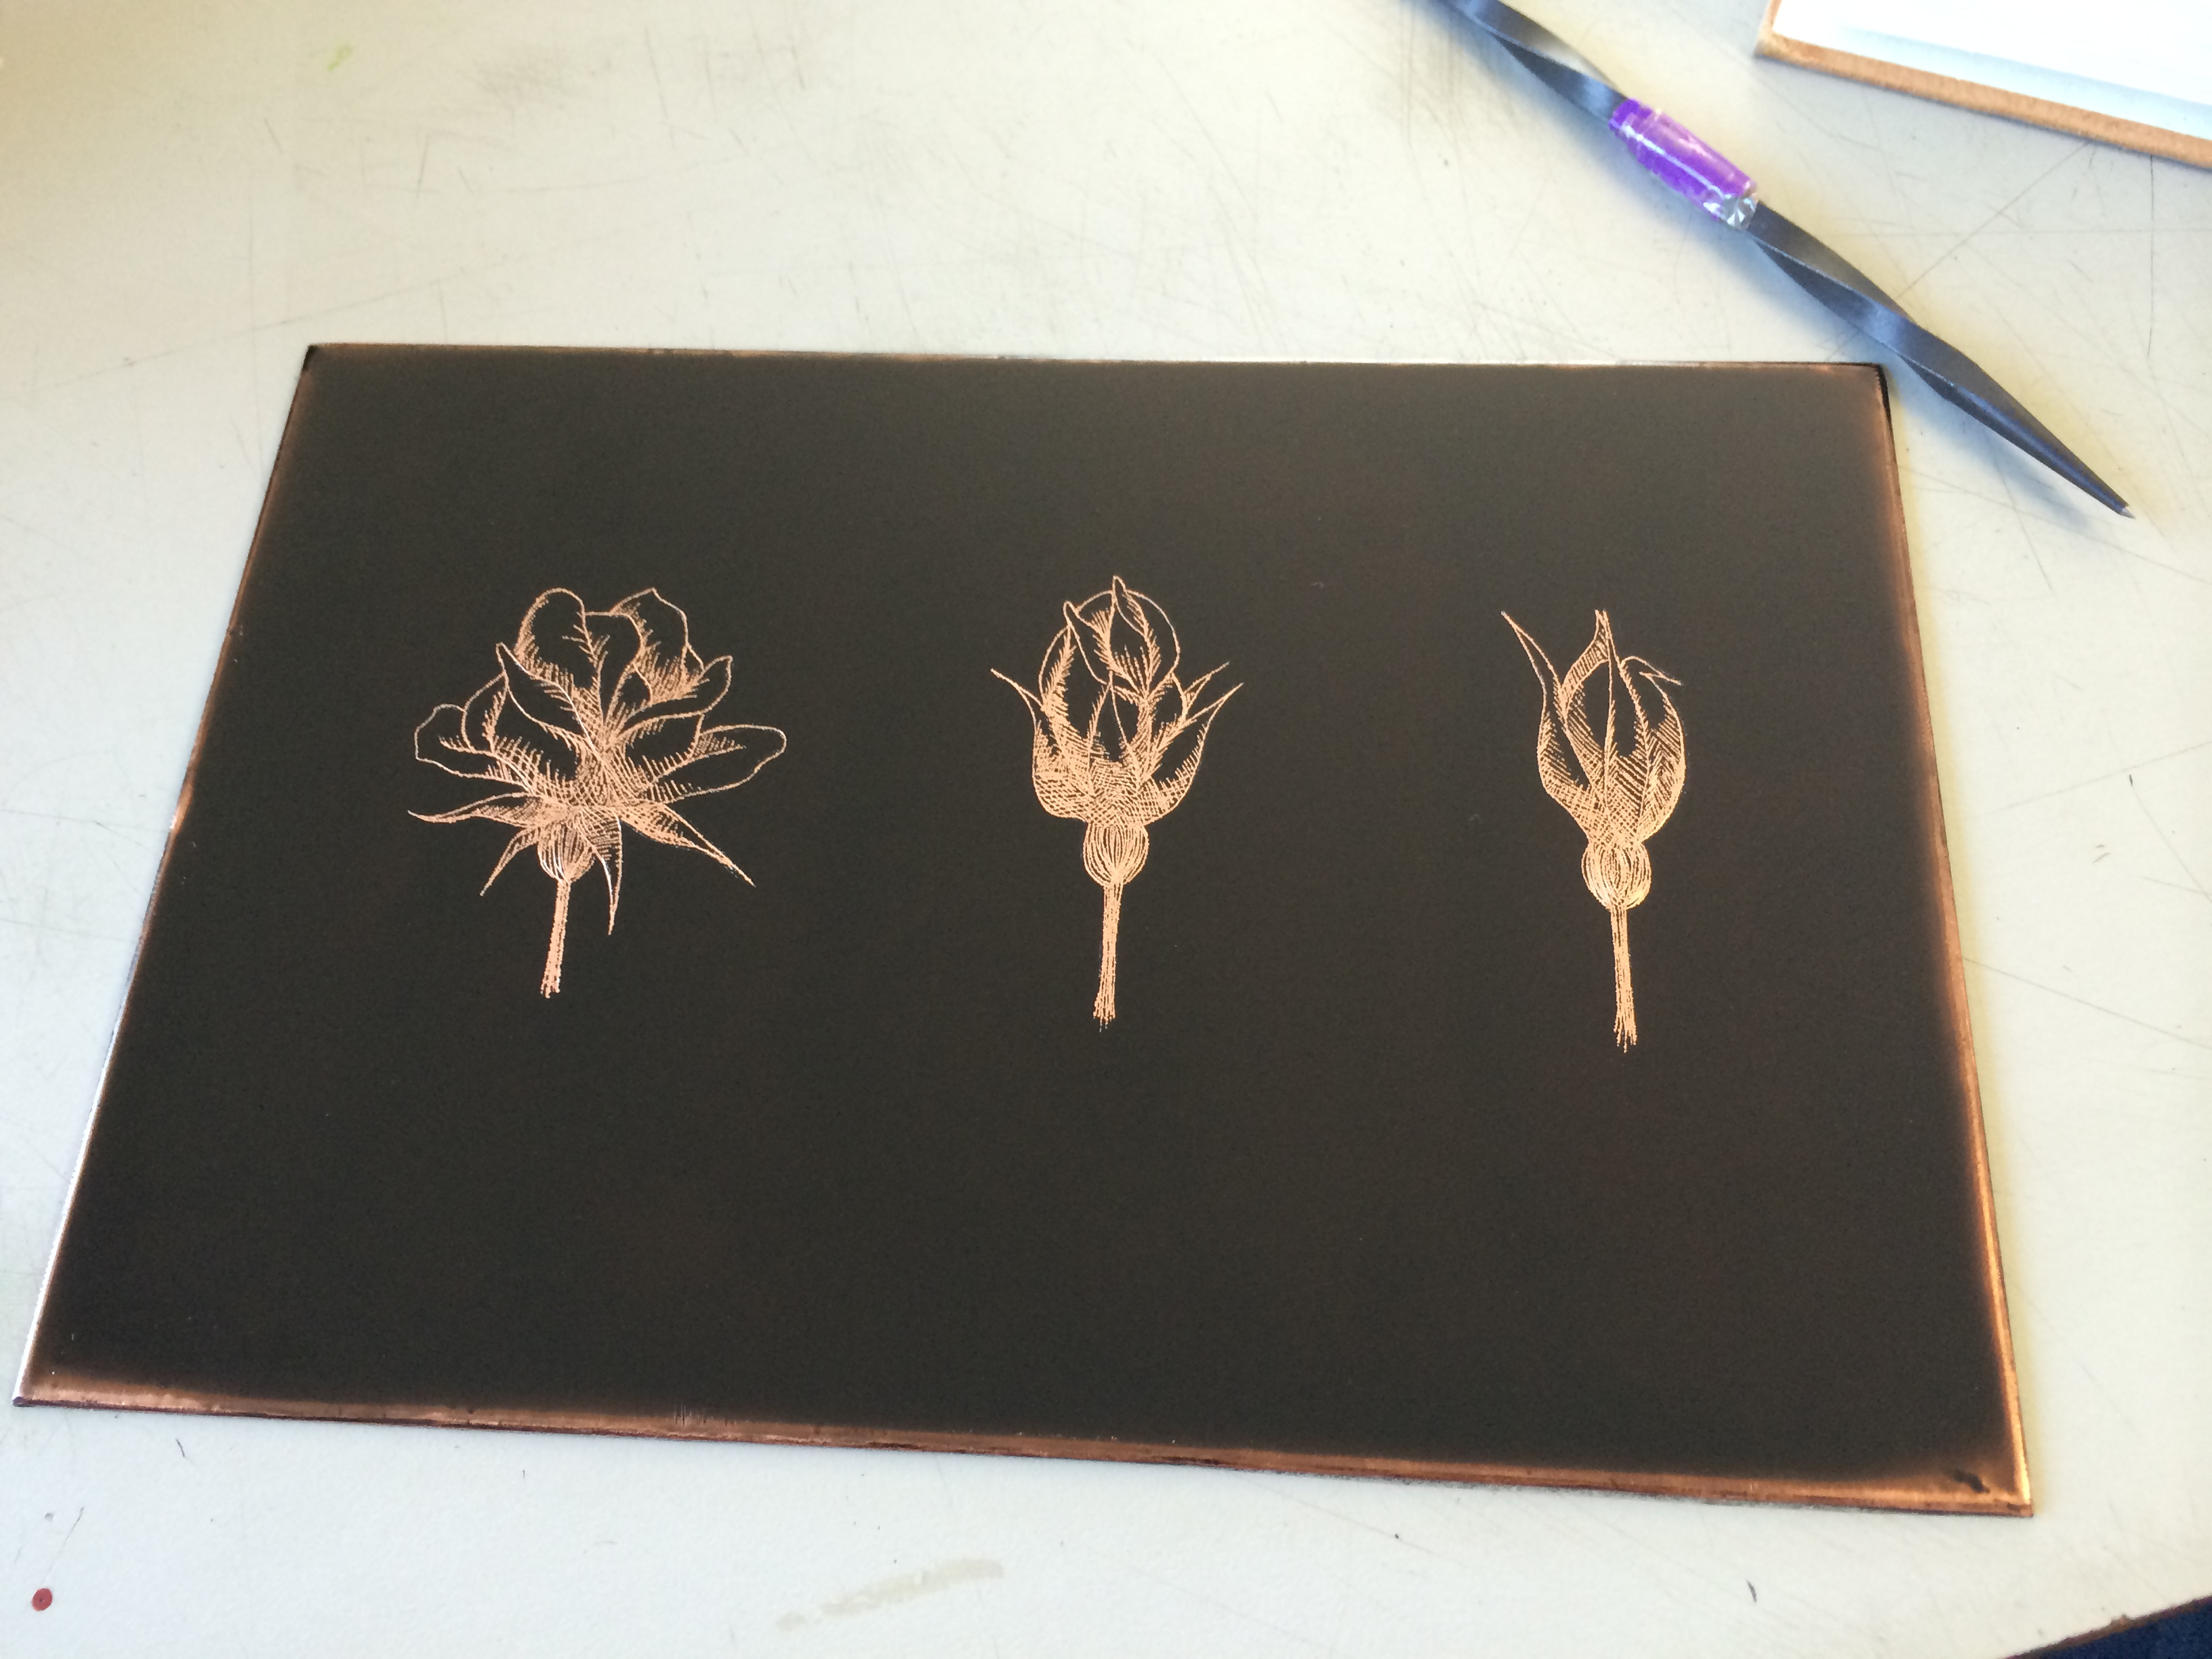
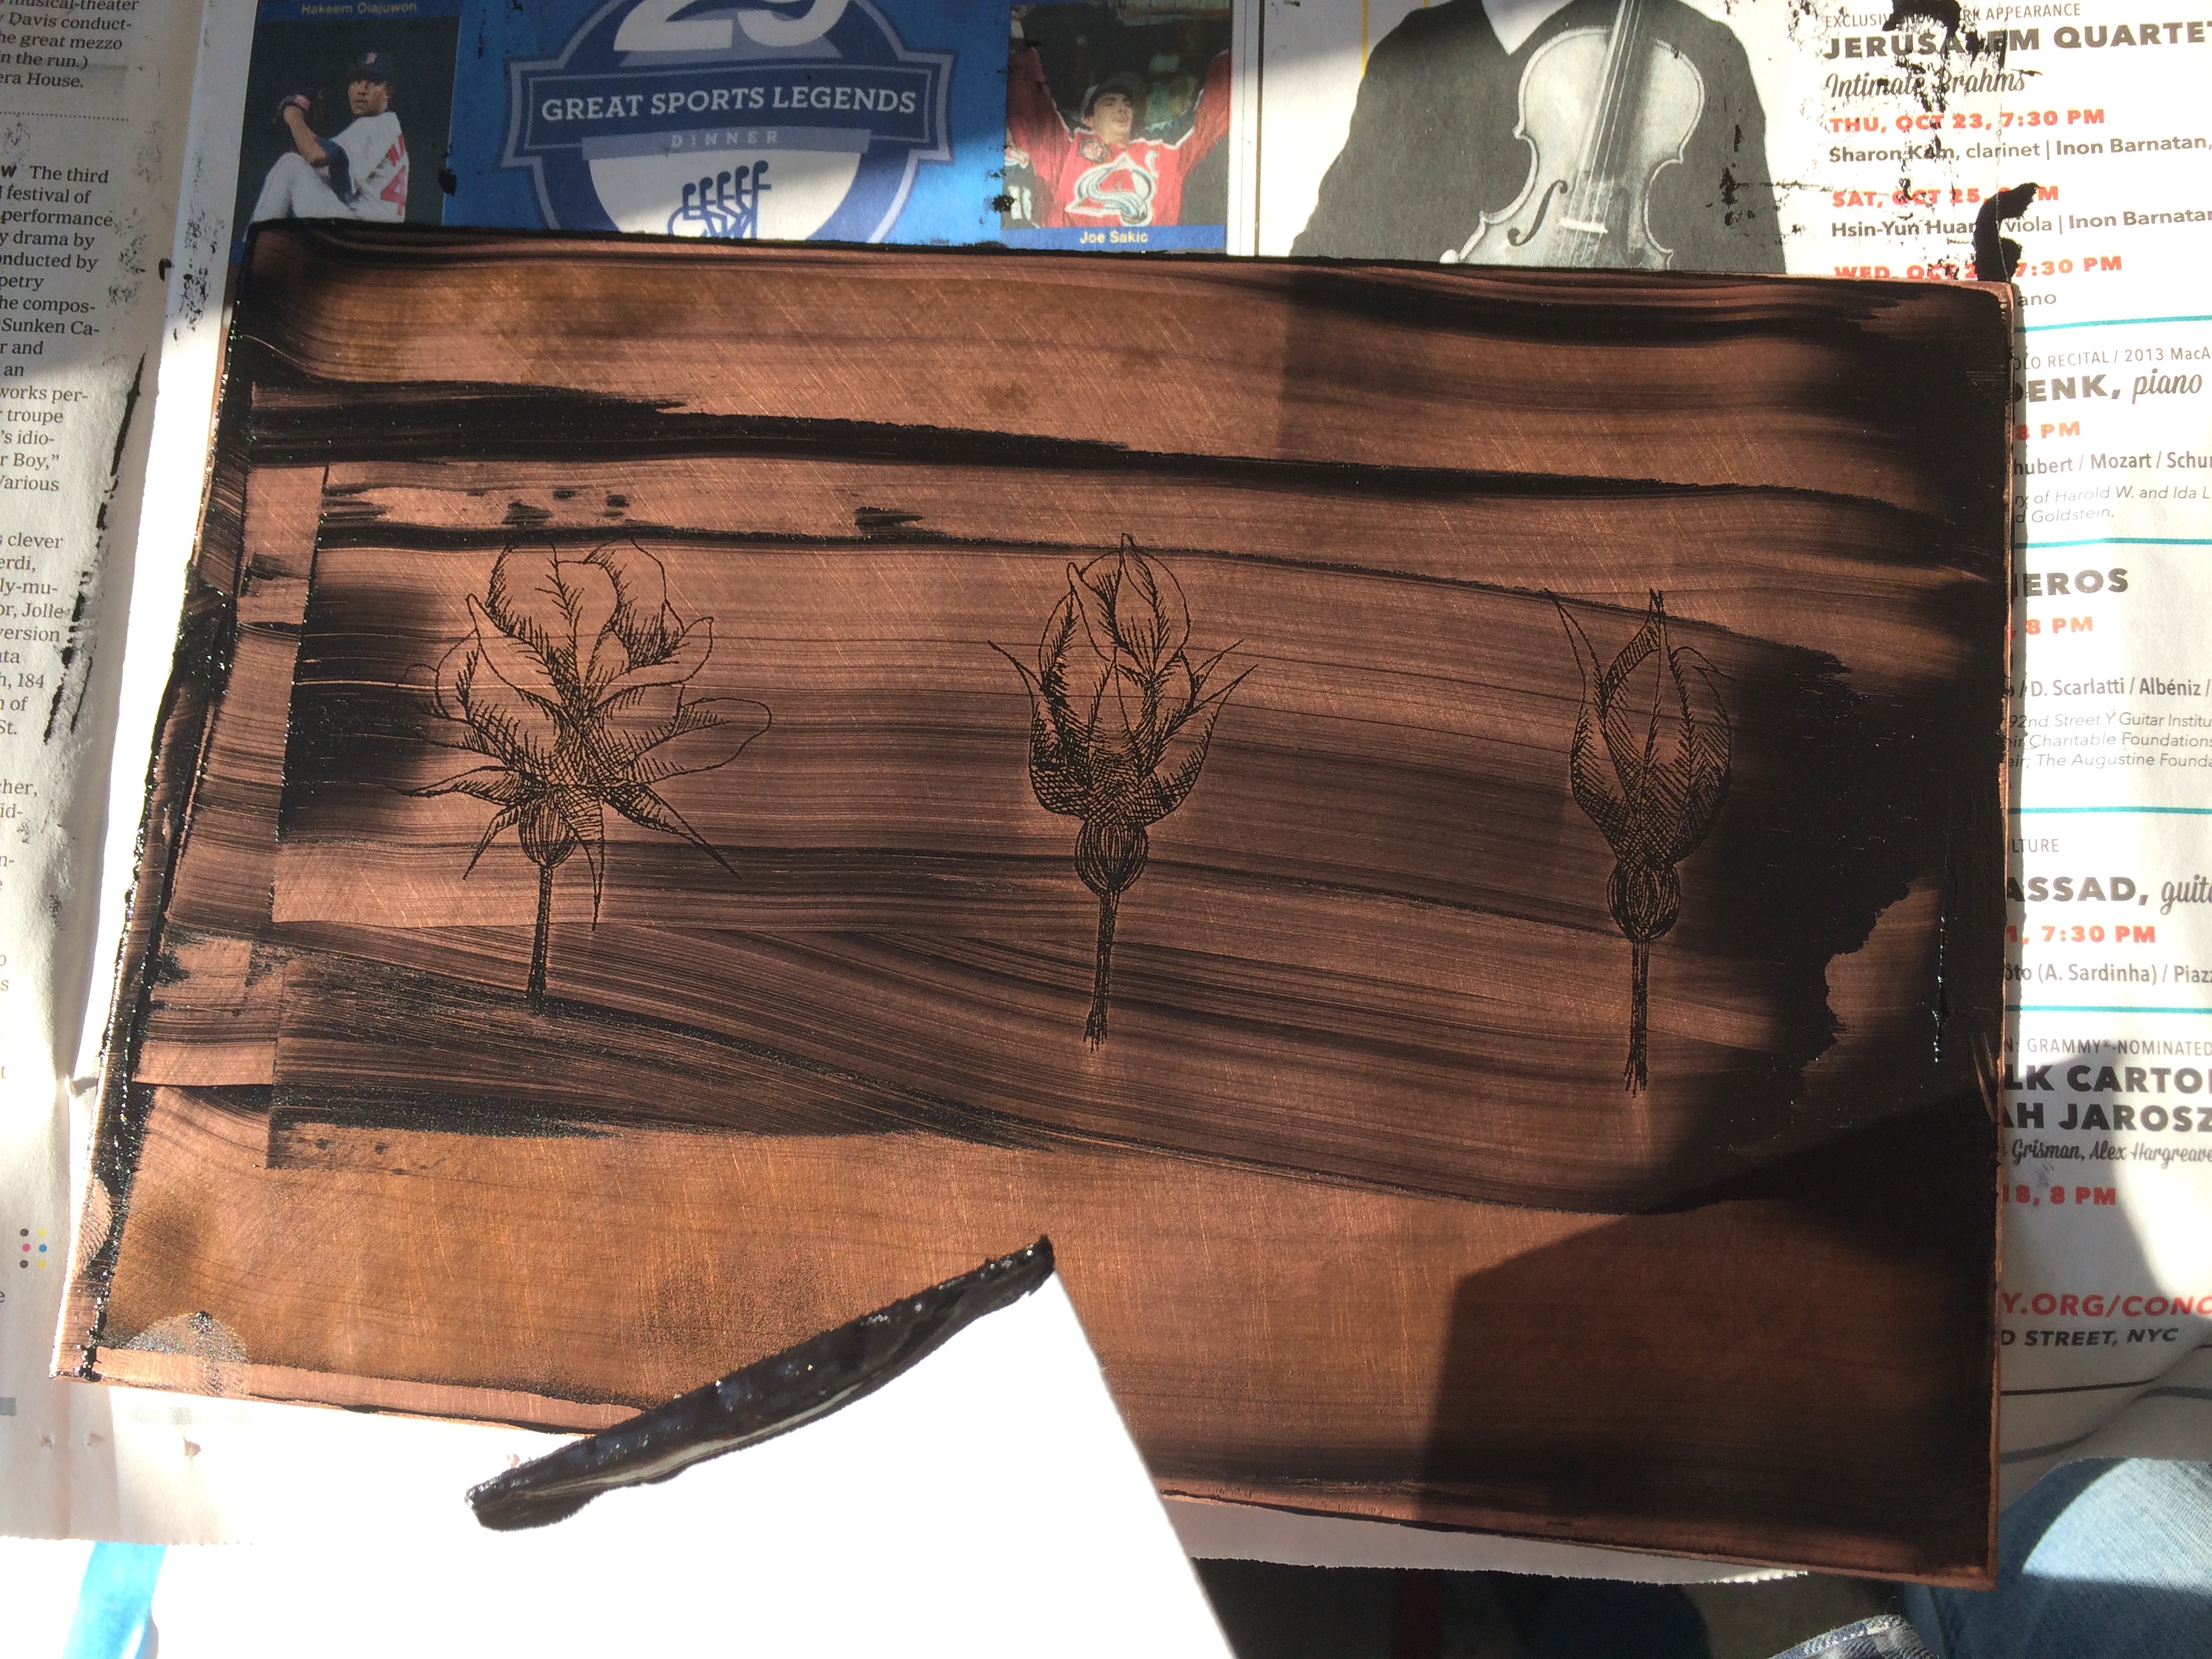
The next step is to etch the plate by submerging it in hydrochloric acid for a set period of time. This process eats away the copper that is not covered by the acrylic ground, creating a carving that will hold ink. Once the etching was done, I removed the ground and set about inking the plate.
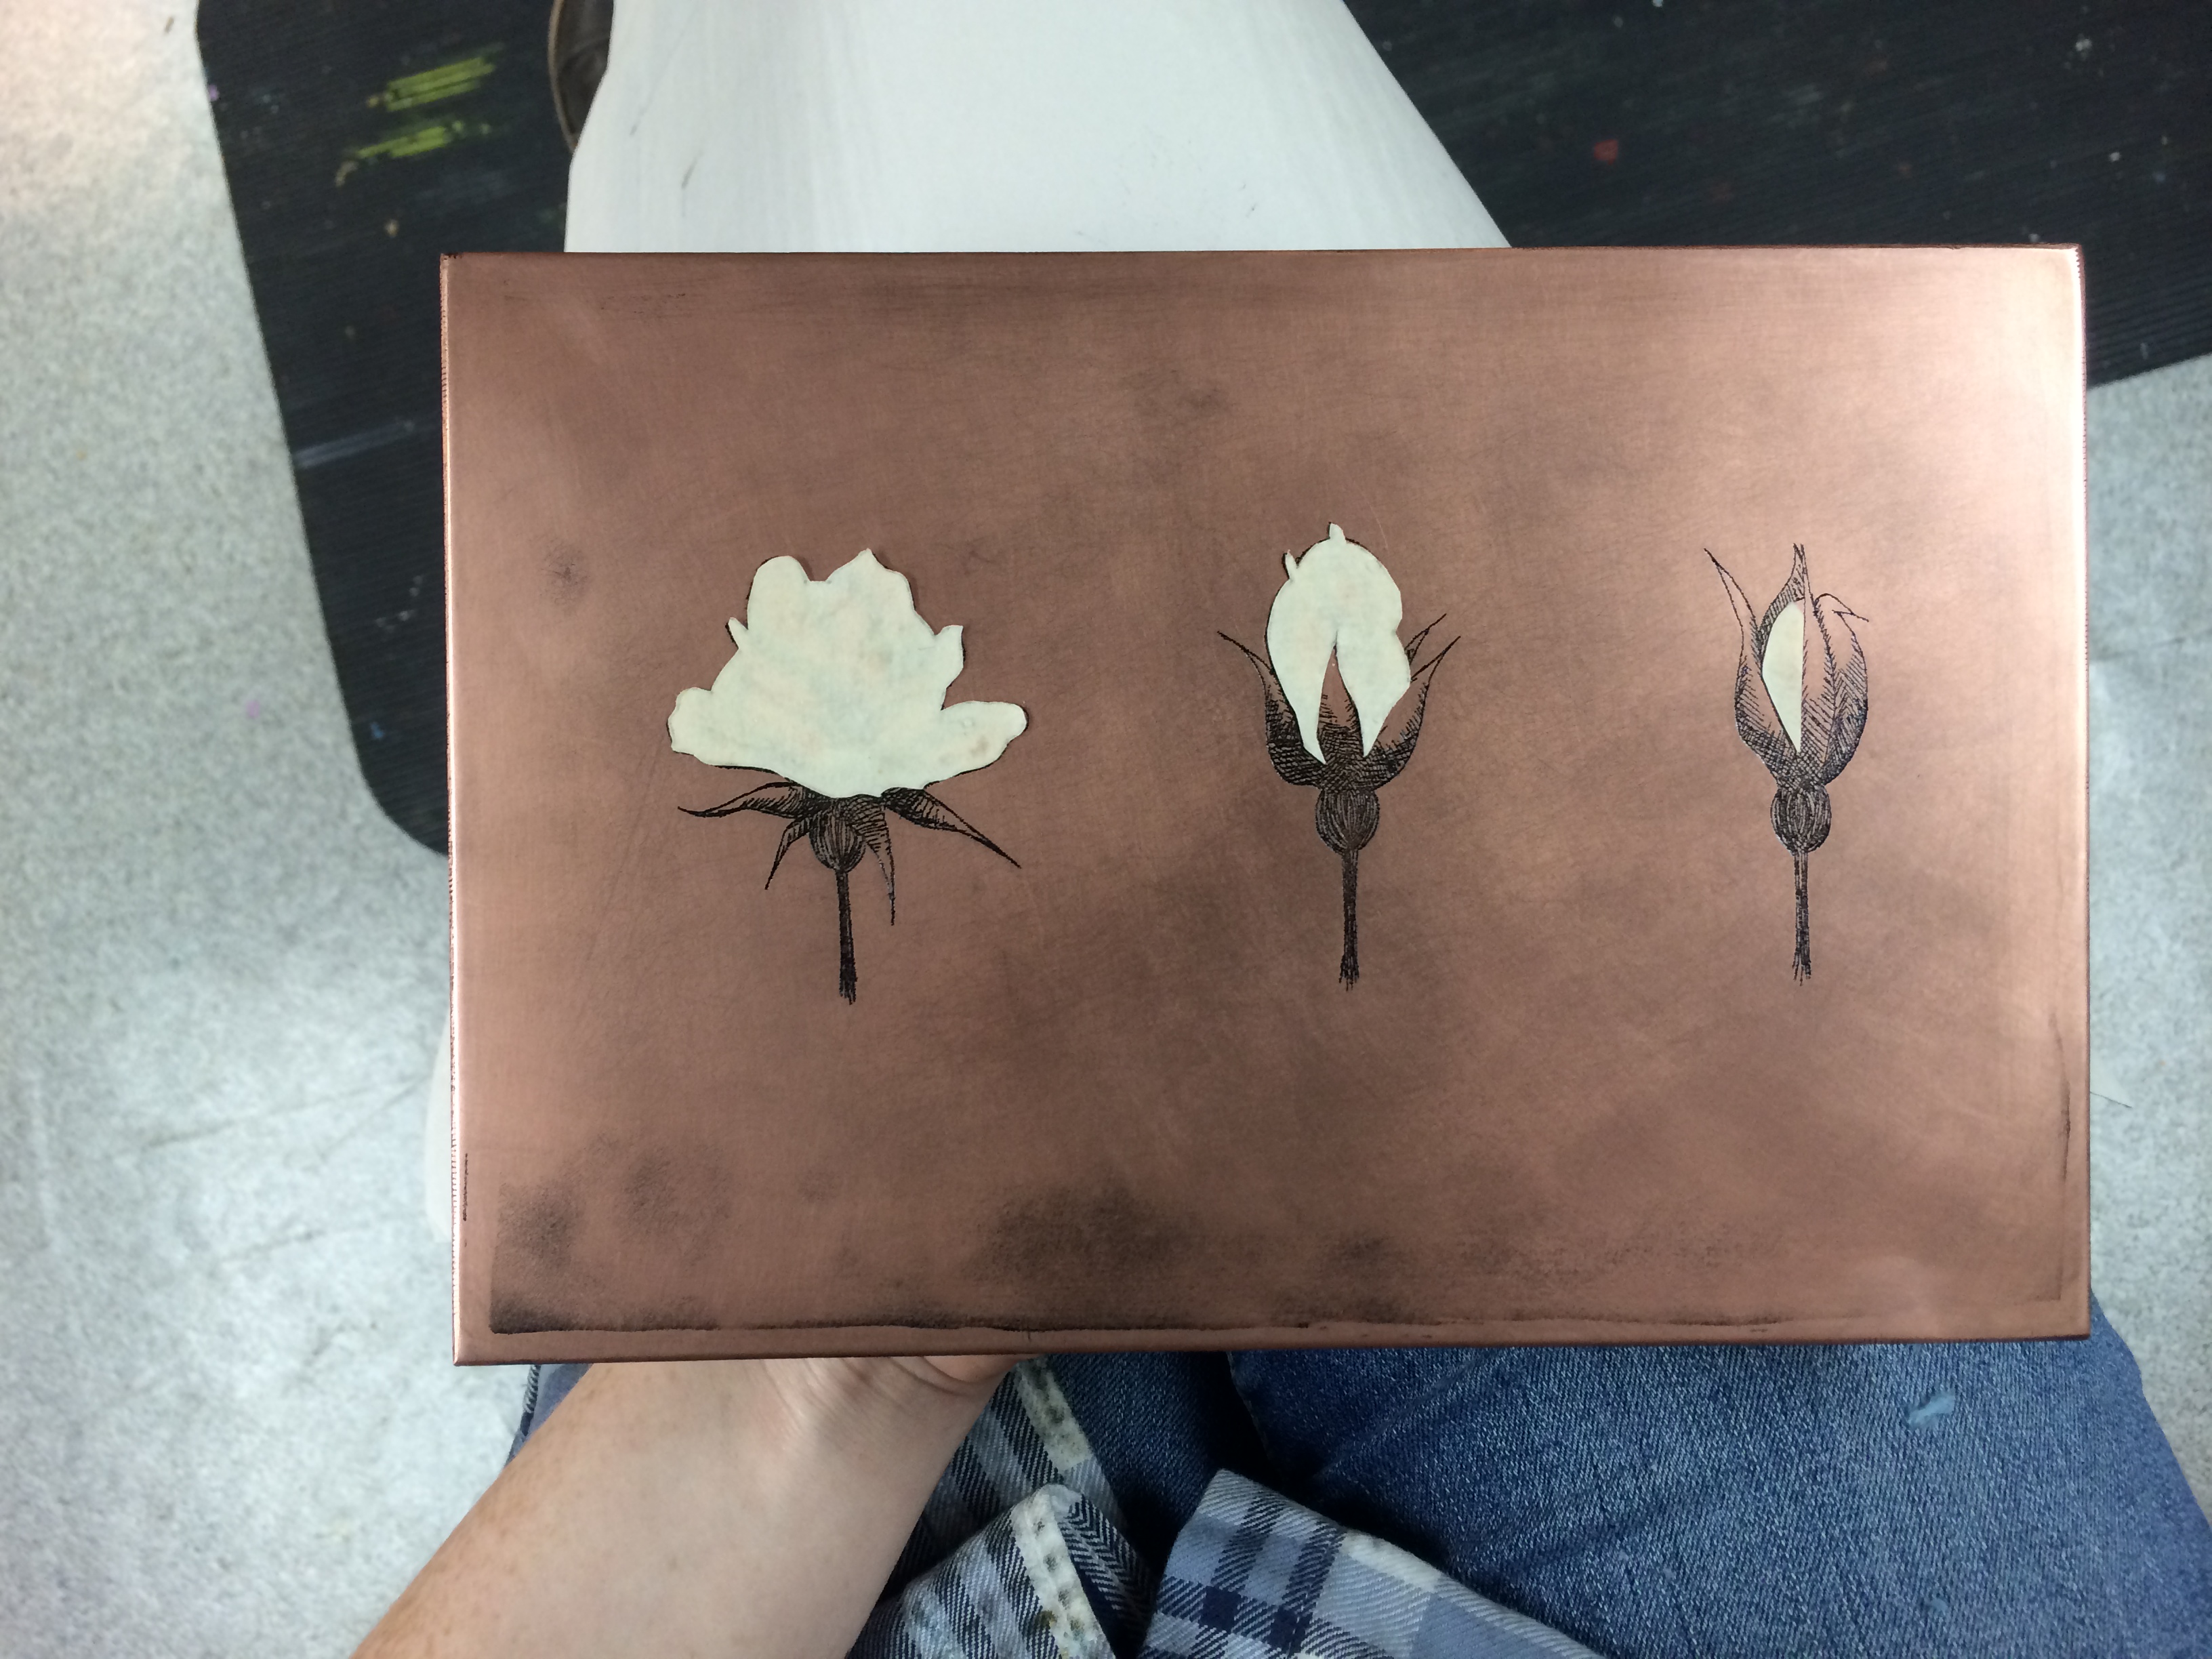
The last step in the project was to do a new edition of three prints with the same plate, after altering it somehow and adding another process (like relief rolling to add color, etc.). I chose to sand my plate some more to remove some of the plate tone and to include Chine-collé. Chine-collé is a collaging process done with thin paper, wheat paste, and pressure from the printing press to combine the papers. I chose to use Japanese Kitikata paper to give some color to the blooms in my print.

