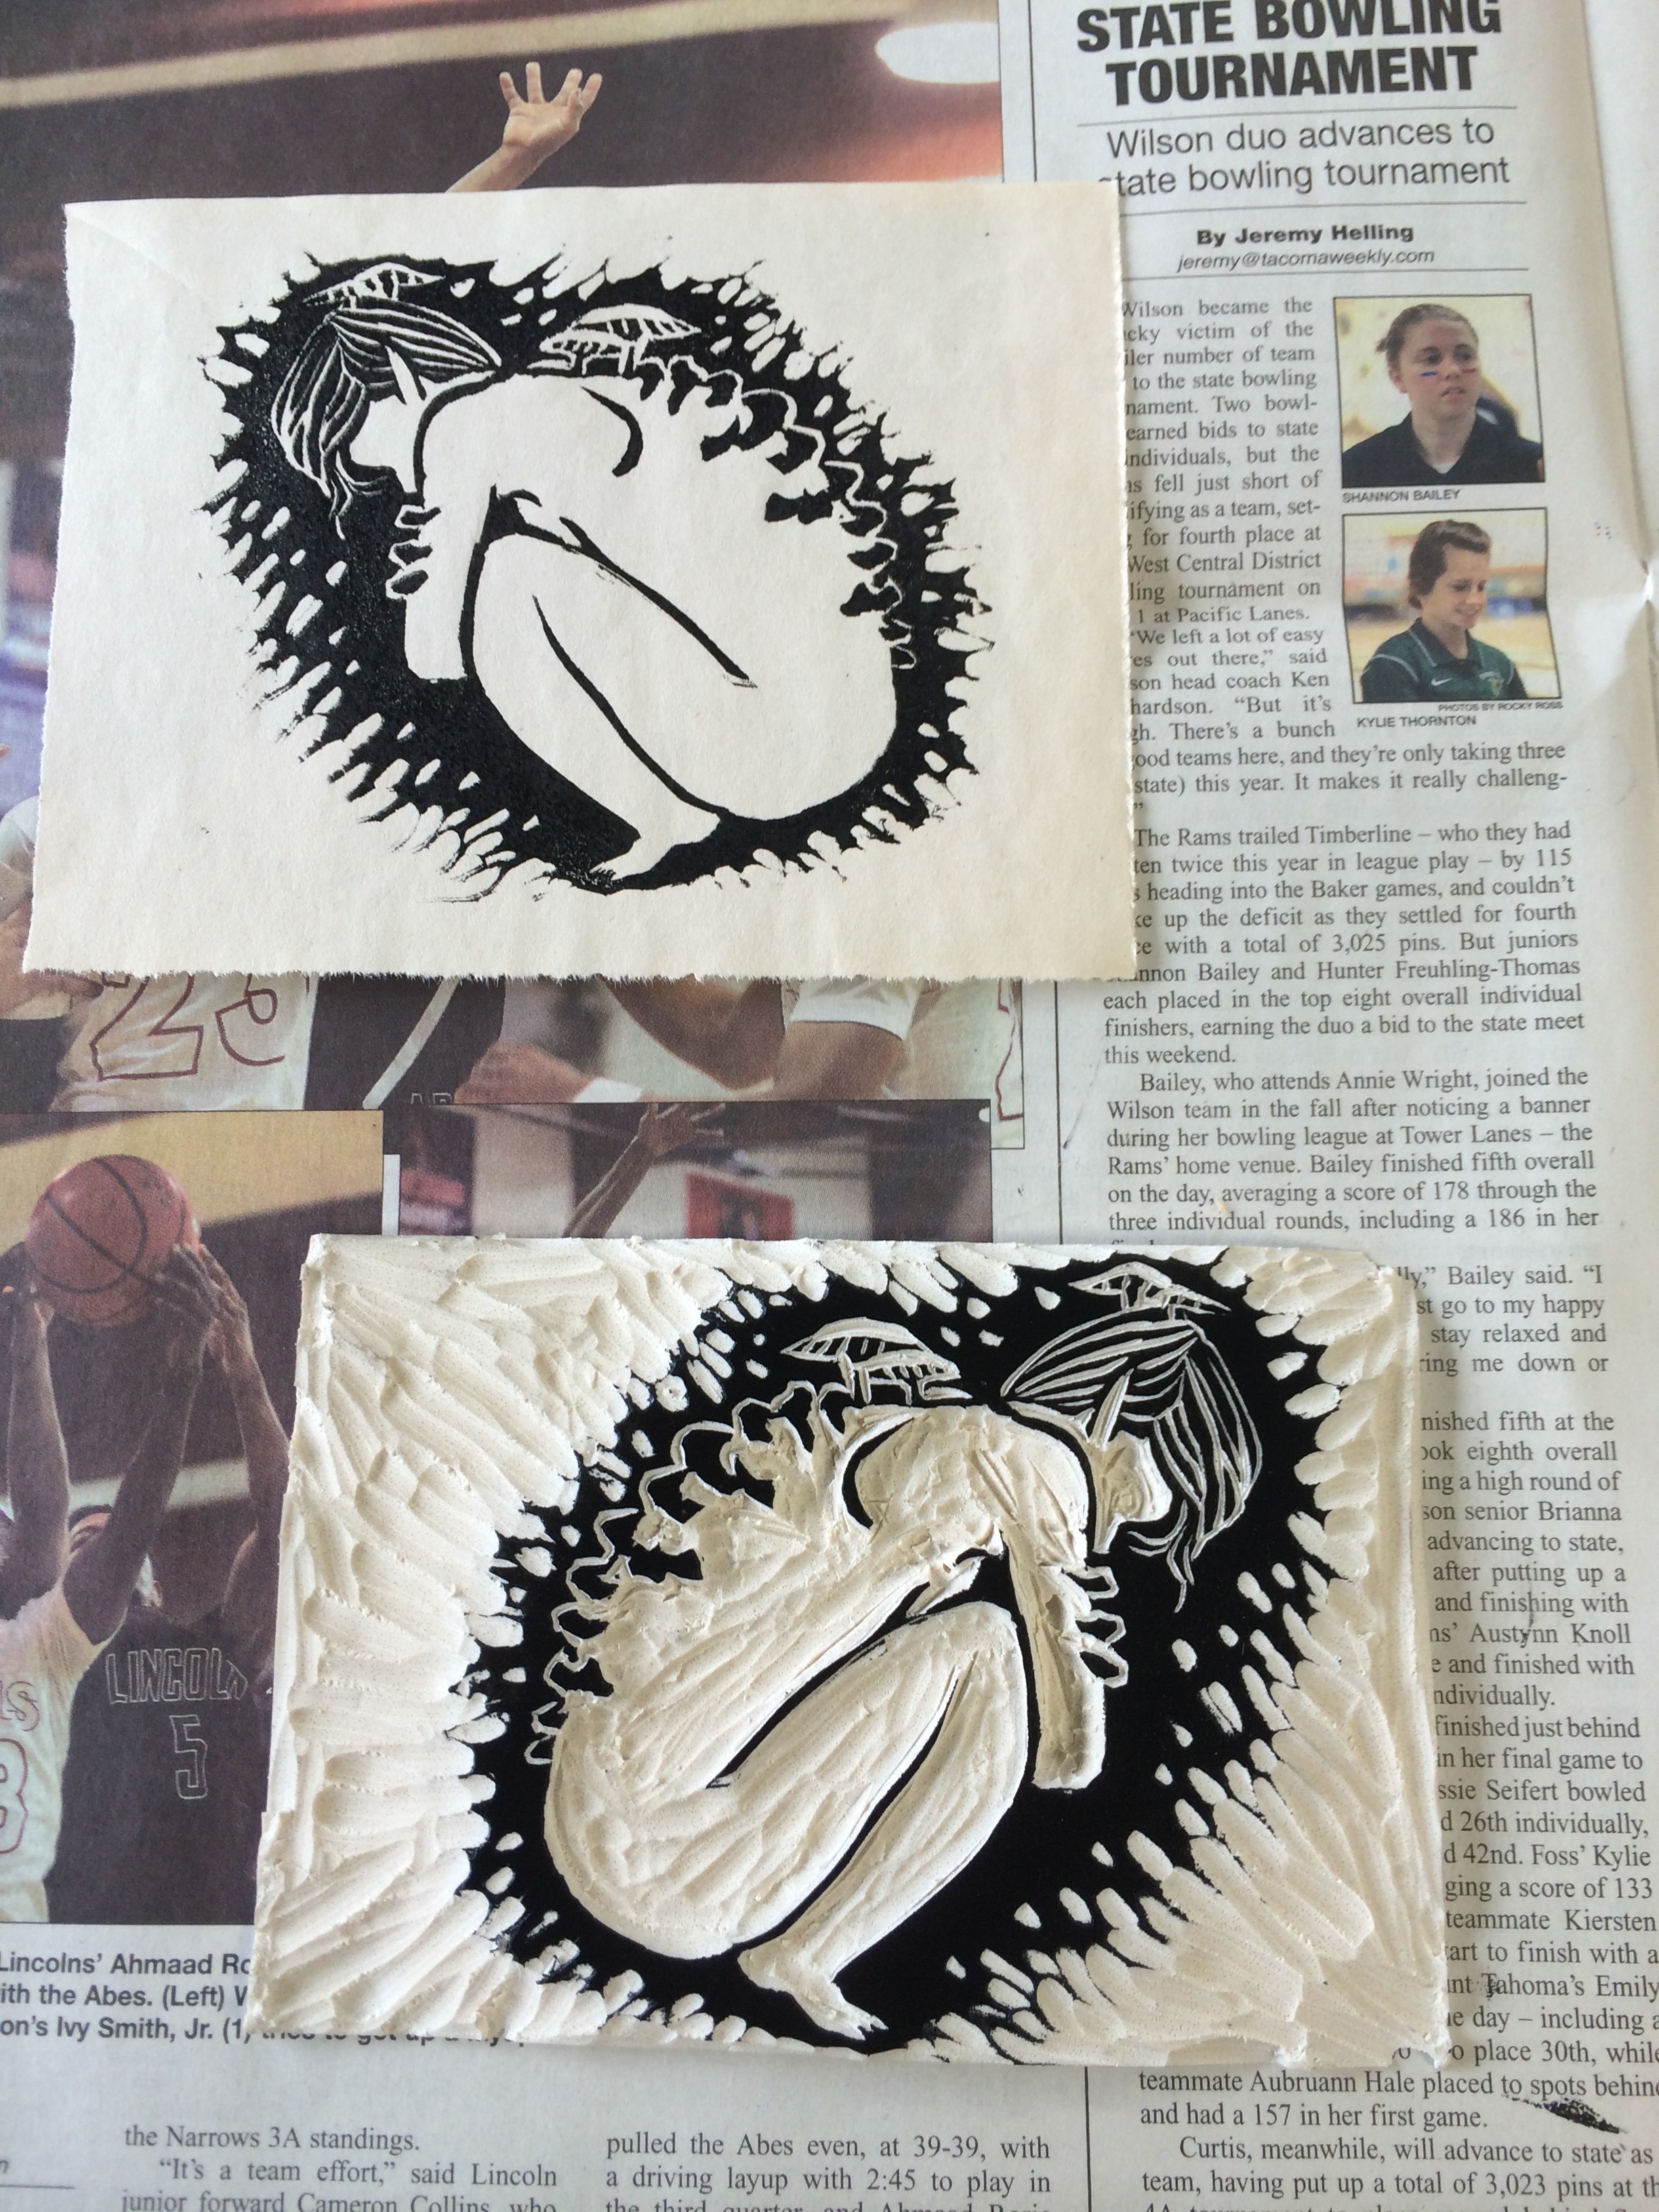
Getting back into the college-life groove means fun and friends, but also homework. Luckily for me, my homework is often doing what I love most: art! This semester I’m taking another printmaking class, this time in relief and intaglio.
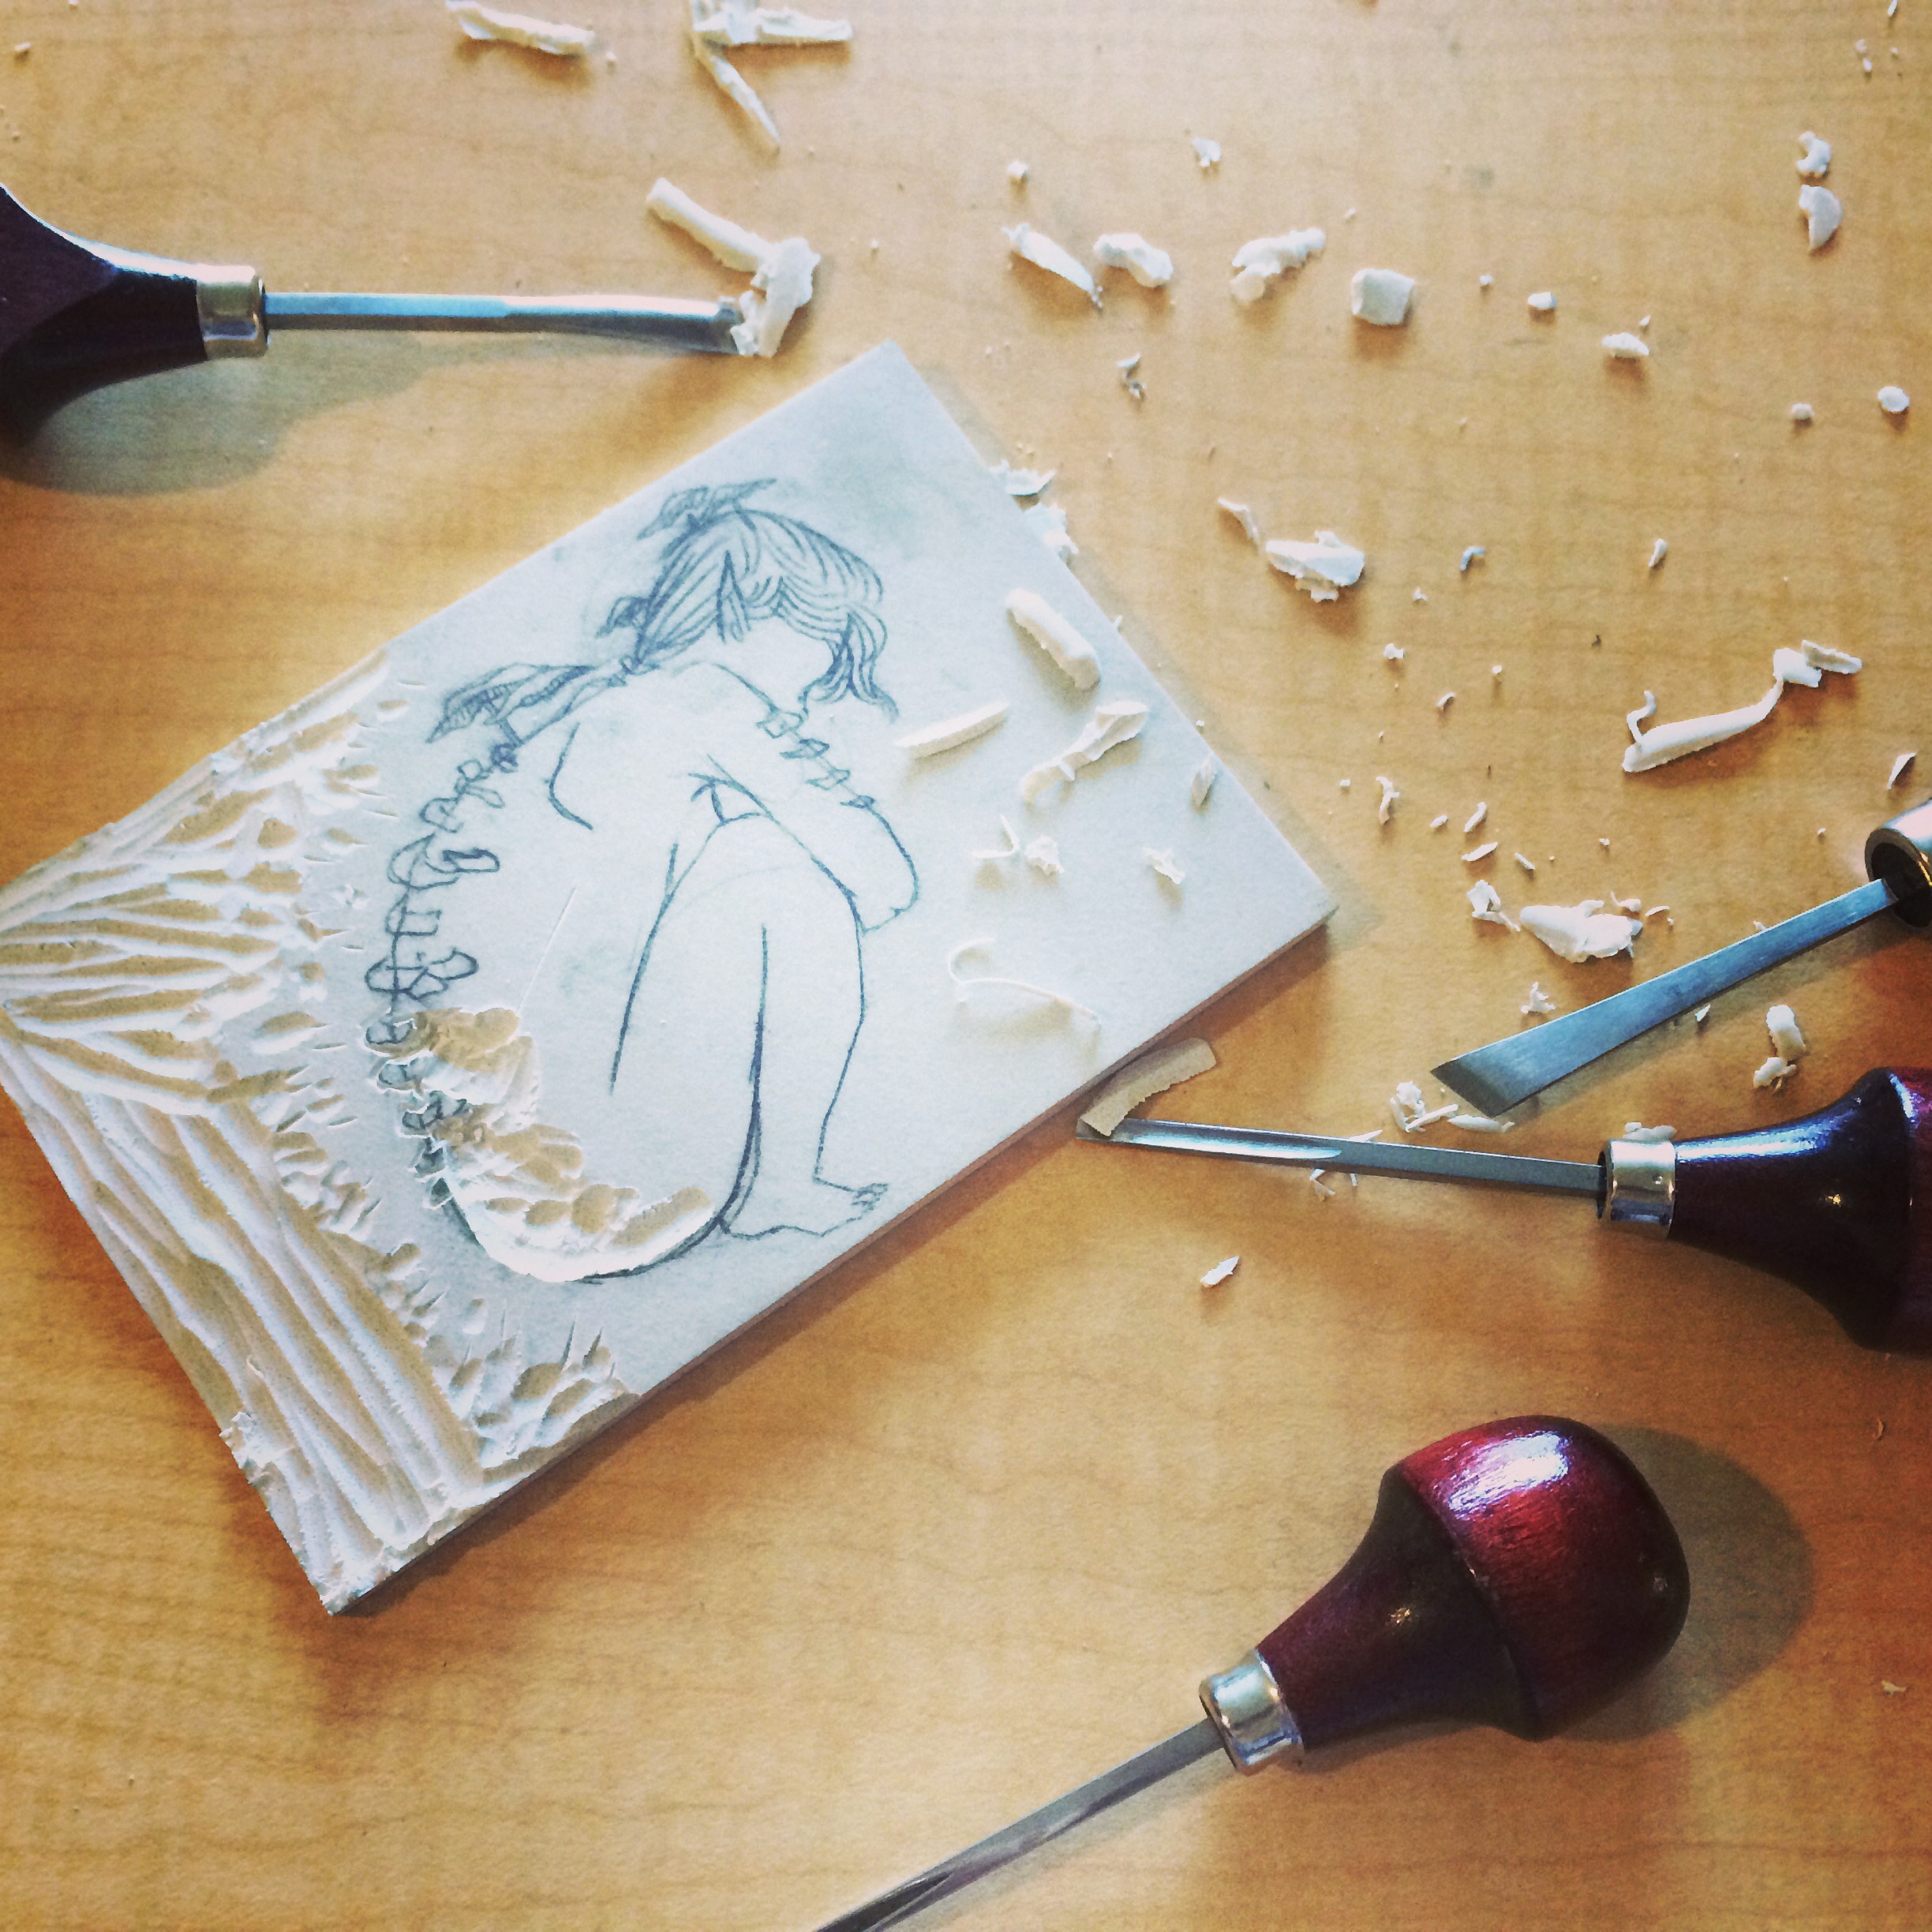
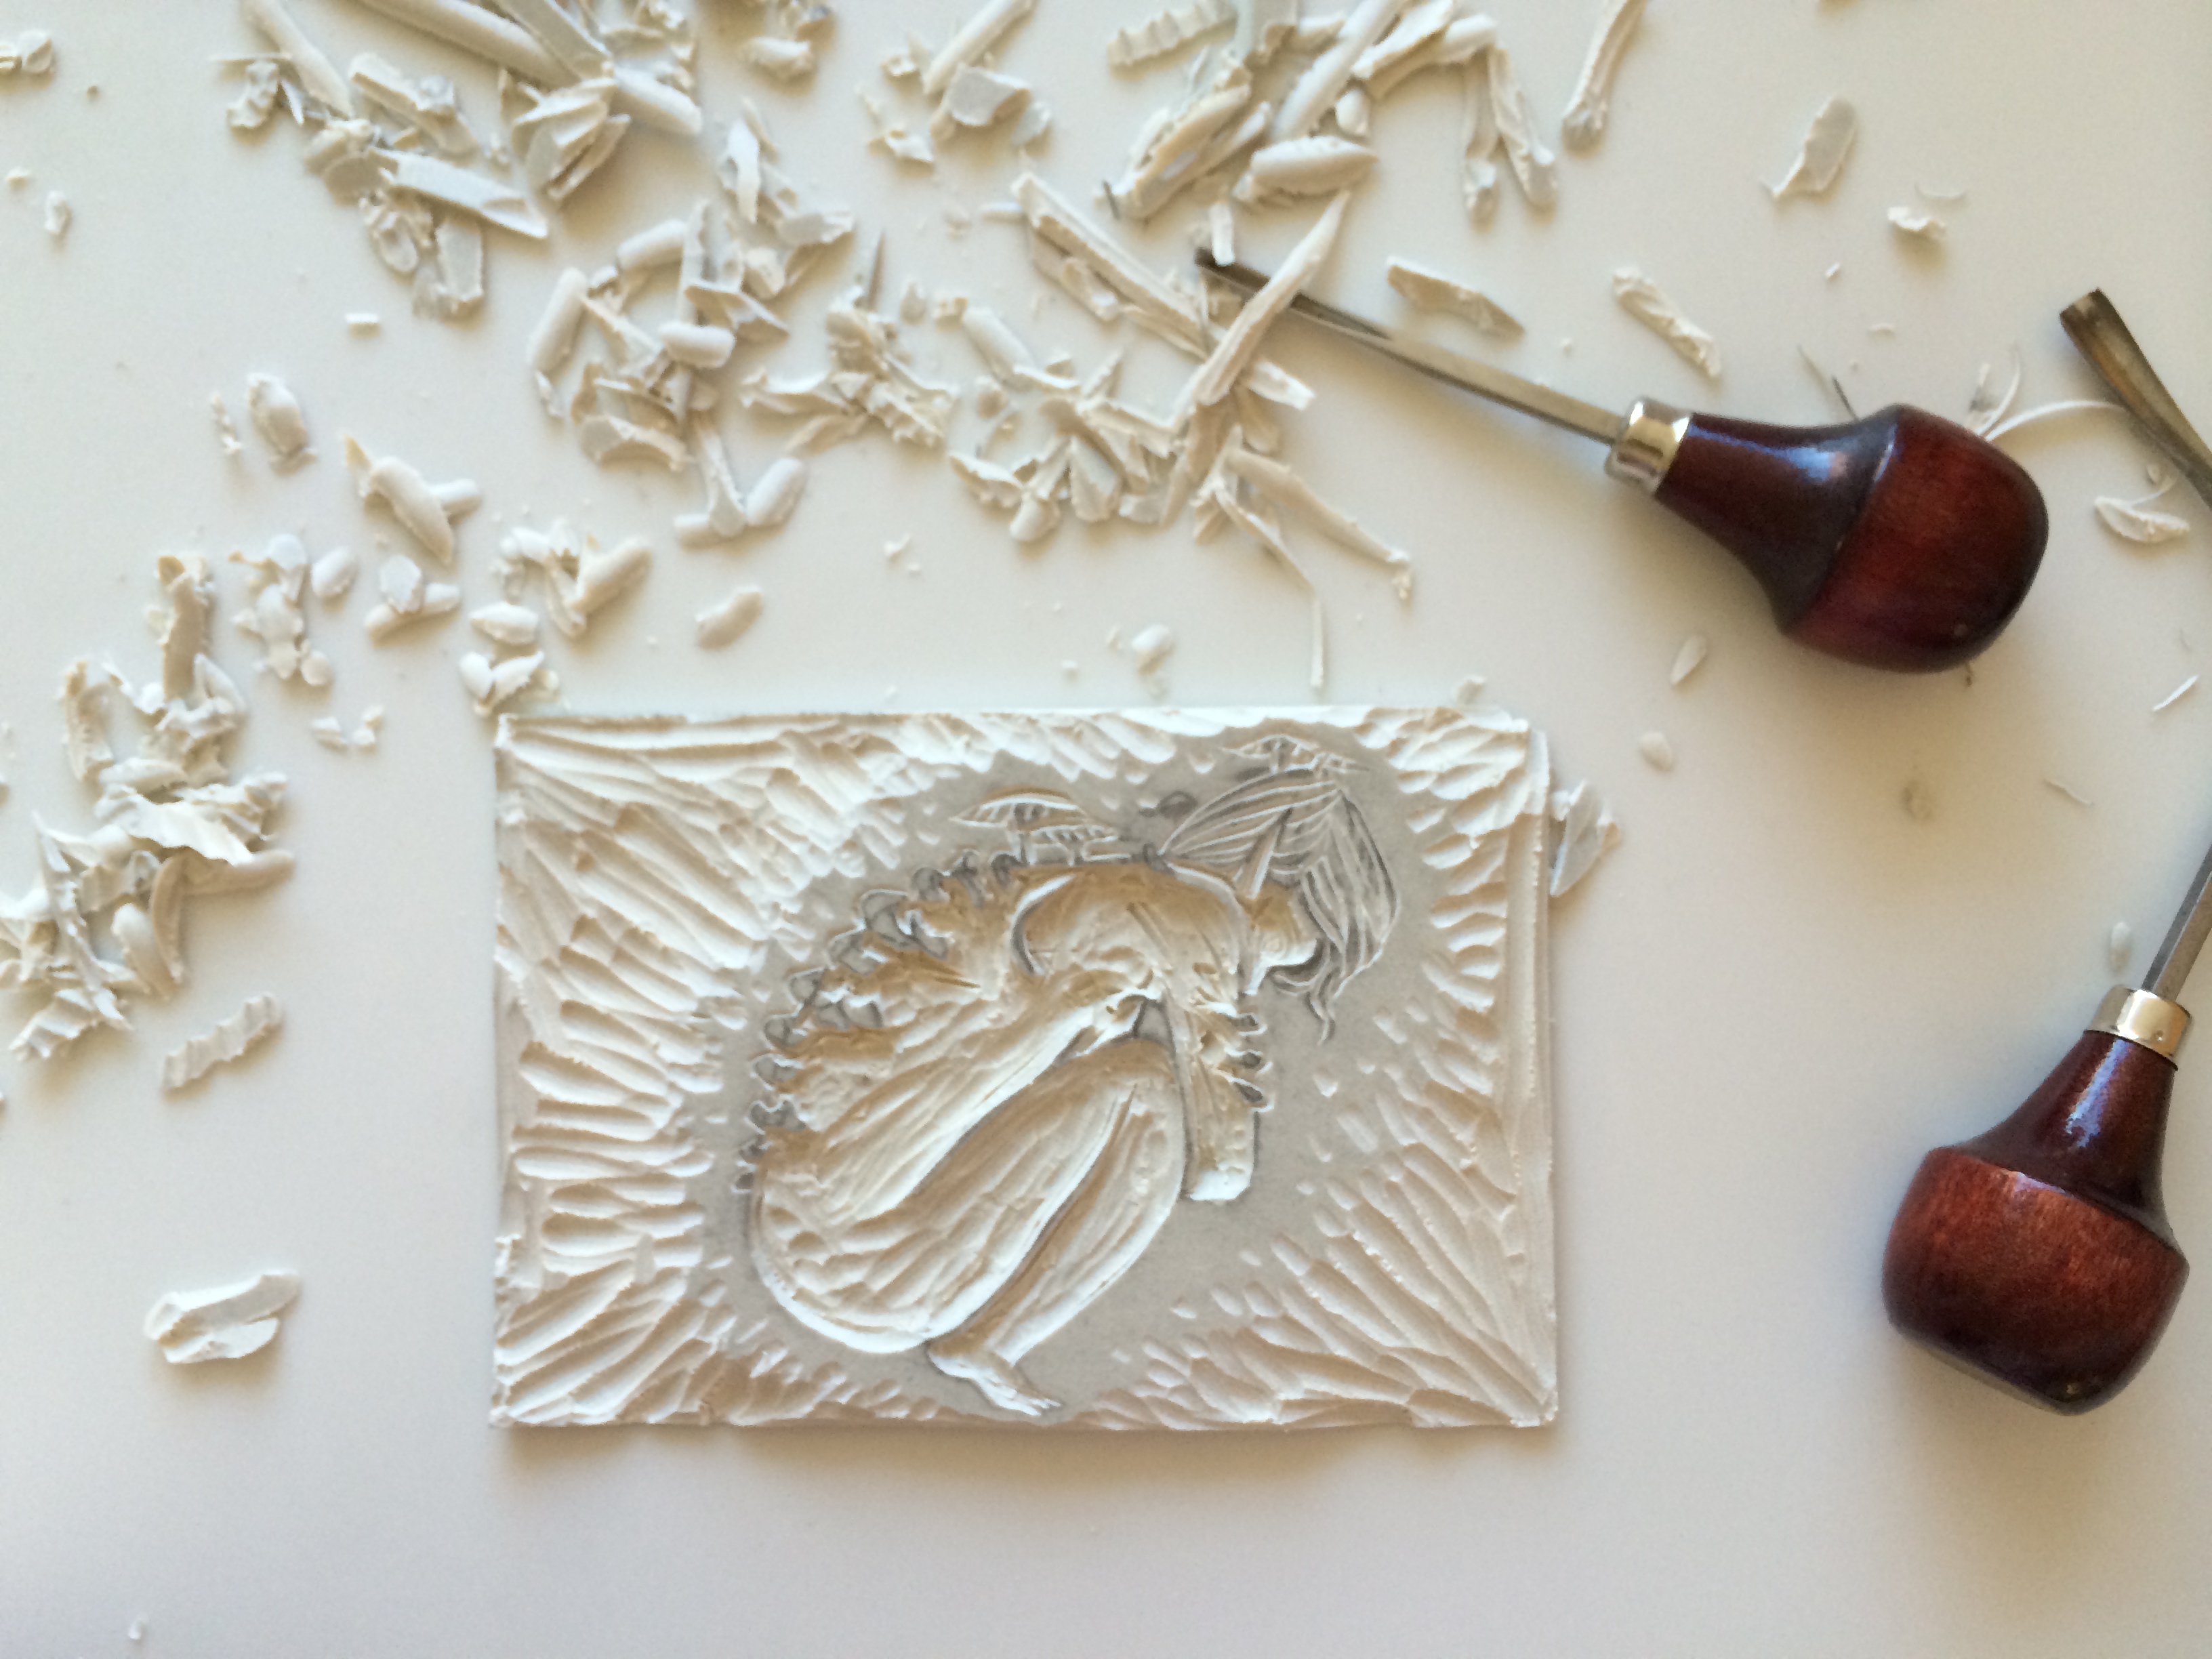
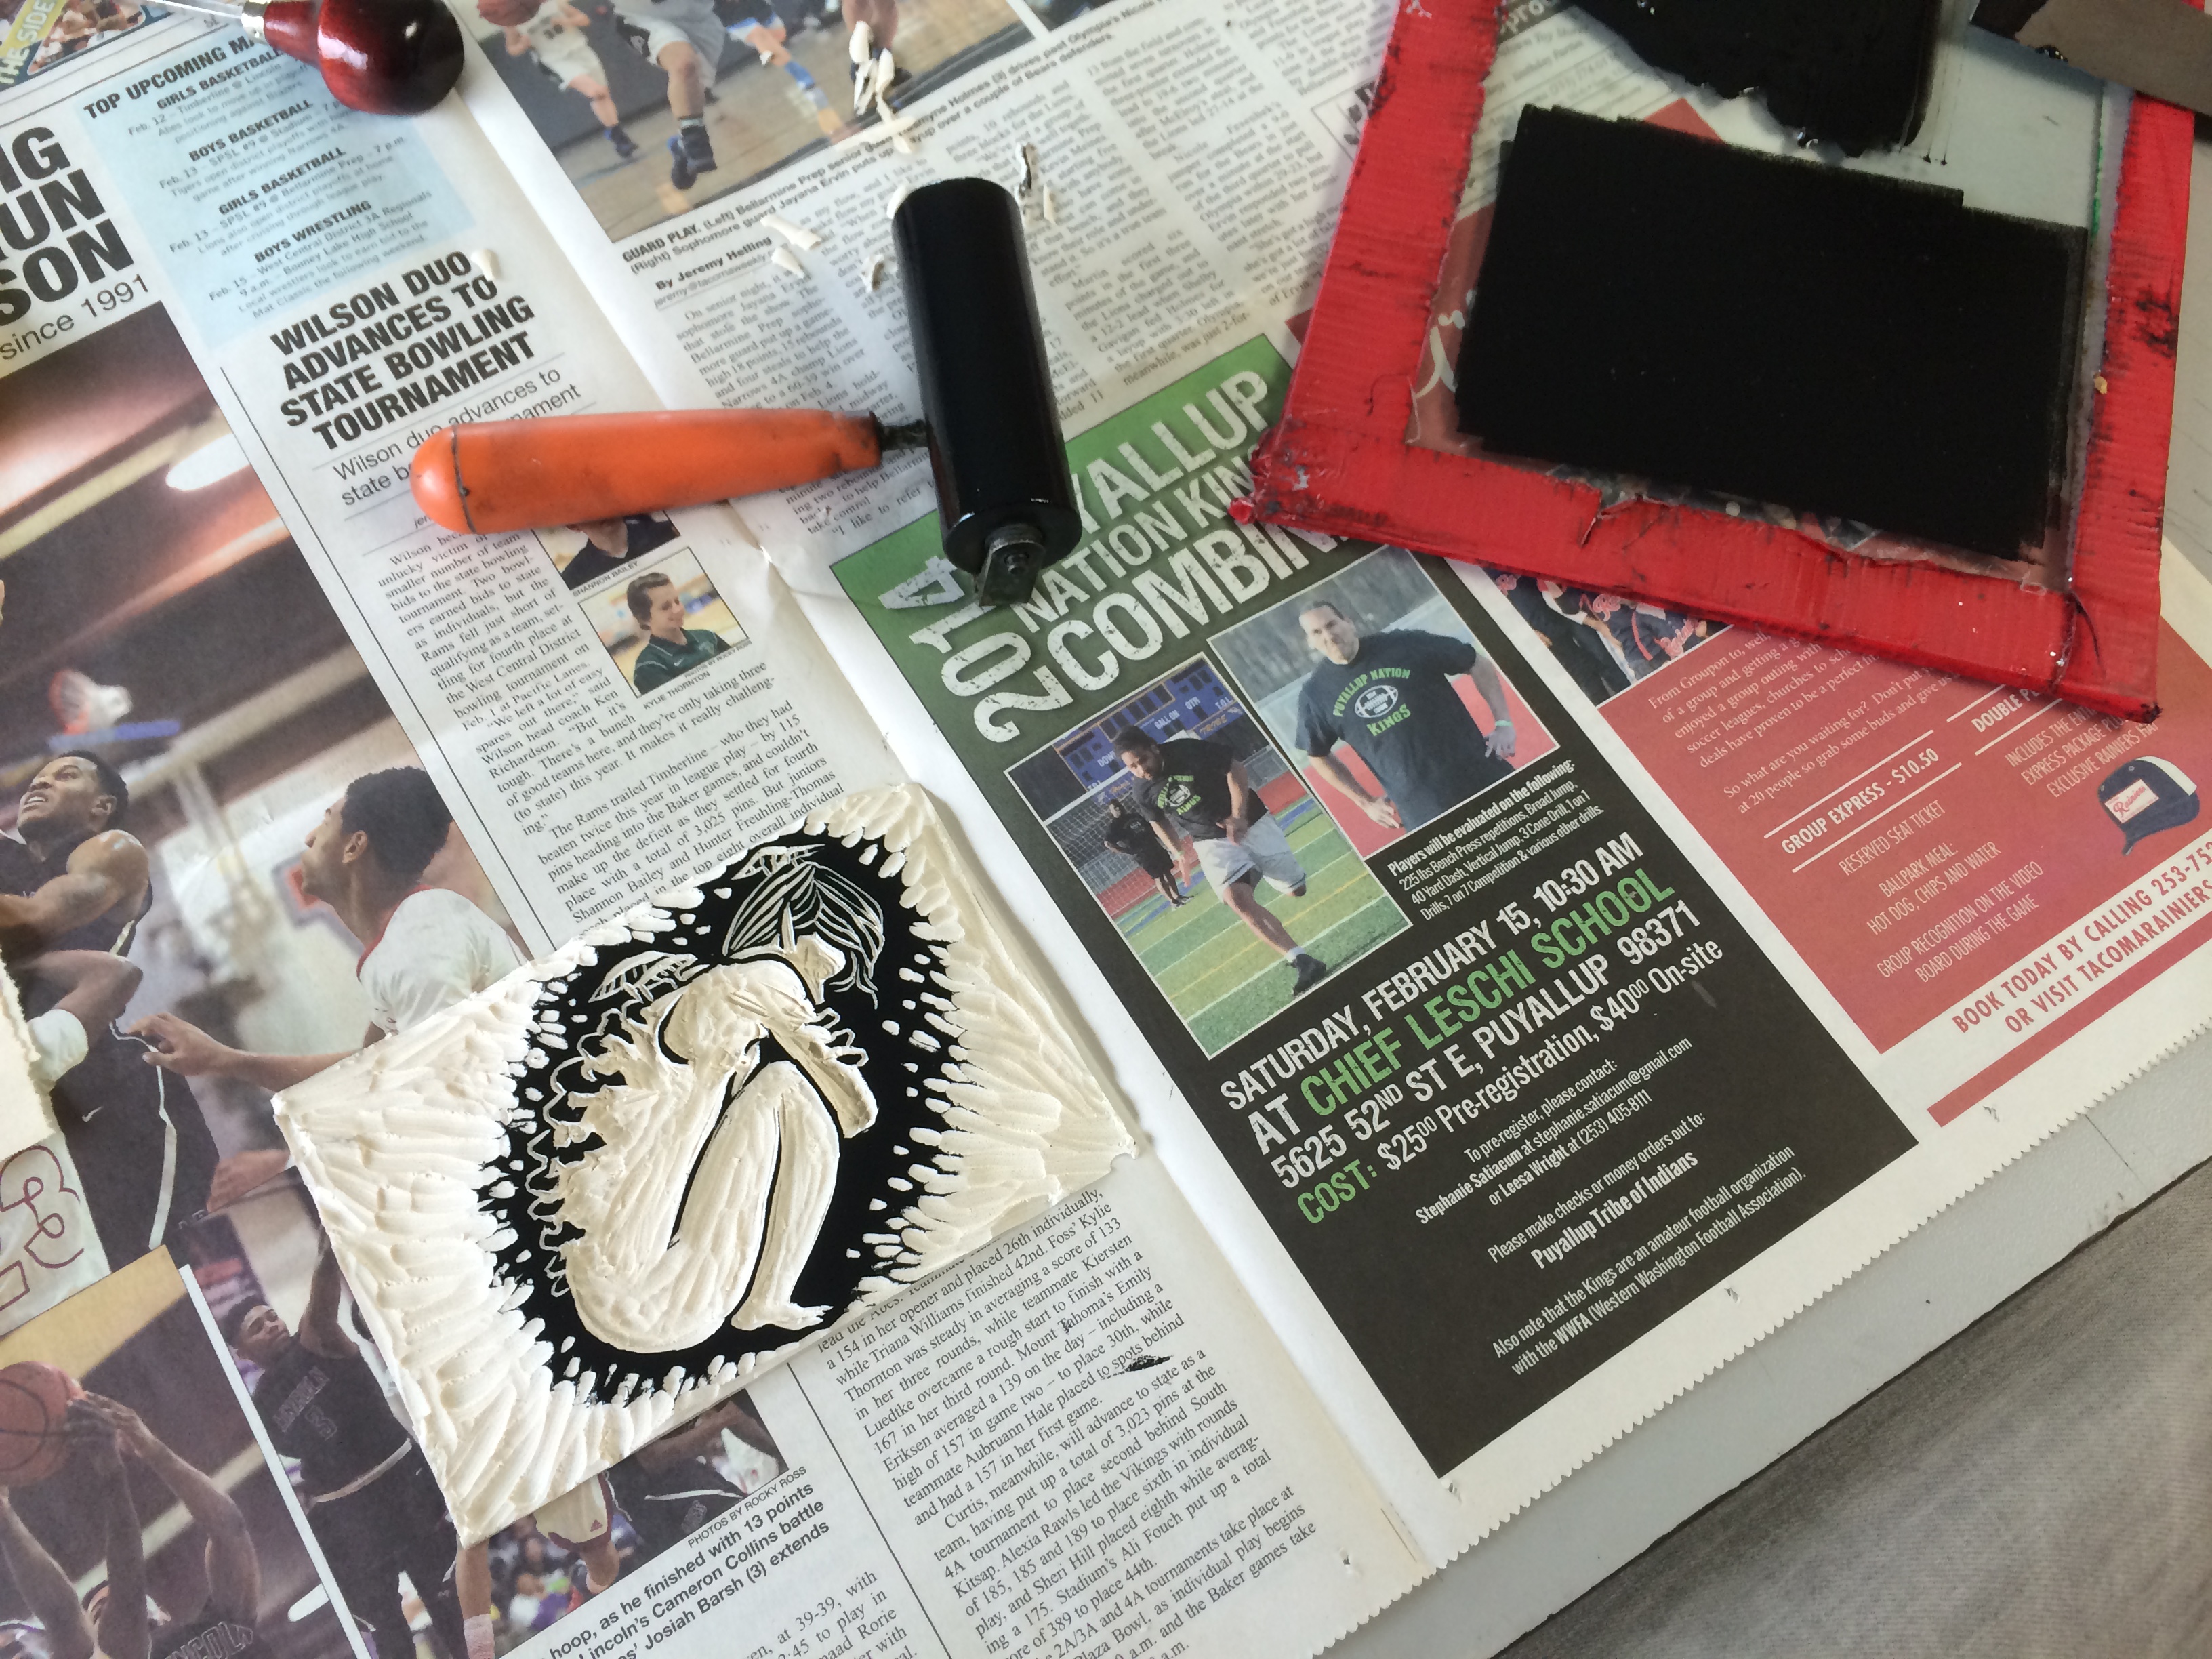
Our first project was a little experiment with a material called “speedy cut”, which is sort of like a soft, porous rubber. (However, it smells like my father’s office back home, and since he’s a polymer chemist, I’m sure it’s something a little more fancy that just that!) I sketched a quick design and transferred it onto my little block with tracing paper and began cutting! Here’s some pictures of the process of my first linocut relief print!
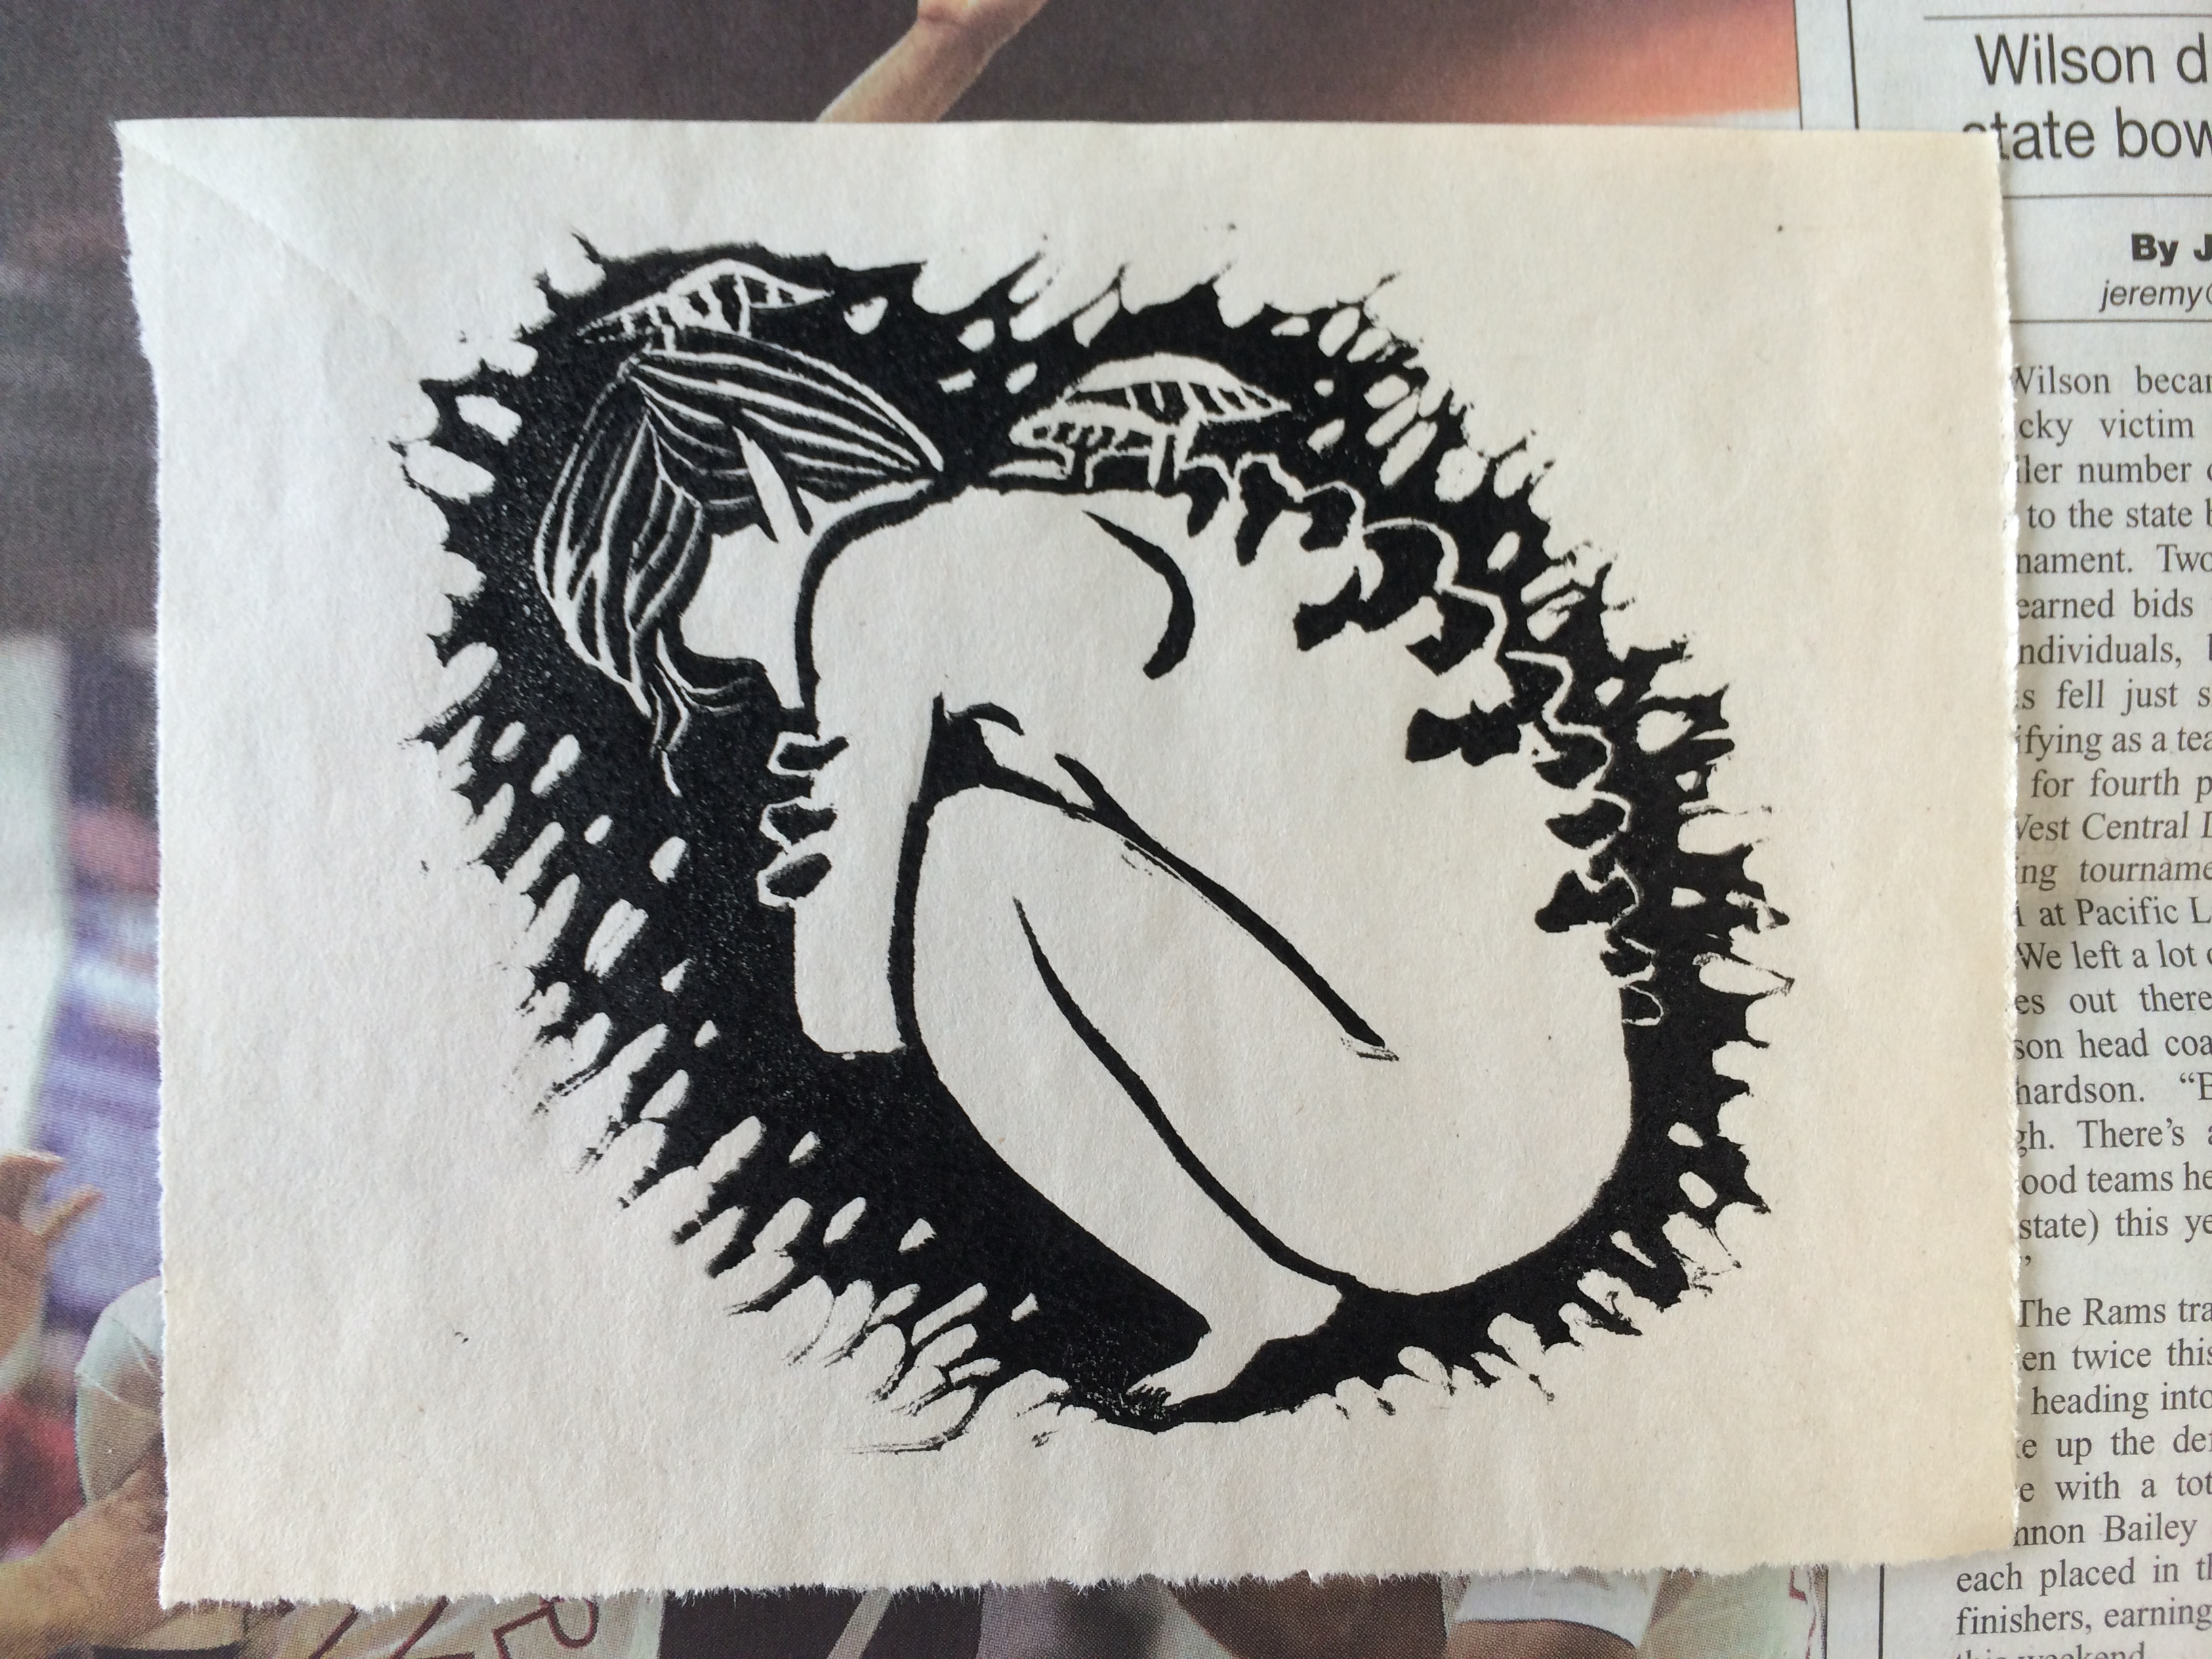
With relief printing, you have to work in reverse. The area that you carve away is left white, while the remaining negative spaces are what collect and print ink, sort of like a stamp. You also have to be sure to mirror your image when you carve it so that when it prints, it comes out facing the direction you want. (This is especially important with text, but can lead to some pretty funny mishaps) I went on to print a few more since this was just a test on some cheap newsprint paper, but I was really happy with how it came out!

