Browsed by
Month: March 2013

Another tech tool to put in your pocket

Another tech tool to put in your pocket

How often do you find a program that transitions easily from mobile device to browser to Screen Shot 2013-03-27 at 9.56.09 AMdesktop/laptop?  It’s rare to discover a decent one that allows all the same compatibility and functionality.

During Professional Development Week in January 2013, EdTech introduced Pocket (formerly Read It Later) at an iPad user group session.

Pocket is a program that allows you to save articles, Tweets and several other content types into a list for reading at a later date.  This is a cloud-based app and is compatible on a variety of devices (mobile devices, Mac, PC, or browser-based) and from within other consumption-based apps (such as Flipboard and Zite).

The app now allows for different display layouts to make the content you save more enticing.  Some setup is needed to link Pocket to the apps on your mobile devices, but once this is complete, using Pocket is a snap!

Traditional list view:

The Pocket app can display your saved content in two formats. This image shows a list format.
The Pocket app can display your saved content in two formats. This image shows a list format. 

Tile view:

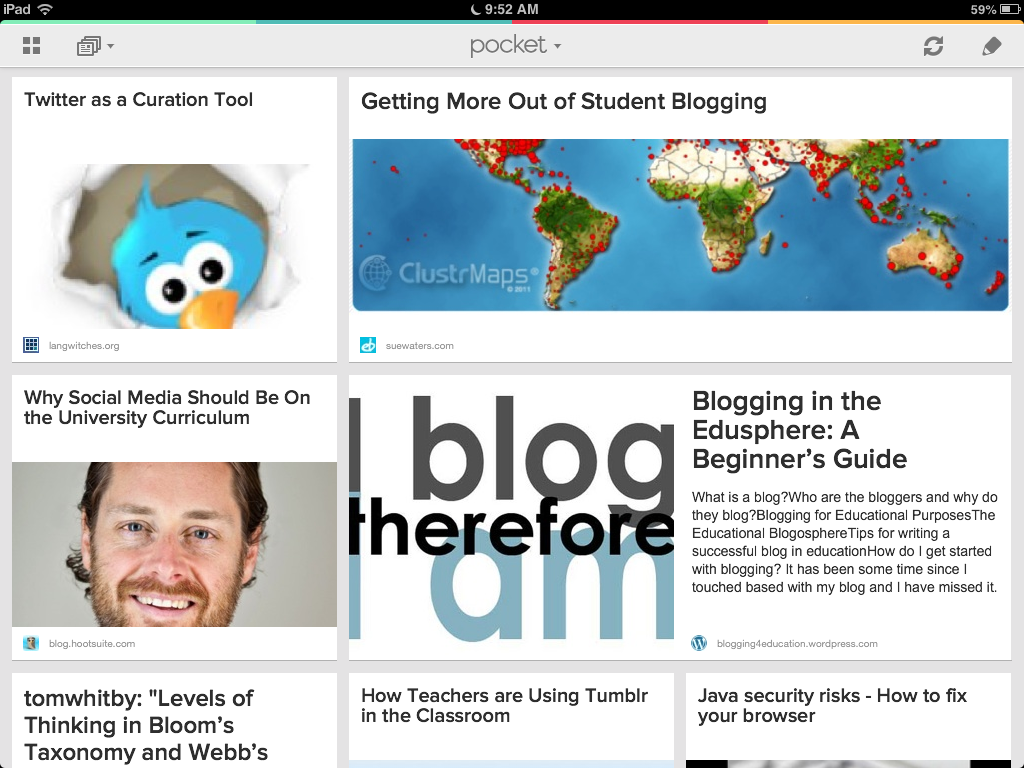
The Pocket app can display your saved content in two formats. This image shows a tile format.
The Pocket app can display your saved content in two formats. This image shows a tile format. 


Everyone’s reading about “Digital Pepa-gogy”

Everyone’s reading about “Digital Pepa-gogy”

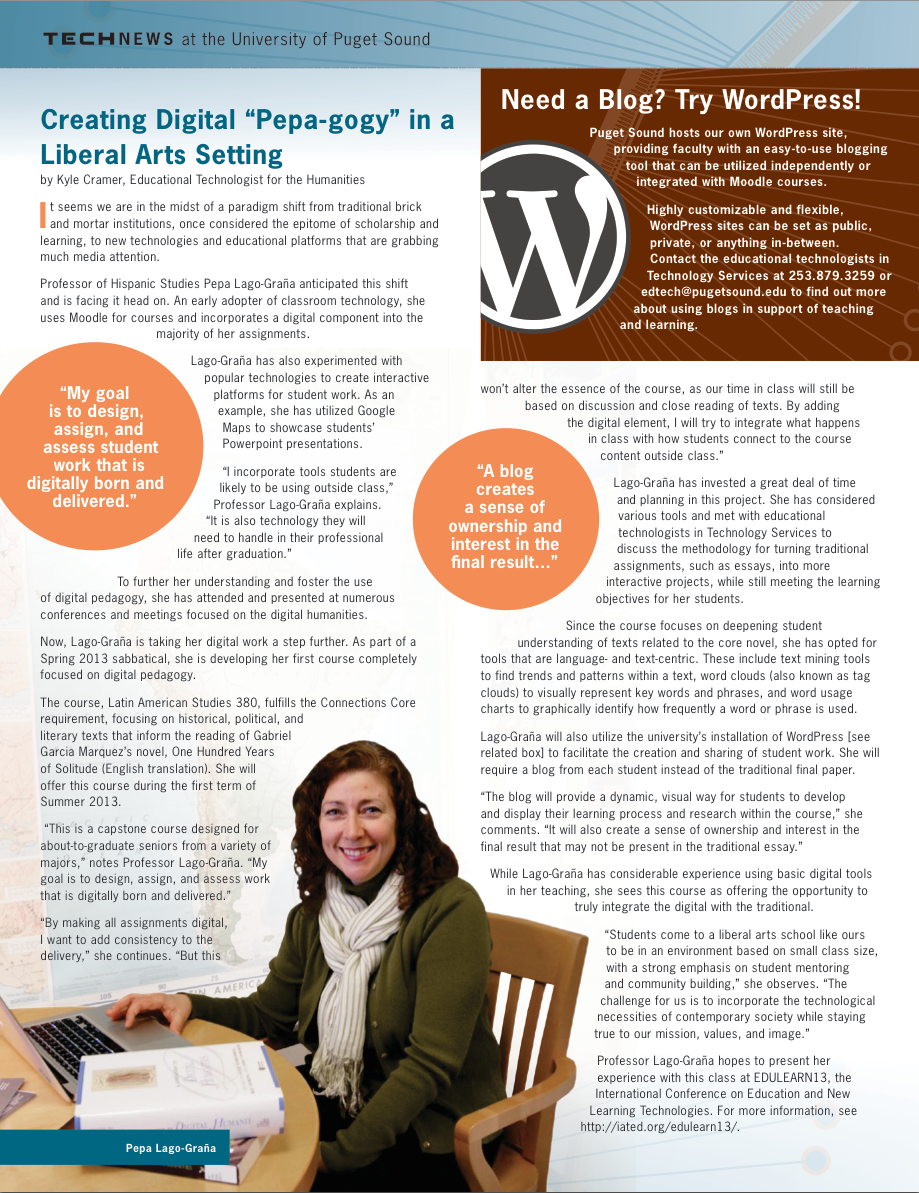
Pepa Lago-Graña, a longtime technology user, was our featured faculty in Technology Services’ Spring 2013 edition of TechNews, a quarterly publication that discusses the latest news and exciting happenings regarding technology at the University of Puget Sound.  The newsletter includes a page about educational technology and what various faculty are doing to incorporate technology into their courses.

Read the article written by Educational Technologist, Kyle Cramer, and be on the lookout for TechNews in your campus mailbox or online.

For information on what you can do to use technology in your teaching, contact Educational Technology.

Image from Spring 2013's TechNews featuring Pepa Lago-Graña seated in her office using her laptop.
Image from Spring 2013’s TechNews featuring Pepa Lago-Graña seated in her office using her laptop.

Create an iOS dream team with SlideShark

Create an iOS dream team with SlideShark

During our last LinkEd, I experimented with an app called SlideShark.  I’ve had SlideShark on the iPad for a while now, but never really had the need to delve into it too much.

I painstakingly created my PowerPoint and then wished I had a better way to transport the content other than lugging the laptop.  SlideShark allows iOS users (iPhone & iPad) to create PowerPoints, upload them to SlideShark online, download them and present them from their mobile Apple device.

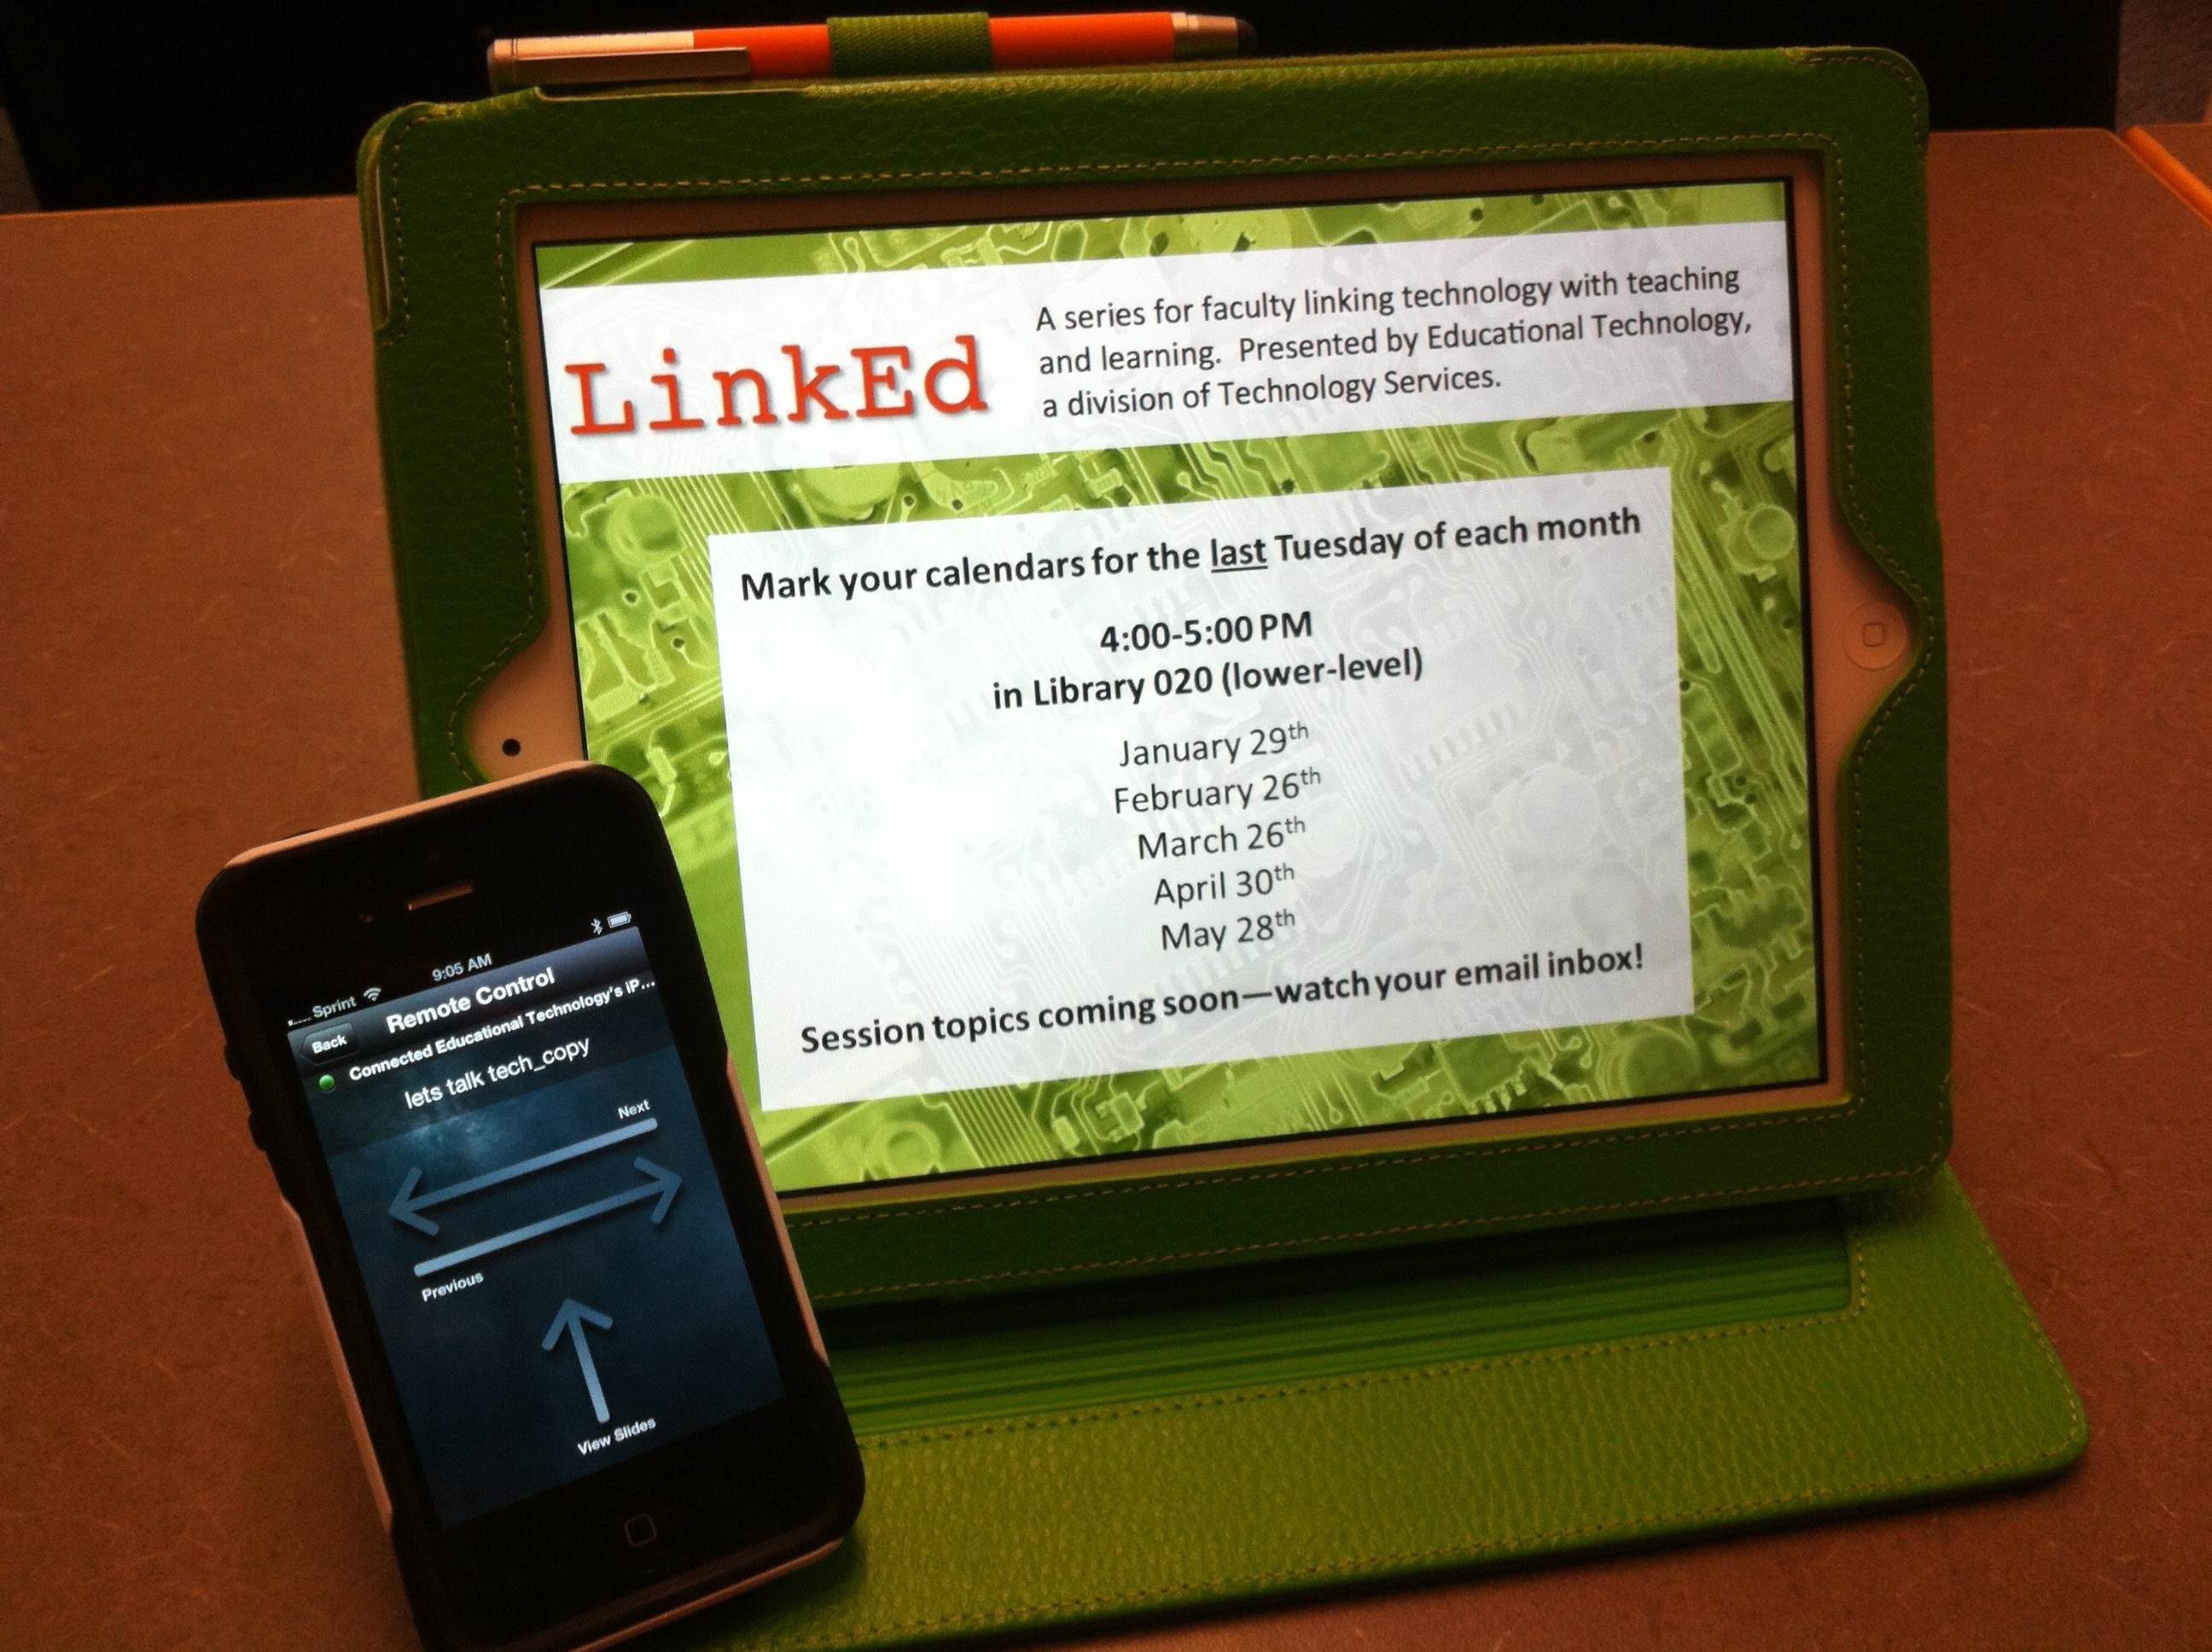
My experiment was to use the iPad as the device showing the presentation on-screen with a VGA adapter and to use my iPhone as a remote to control the progression of the slides (see image).

iPad 2 and iPhone 4S with SlideShark app installed. The iPhone is acting as the remote control to advance the slides that are displayed on the iPad.

It was flawless.  And that’s saying quite a bit because I’m notorious for breaking technology or at least having to do the hokey pokey repeatedly in order for something to function properly right out of the box.

The remote feature with the iPhone allows you to swipe left or right to advance slides and a swipe upwards to bring up the slides and select a specific one to jump to.  A reassuring vibration setting gives the presenter notification that a command has been sent to the presentation device (the iPad in my case).

SlideShark was easy, quick and didn’t require too much setup.  They also give you the option to share or keep your slideshows private.

Using Skype in the classroom or office

Using Skype in the classroom or office

Media Services has been flooded with Skype support requests quite frequently over the last few months.  They’ve been working hard to accommodate all of our users as quickly as possible, but there are important steps users can take to prepare in advance of a scheduled Skype call.

Do the following well in advance of the actual Skype call:

  1. Schedule an install of the software ahead of time by contacting Media Services (Skype is not a standard software in our labs/classrooms or faculty/staff computers).
  2. Create a Skype account and learn the software before using it in class (if you need a training or support for learning Skype, please contact Media Services).
  3. For the best results, schedule a TEST CALL with the other party you will be connecting with in advance (using the same computer you will be using for the actual call).  Many times, potential road blocks can be anticipated ahead of time by initiating a test call with the other participant.

Best of luck and happy Skyping!